20.4. Running Tests in Visual Studio
In the previous section, we built [EmptyTest] in our CarTests class.
Now, we are ready to run this test.
We will walk you through one way to run tests using the built in test runners in VS.
20.4.1. Mac Users: Running Tests
For Mac users, run the CarTests project just like you would any other project.
Note
If the panel does not open once the tests are finished running, look for the Test Results panel name on the margins of your IDE and open it manually.
If you can’t find it, search for “Test” in the VS search bar.
20.4.2. Windows Users: Running Tests
For Windows users, you’ll want to find and open the Test Explorer panel. If you don’t already have it docked, you can find it listed in the top Test menu.
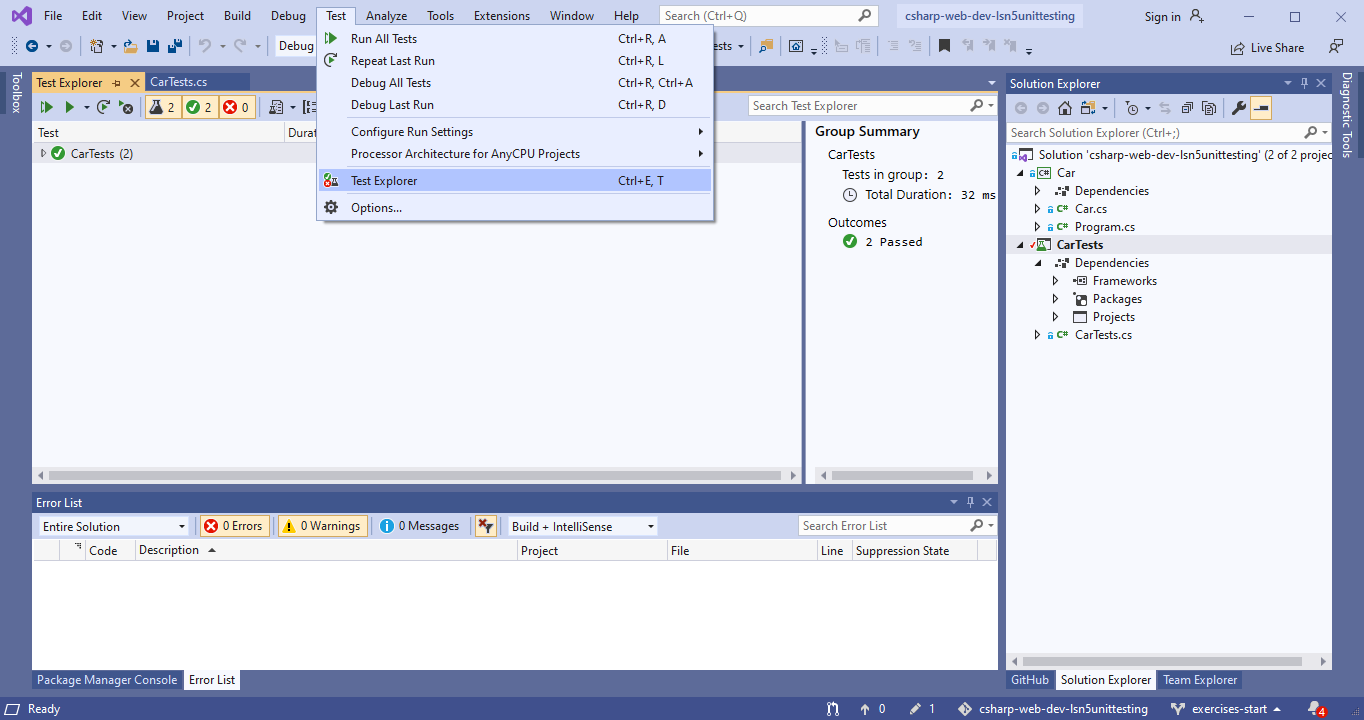
WINDOWS: Visual Studio open Test Explorer
With the panel open, select the Run All Tests option.
Note
If you see that the test fails to run, either passing or failing, you may need to adjust a setting to use 64bit processing.
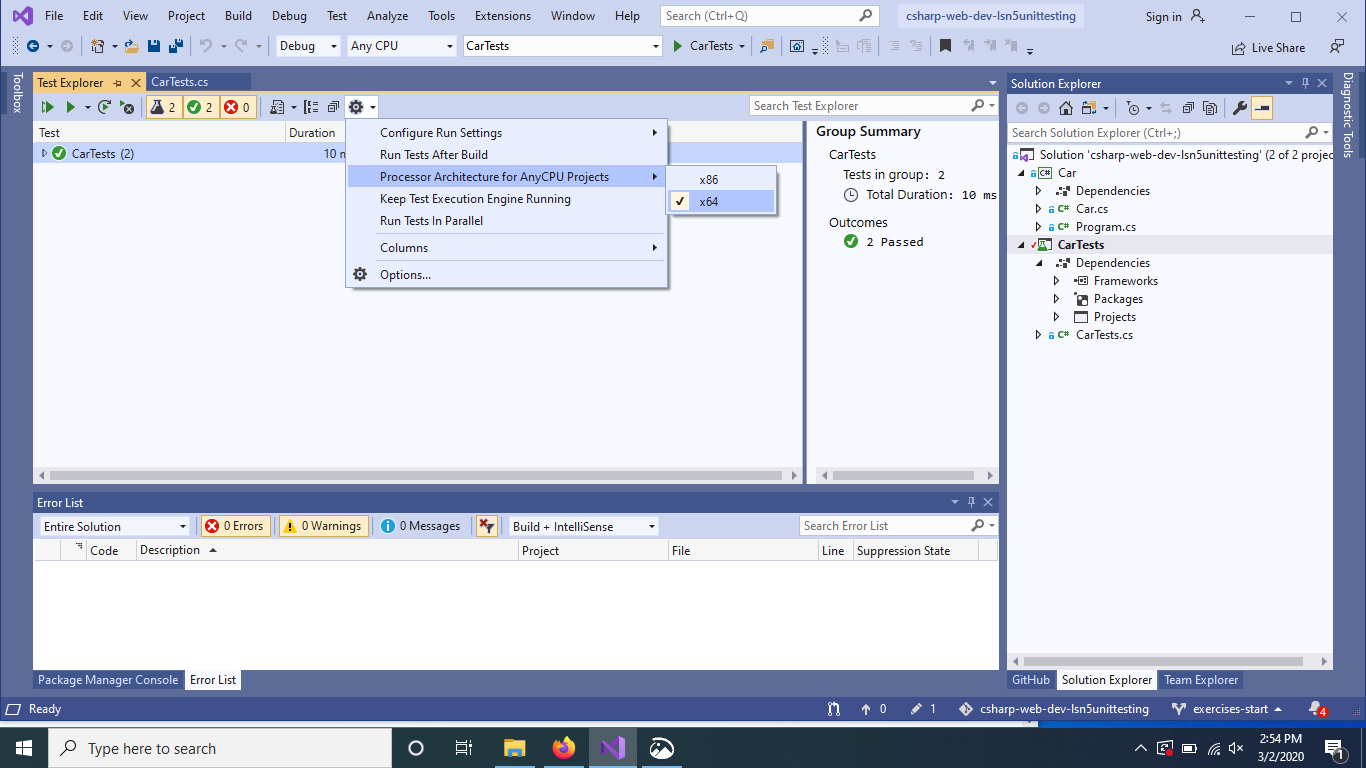
WINDOWS: Set Test Explorer to use x64 process
You may also need to update some of the testing packages. Right click on the
CarTests project and select Manage NuGet Packages…. If you see some items
in the Update section of the panel that opens, run the updates. Close and reopen
the Team Explorer panel and Visual Studio to ensure the changes are applied.
20.4.3. All Users: Output
Once you run the test, you will see a new output panel with a green check mark indicating the test passed and a message stating the test passed.
20.4.4. Creating Tests
We now know how the test runner behaves when a test passes and can
begin the real work of unit testing the Car class.
One responsibility of the Car class constructor is to set its initial
gasTankLevel field. This field is determined by the constructor
argument for gasTankSize .
Car.cs:
17 18 | // Gas tank level defaults to a full tank
GasTankLevel = gasTankSize;
|
This class-specific behavior is a good item to test. Under your second TODO, write a test to verify that the
constructor sets the gasTankLevel field.
Note
To test the Car class, we must make it available to us by adding using CarNS; to the top of your
file. CarNS is the namespace we have assigned to the Car class. Namespaces are used in C# to
organize code. You’ve seen them before in other using statements.
16 17 18 19 20 21 22 | //TODO: constructor sets gasTankLevel properly
[TestMethod]
public void TestInitialGasTank()
{
Car test_car = new Car("Toyota", "Prius", 10, 50);
Assert.AreEqual(10, test_car.GasTankLevel, .001);
}
|
Here, we give the test a descriptive name, TestInitialGasTank(), initialize a new
Car object, and test that the constructor correctly sets the gasTankLevel field.
We’ve done our best to address Testing Best Practices:
The AAAs
We arrange the one variable our test requires:
test_car.We act on the
Carconstructor method as well:new Car("Toyota", "Prius", 10, 50);.We assert that the expected value of
10will equal the actual value returned from getting the tank level (test_car.GasTankLevel).
Deterministic
As it is written, we expect that our test will always pass.
Relevant
This is our first real test, so we don’t yet have much to group it with. That said, the test assesses a method in
Carand is situated in a class calledCarTests, so it meets the minimum requirements or relevancy. The next section gives us another attribute to use to help group testing variables.Meaningful
Our test evaluates a simple field assignment but it is not trivial. The line in the constructor being tested is not very complex, but this makes for a good unit test. We want to make sure the basic functionality of our class works as we expect.
Run CarTest to see that both tests pass.
Tip
If you want to rerun only one test, right click on its listing in the results pane.