In this studio, you must combine data-binding and attribute directives to dynamically change the appearance or behavior of HTML elements.
This studio uses the same mission planner repository as Angular studio part 2. There is no need to fork and clone new starter code.
git status to see if you have any uncommitted work. If you do,
resolve it.studio-3 branch.npm install to download dependencies.ng serve to build and serve the project.When viewed in your browser, the project should look like this:
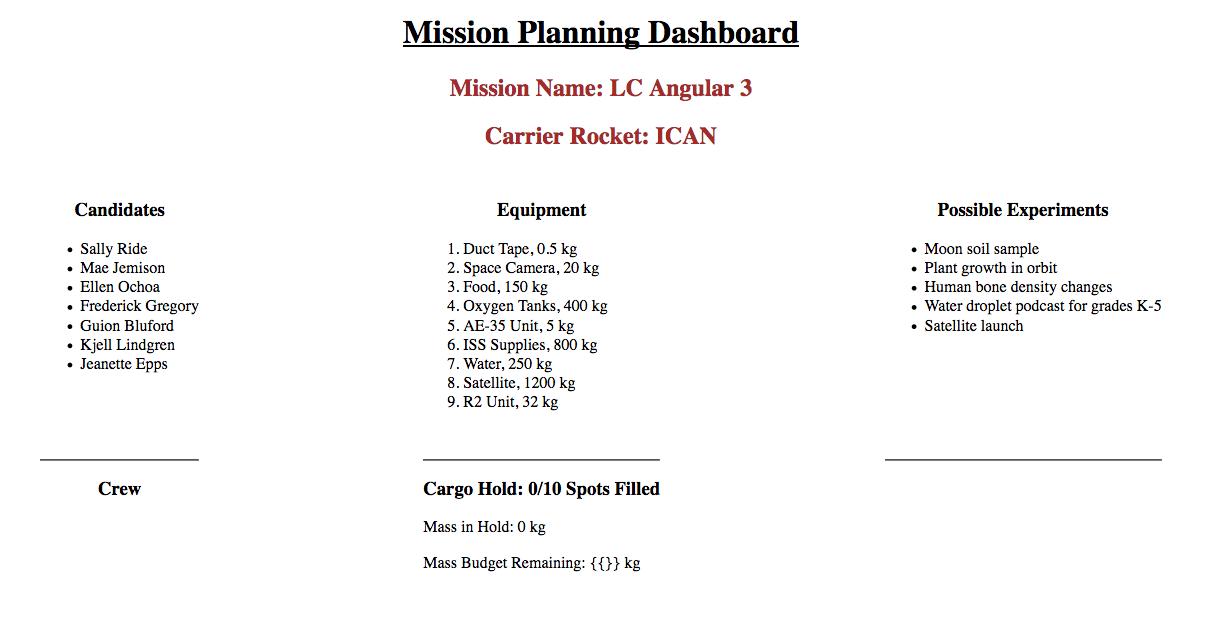
Mission Name and Carrier Rocket are still editable, but the functionality for the crew, equipment, and experiments have been removed.
We want to add items from the equipment list to the cargo hold, but we must NOT
exceed the values of the maximumAllowedMass or maxItems variables.
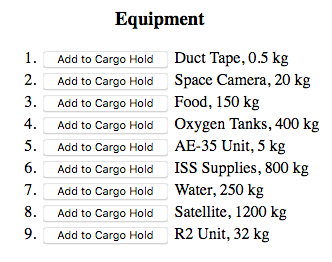
The interactive equipment list will eventually behave as follows:
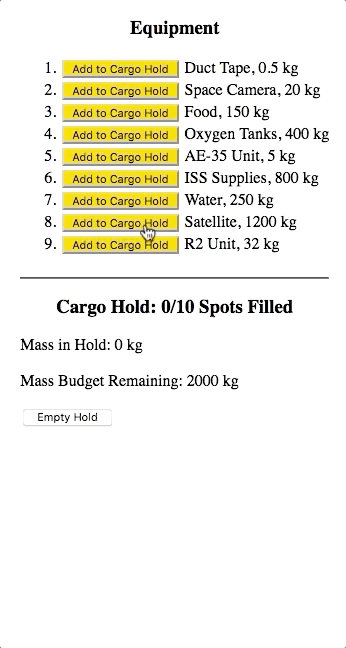
cargoHold array and updates the cargoMass variable.maximumAllowedMass, that item's button should be disabled.cargoMass comes within 200 kg of maximumAllowedMass, then the
Mass Budget Remaining text should turn red.The following sections will guide you through completing Part 1.
addItem Function¶Open equipment.component.ts and create the addItem function:
cargoHold array.cargoMass variable by the mass of the new
equipment.true or false depending on whether cargoMass is
within 200 kg of maximumAllowedMass.Add to Cargo Hold Buttons Work¶Open equipment.component.html and do the following:
Include an Add to Cargo Hold button within each list item.
Add a (click) event to each button that calls the addItem function
and passes the selected equipment as the argument.
Bind the disabled attribute to the following conditions:
cargoHold.length === maxItems), disable the button.maximumAllowedMass,
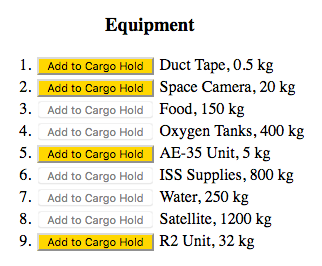
disable the button.If active, make the button an attractive color.
Cargo Hold Display¶Open equipment.component.html and equipment.component.css and do the
following:
nearMaxMass class in the CSS file that styles the text to be:[class.nearMaxMass] to a boolean that will change the style of
the Mass Budget Remaining text whenever the cargo hold gets within 200 kg
of maximumAllowedMass.cargoHold array and resets
cargoMass. As a side effect, clearing the hold should reactivate all
of the buttons and return Mass Budget Remaining to its original style.At this point, the equipment component should behave something like:
Before moving on to part 2, be sure to commit and push your work.
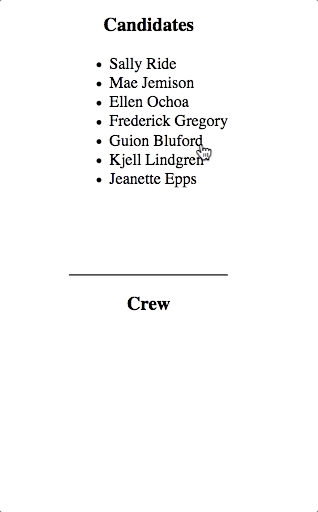
We want to add up to three astronauts to the mission crew, and we want to do this by clicking on their names rather than creating more buttons.
The interactive candidates list will eventually behave as follows:
The following sections will guide you through completing Part 2.
addCrewMember Function¶Open crew.component.ts and create the addCrewMember function:
crew array.crew array.Open crew.component.html and crew.component.css and do the following:
(click) event to each li element that calls the
addCrewMember function and passes the selected candidate as the
argument.selected class in the CSS file that styles the text to be a
different color from the other list items.[class.selected] to a boolean statement that will change the color
of a candidate's name when they are selected or de-selected for the crew.(mouseover) and (mouseout) events to the li tags to
determine if the mouse pointer is currently over a name in the Crew list.img tag with *ngIf to display a photo of the astronaut
below the crew list..photo property of the astronaut to the src
attribute.At this point, the crew component should behave something like:
Before moving on to the bonus missions, be sure to commit and push your work.
To boost your Angular skills, add one or more of the following features:
experiments component with features similar to the crew
and equipment components.Complete code for this studio can be found in the studio-3-solution branch
of the repository.