14.3. Mac Users: Visual Studio for Mac
Check that you are using supported MacOS version here.
Download Visual Studio for Mac. You may be prompted for your computer’s password to complete the download and begin installation.
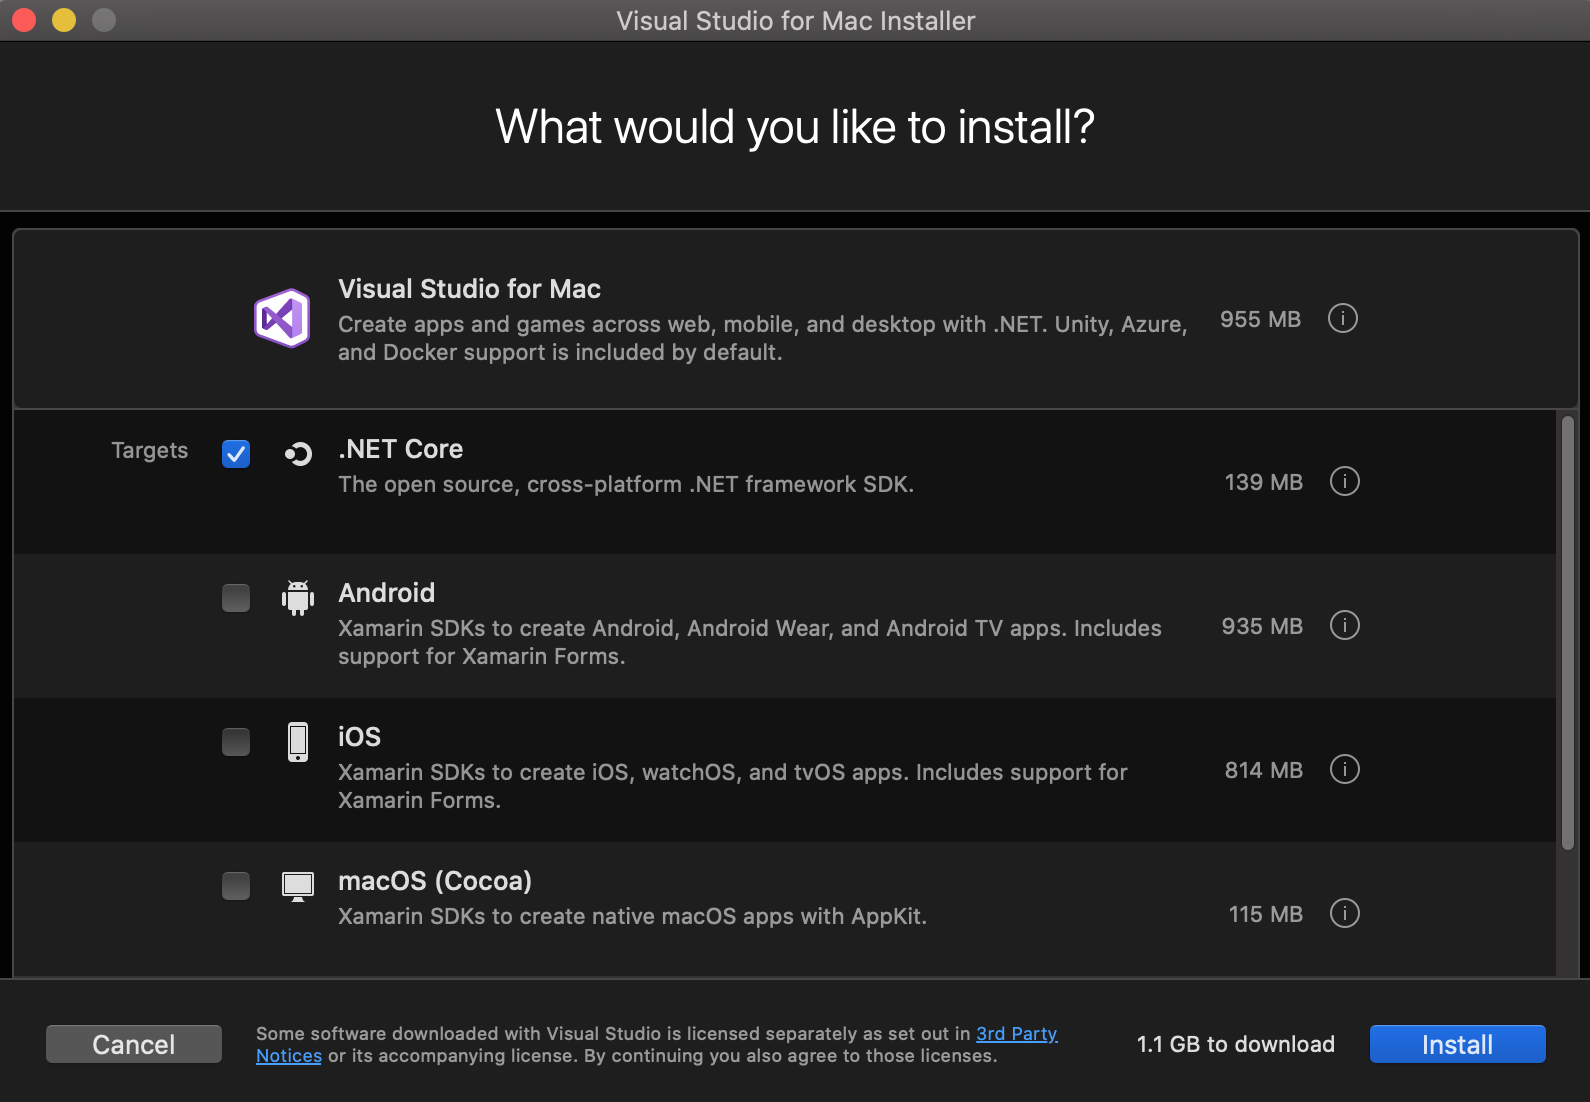
The first choice you will need to make in the setup process are the development platforms you want to include in the install with Visual Studio. Select .NET Core only.

Select .NET Core package to install.
Once installed, the IDE will open on it’s own. If it does not, you may need to open it manually. You will next see a window asking you to login to your Microsoft account. You do not need to sign-in in order to use the IDE for this class and can select I’ll do this later to continue setup.

Visual Studio Microsoft sign-in page.
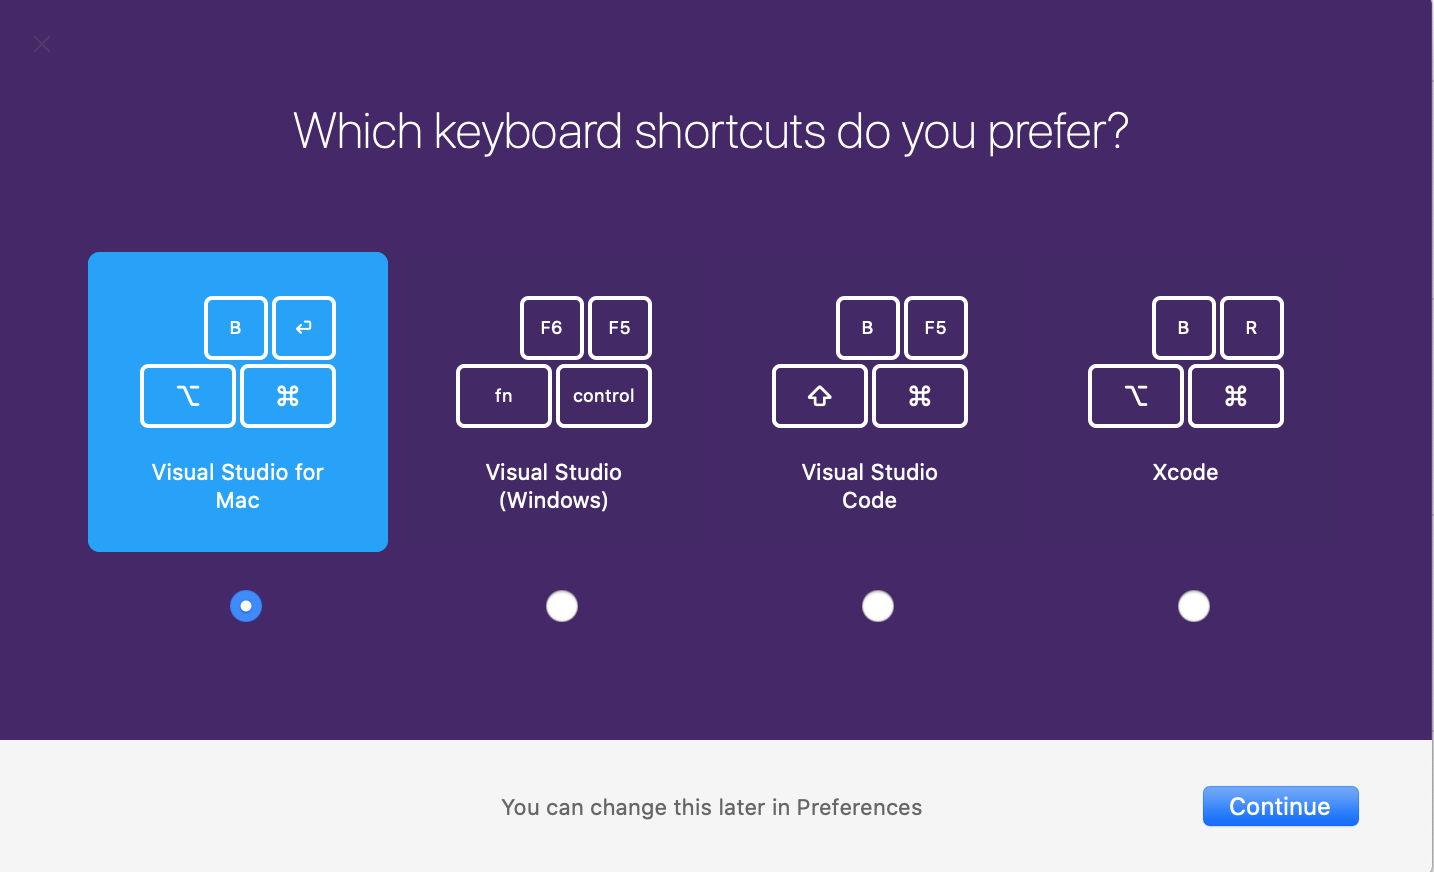
Next you will be asked to choose which shortcut system to use. You may not have a preference yet and can always change this later. If you are familiar with the text editor Visual Studio Code, this may be a good starting option for you.

Visual Studio keyboard shortcut selection.
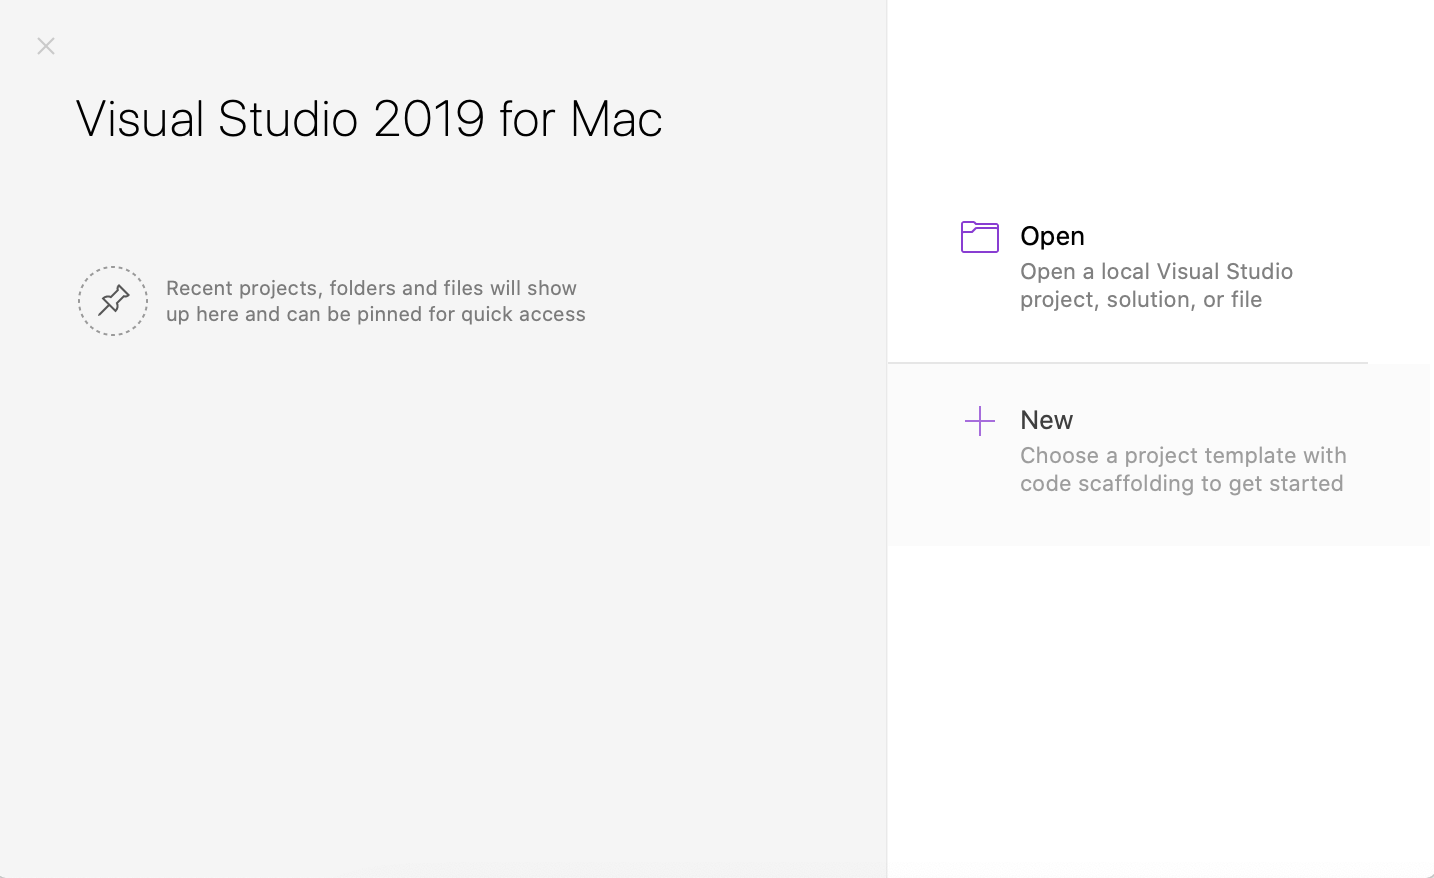
Finally, you have made it to the project selection window. This will be the item you will see when you open Visual Studio. You do not need to create or open a new project just yet.

Visual Studio opening project selection pane.
