15.2. Repositories and Commits
15.2.1. Create a Repository
To get started with a git repository (or “repo” for short), the programmer must first create one. Let’s walk through the steps together using the terminal and a text editor.
To create a git repository, you will need to navigate to your project directory using the terminal.
Either select a current directory or make one. Let’s make one called homework.
Once created and you are inside your project directory, we are going to initialize git.
Go ahead and use the command git init, like so:
Students-Computer:~ student$ mkdir homework
Students-Computer:~ student$ cd homework
Students-Computer:homework student$ git init
   Initialized empty Git repository in /Users/student/homework/.git/
Congrats! You have initialized git version control in this directory. Now you are ready to code away!
Let’s add some code or files to this project.
Since we are using the terminal, let’s create a text file by using touch my_project.txt.
Now open your new file, type your name, and save your file.
Back in your terminal, type git status.
Students-Computer:homework student$ git status
On main branch

No commits yet

Untracked files:
   (use "git add <file>..." to include wht will be committed)

      my_project.txt

nothing added to commit but untracked files present (use "git add" to track)
Students-Computer:homework student$
You saved your project on your computer, but let’s commit it to your Git.
Note
A note on the default branch
When using a VCS, the first branch created is your default branch.
On your computer, it is often named the master branch.
Later we will be working with GitHub, which is an online repository commonly used when collaborating with others.
GitHub’s default branch is called main.
The examples in this chapter will be using main as the default branch.
If you would like to rename your branch to match, the git command is git branch -m NEW-NAME-HERE.
Students-Computer:~ student$ git branch -m main
Students-Computer:~ student$ git status
On branch main
15.2.2. Making Commits
Usually, you will have spent more time coding and saving, and will have a larger amount of code to stage and commit. For the sake of our walkthrough, we are going to keep things shorter and simpler.
Earlier we added our first file, my_project.txt, to our homework directory. It might be a good time to make a commit to your repository.
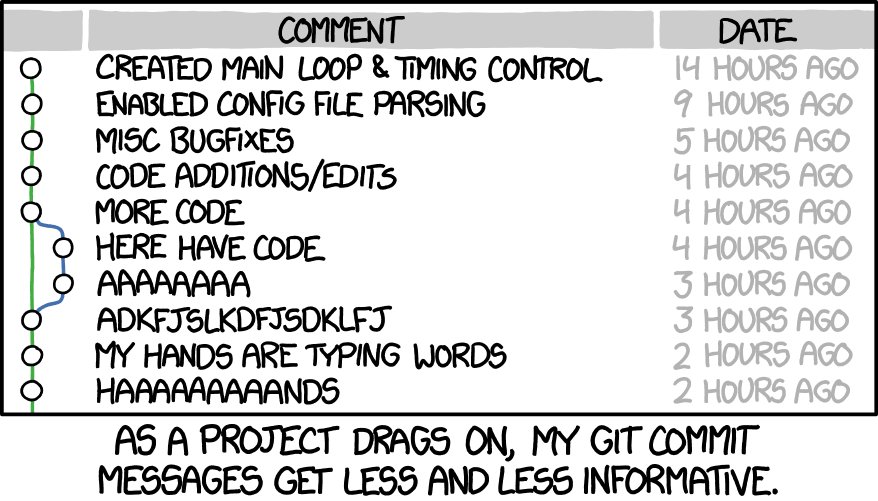
A commit is a record of changes you made to your repository.
It allows you to document your progress by creating a time-stamp with a message that you, or others, can reference.
When you look at a timeline of commits, you should be able to see the progress of development.
So when do you make a commit to your repository?
Any time you make a significant change in functionality, you should a commit your work.
If you have created the Git repository and are ready to commit, you can do so by following the commit process.
Note
Git does have a simple commit command; however, making a proper commit requires that you follow a longer procedure.
15.2.2.1. The Four Stages of Making a commit
The procedure for making a commit to a Git repository includes four stages.
git statusgives you information about any changed files. Will also tell you which branch you are currently on.Students-Computer:homework student$ git status On branch main No commits yet Untracked files: (use "git add <file>..." to include what will be committed) my_project.txt nothing added to commit but untracked files present (use "git add" to track) Students-Computer:homework student$ git add my_project.txt
git addallows you to add specific or all changed files to a commit. You can type the name of the file or files you want to add to the repo.Students-Computer:homework student$ git add my_project.txt
git commit -m "Your message"creates the new commit with the files that you added and a message describing the changes. Here,"Your message"should be a descriptive message within double-quotes.Students-Computer:homework student$ git commit -m "My initial commit" [main (root-commit) 7e771d7] My initial commit 1 file changed, 1 insertion (+) create mode 100644 my_project.txt
git logdisplays a log of every commit in the repository.Students-Computer:homework student$ git log commit 7e771d788ddfd6080f0a9f10f9aed7105b1a3bcf (HEAD -> main) Author: Student <[email protected]> Date: Wed Apr 24 14:36:53 2019 -0500
If the steps above are followed correctly, you will find your latest commit at the top of the log.
15.2.3. git Tips and Tricks
A few other commands that you might find helpful.
git add .this command is useful when you have multiple files that you would like to stage for a commit. This command will add all files to that next commit.clearthis command is for the terminal. This will clear all text from your terminal.
15.2.4. Check Your Understanding
Question
What git command is NOT a part of the commit process?
git addgit loggit statusgit push

