26.2. Form Submission
Forms collect data input by the user. As we learned in the previous chapter, communication on the web occurs via a series of HTTP requests and responses. A form submission is an HTTP request sent to the server containing the values in a form.
Note
In this chapter you will find many working demos. In order to best learn from the demos, you will need to open them in a new window. This will open the Parrot Server, that was created for this chapter to show you how the input is used. (Parrot, because it will parrot back what you provide each form)
To work with the Parrot Server demos, click the “New Tab” icon located centrally in the header of the replit code display space.

Location of the “New Tab” icon in the Replit code display. Click on that to open the code in its own browser window.
When running in a new window, you will see a WARNING message. You may ignore this if you have opened the demo in its own window.
26.2.1. Trigger Form Submission
A form submission is triggered by clicking a button inside the form. A submit button can be
an input element with type=submit or a button element. Both button types are
in the below example.
1 2 3 4 5 6 | <form>
<label>Username <input type="text" name="username"></label>
<!-- clicking either of these will cause a form submission -->
<input type="submit"/>
<button>Submit</button>
</form>
|
When a form is submitted, an HTTP request is sent to the location set in the action
attribute of the <form> tag.
If the action attribute is not present or is empty, then the form will submit to the URL of the current page.
Try It!
Open this form in a browser. Type values into the inputs, click the Submit button, and notice what happens to the address bar.
This link will take you to a replit IDE. Go ahead and run the code. Once run, follow the directions to form in a new window.
Code in the IDE:
1 2 3 4 5 6 7 8 9 10 11 12 13 14 15 | <html>
<head>
<title>Form Example</title>
<style>
body { padding: 25px;}
</style>
</head>
<body>
<form action="">
   <label>Username <input type="text" name="username"></label>
   <label>Team Name <input type="text" name="team"></label>
   <button>Submit</button>
</form>
</body>
</html>
|
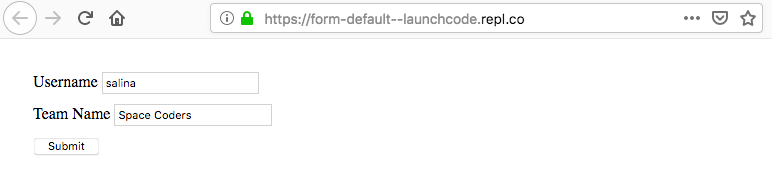
Output
Note: the display of your form may vary by browser.
Output After Submitted
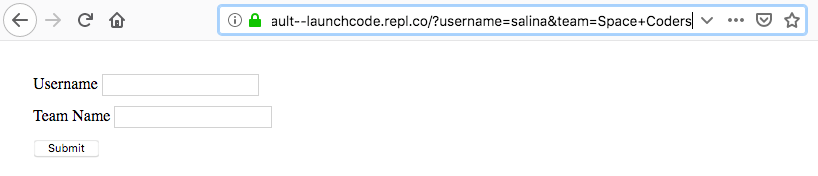
Notice in the above example that the browser address has changed to:
https://form-default--launchcode.repl.co/?username=salina&team=Space+Coders
The web address is the same as the form we loaded, but now includes a query parameter for every input, with a name, in the form. These parameters are known as the query string parameters. The form values are submitted via the query string because the default submission type for forms is GET. In the next section, we will soon learn how to submit form data via POST.
Note
Since spaces are not allowed in URLs, the browser replaces them with +.
26.2.1.1. Key-value Pairs
When a form is submitted a key-value pair is created for each named input. The keys
are the values of the name attributes, and they are paired with the content of the
value attributes.
Form with two named inputs:
<form action="">
<label>Username <input type="text" name="username"></label>
<label>Team Name <input type="text" name="team"></label>
<button>Submit</button>
</form>
When this form is submitted with the values from the previous example, the query string looks like this:
username=salina&team=Space+Coders
26.2.2. Check Your Understanding
Question
What must be added to a form to enable submission?
Question
By default, are HTTP forms submitted with GET or POST?