Creating a New Visual Studio Repo for GitHub
Step 1: Create a New Repository
Note
Be careful if you try to use copy/paste with the git commands! The
$ symbols in the screenshots represent to the prompts in the terminal.
They are NOT part of the commands.
Navigate to your development folder. Enter the following 3 commands to create a new project.
$ mkdir communication-log
$ cd communication-log
$ git init
Now that you have a directory, open Visual Studio and create a new file.
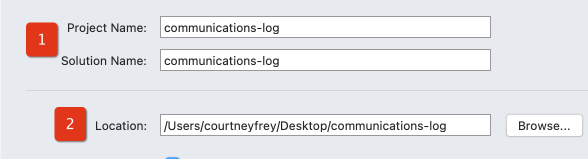
Give your solution and project a name (1). Typically they will have the same name. Then select the directory to store your files (2). Browse for the directory you just created.
Let’s check that our project works by running it.
You can continue to use your terminal, or you can use the terminal that is part of Visual Studio. If you want to use the Visual Studio terminal, it can be found under the View tab.
Note
If your console window does not stay open long enough for you to see your code, try adding the
Console.Read()below theWriteLine. This is a piece of code that will keep your terminal window open so you can read what it contains.If you can read your terminal window just fine and you haven’t added anything, then ignore this tip.
Once you’ve checked this file in the terminal, let’s stage and commit it.
First, check the
status.$ git status On branch master No commits yet. Untracked files: (use "Git add <file>..." to include in what will be committed) communication-log.sln communication-log/Program.cs communication-log/communication-log.csproj nothing added to commit but untracked files present (use "git add" to track)
The output shows us that we have three new files that have not been staged yet. Let’s
addeverything in this directory, then check thestatusagain.$ git add . $ git status On branch master No commits yet Changes to be committed: (use "git rm --cached <file>..." to unstage) new file: communication-log.sln new file: communication-log/Program.cs new file: communication-log/communication-log.csproj
The output tells us that the files are staged. Now let’s
commit. After that, we can see a record of our progress by usinggit log.$ git commit -m 'Started communication log.' [master (root-commit) e1c1719] Started communication log. 4 files changed, 451 insertions(+) create mode 100644 .gitignore create mode 100644 communication-log.sln create mode 100644 communication-log/Program.cs create mode 100644 communication-log/communication-log.csproj $ git log commit 679de772612099c77891d2a3fab12af8db08b651 Author: Cheryl <[email protected]> Date: Wed Apr 5 10:55:56 2017 -0500 Started communication log.
Great! We’ve got our project going locally, but we’re going to need to make it accessible for others to view. Super important, since that’s how your work will be visible for your teaching staff.
Let’s push this project up to GitHub.
Step 2: Share Your Repository On GitHub
Go to your GitHub profile in a web browser. Click on the “+” button to add a new repository (called a repo for short).
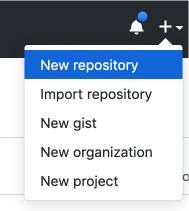
The New Repository link is in the dropdown menu at top right on GitHub.
To create a new repository:
Fill in the name and description.
Uncheck Initialize this repository with a README and click Create Repository.
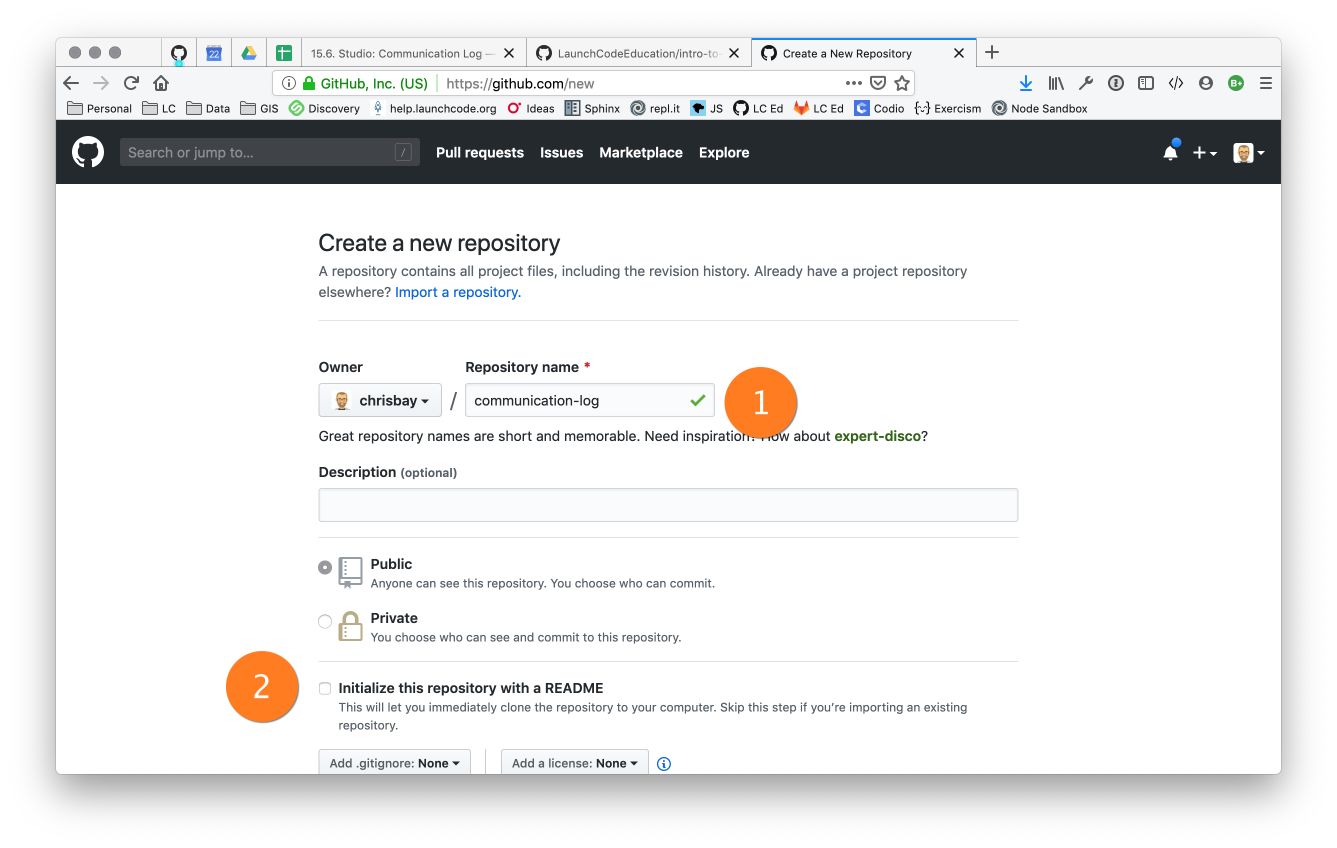
Create a new repository in GitHub
Note
If you initialize with a README, in the next step Git will refuse to merge this repo with the local repo. There are ways around that, but it’s faster and easier to just create an empty repo here.
After clicking, you should see something similar to:
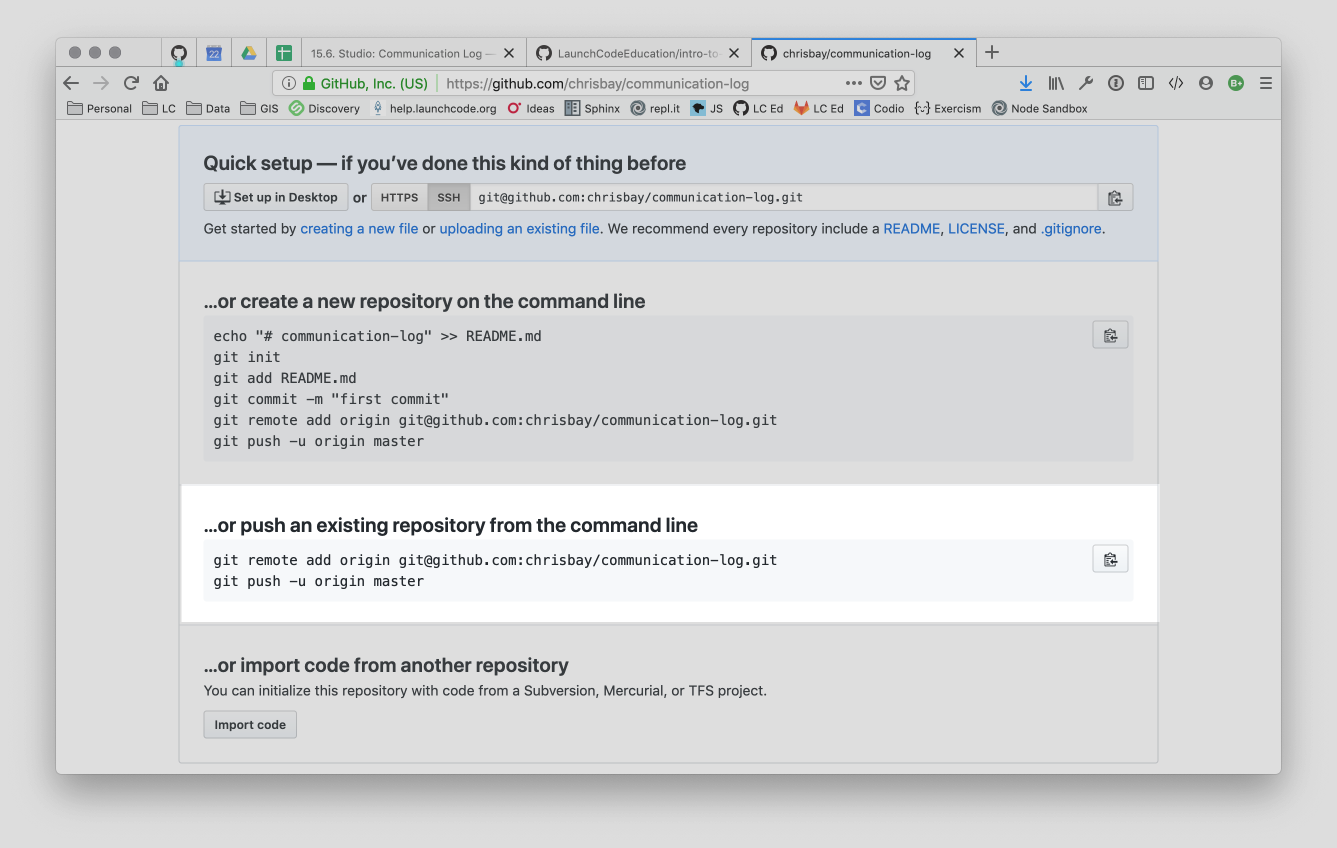
Connecting to a repository in GitHub
Now go back to your terminal and copy/paste the commands shown in the GitHub instructions. These should be very similar to:
$ git remote add origin https://github.com:chrisbay/communication-log.git
$ git push origin master
Note
The first time you push up to GitHub, you will be prompted in the terminal to enter your account username and password. Do this.
You will then see a large amount of output that you can safely ignore. The final few lines will confirm a successful push. They will look something like this:
To github.com:chrisbay/communication-log.git
   c7f97814..54993de3  master -> master
Warning
Unless you’ve set up an SSH key with GitHub, make sure you’ve selected the HTTPS clone URL. If you’re not sure whether you have an SSH key, you probably don’t.
Now you should be able to confirm that GitHub has the same version as your local project. (File contents in browser match those in terminal). Click around and see what is there. You can read all your code through GitHub’s web interface.
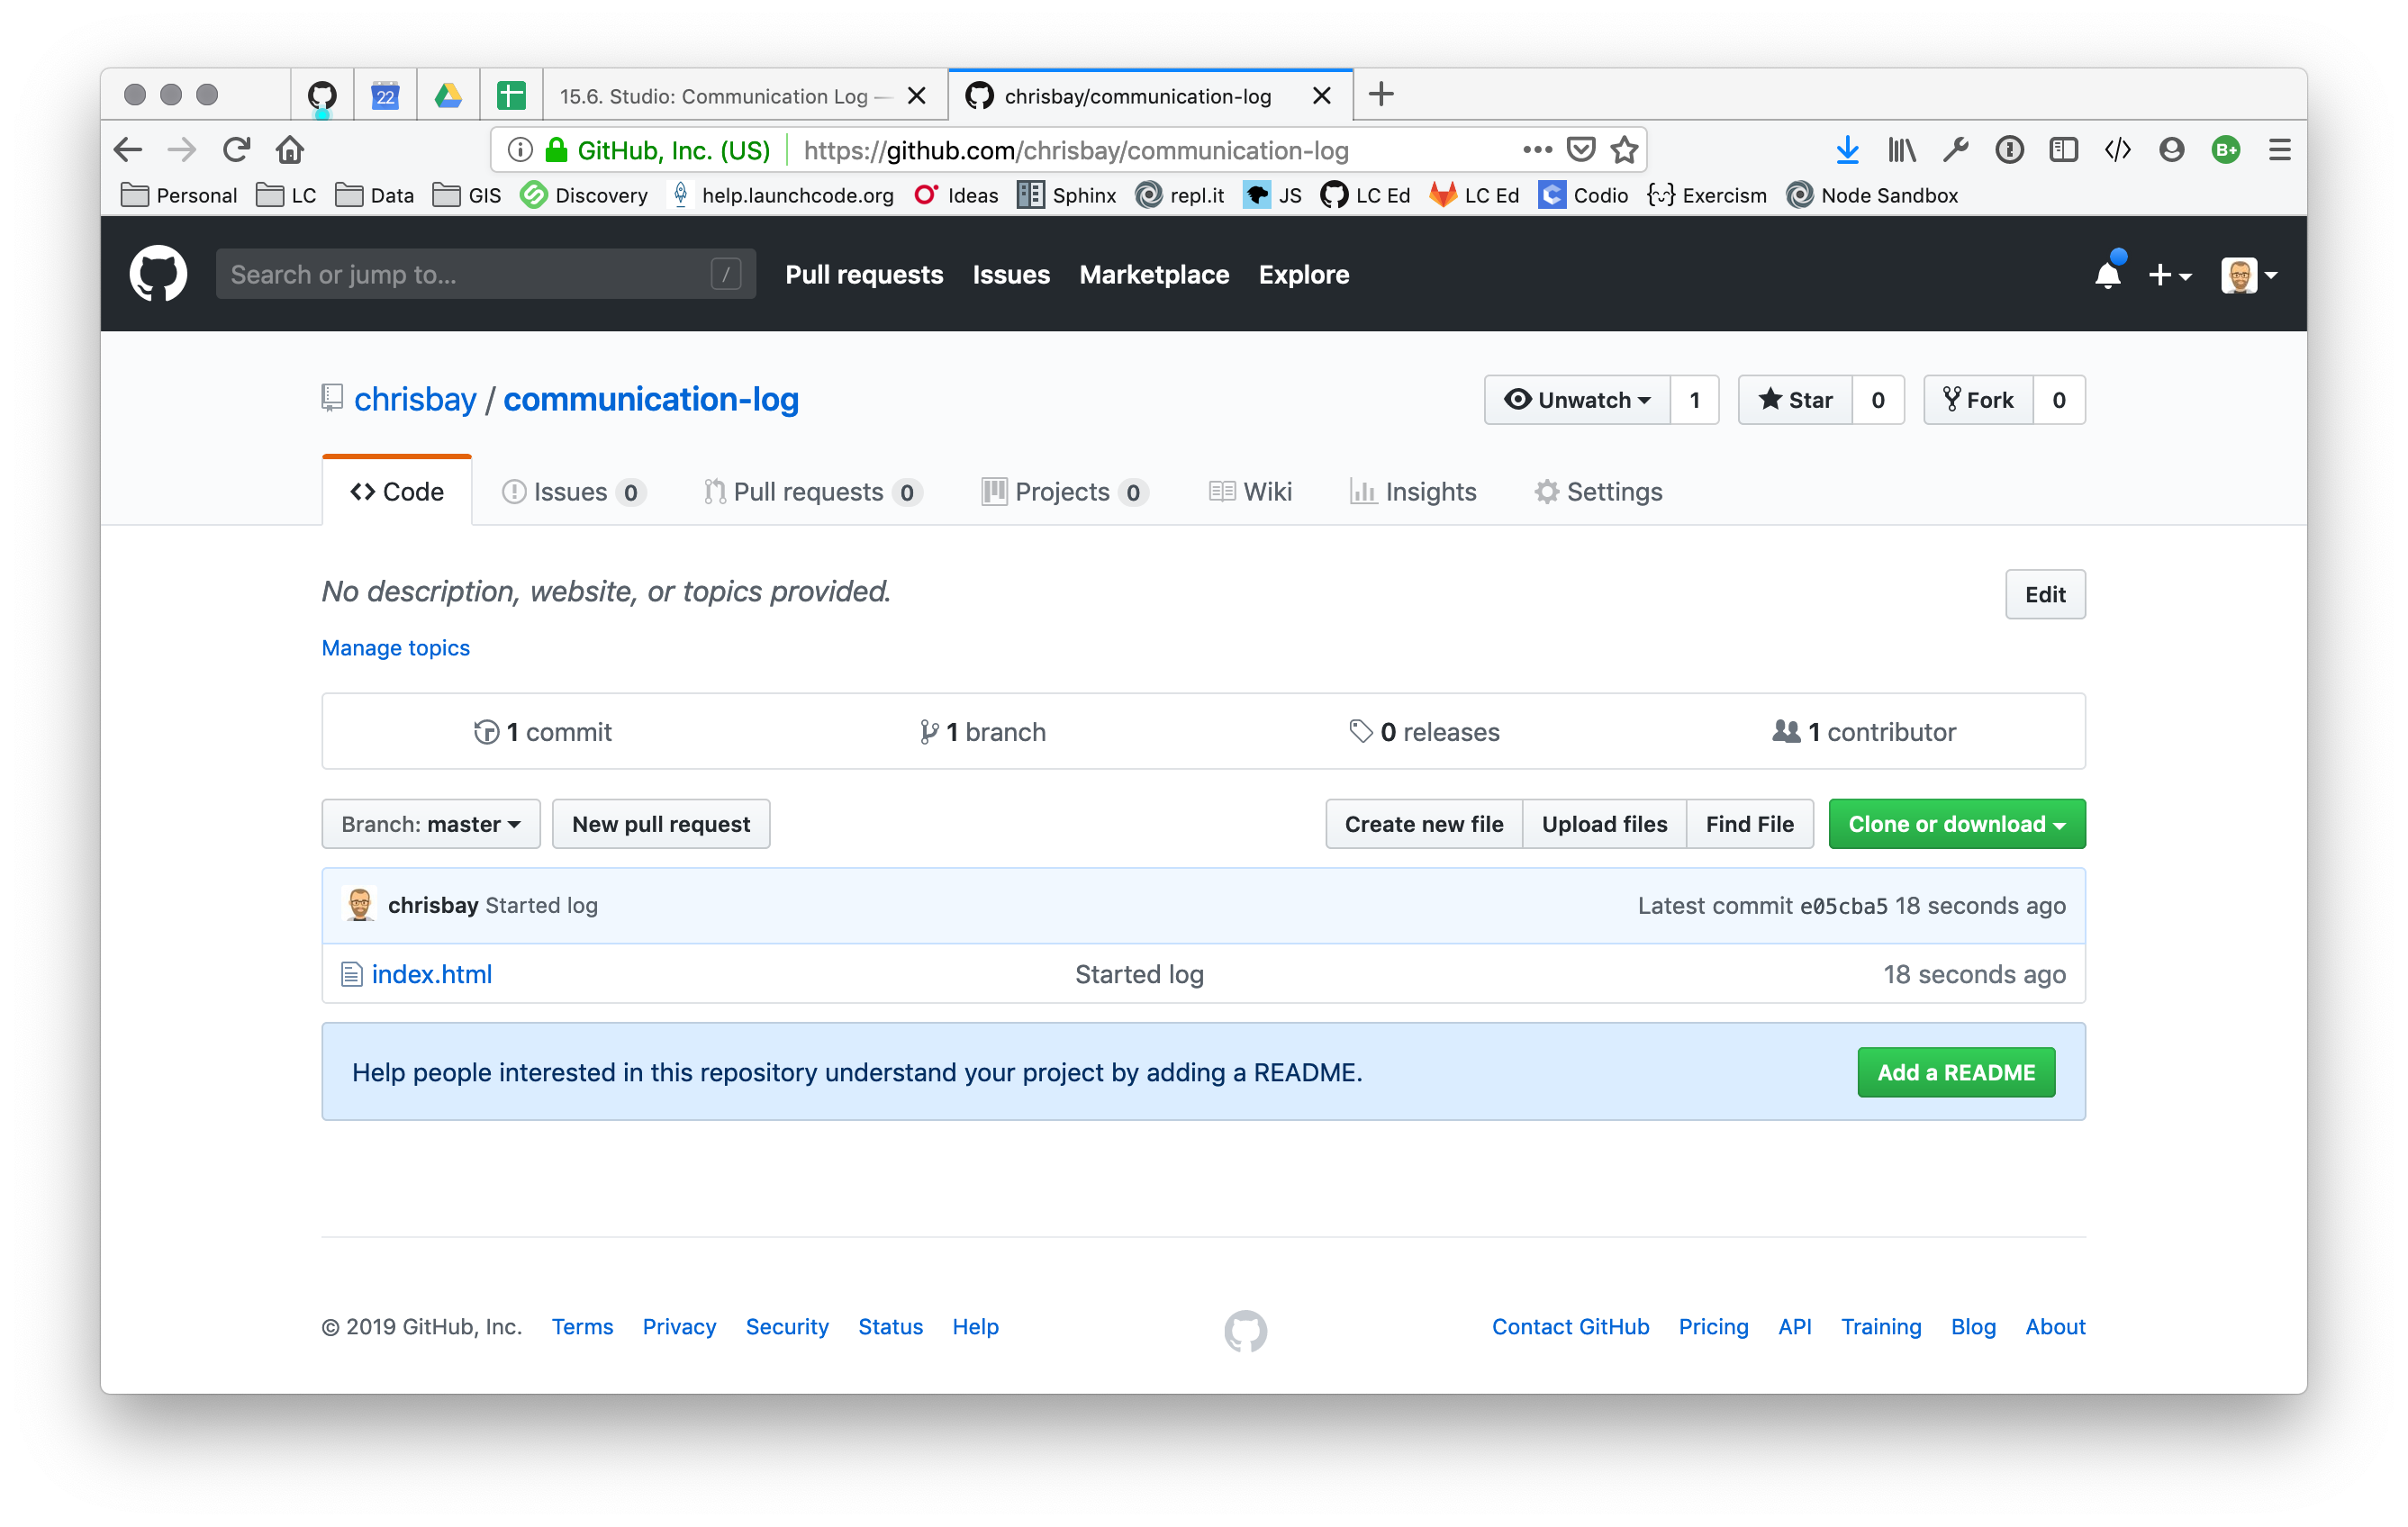
A repository with one commit in GitHub
Congrats! You have a connected repo that you can work on remotely.