29.4. Angular First Steps
The goal here is to create a minimum working template for a web page. It will serve as a jumping-off point for your later exercises and studios, so take as much time as you need to get comfortable with the basics.
29.4.1. Starting a New Project
First, use the terminal to create a folder for all of your Angular projects:
$ mkdir angular_practice
Each new project you create will have its own folder inside this container.
Note
You can use either the standalone Terminal application on your computer or the built-in Terminal panel in VSCode.
For Angular projects, some programmers find it more convenient to work entirely inside VSCode or another code editor. The IDEs provide a visual tree for navigating between files and folders, and Angular generates LOTS of these.
Next, navigate into the new folder and create your first Angular project.
$ cd angular_practice
$ ng new my-project-name
This process will take some time, so be patient. You will also be prompted twice:

Answer "No" to the routing question, and select the default "CSS" for the stylesheet by pressing "Enter".
29.4.1.1. Examine the Files Created

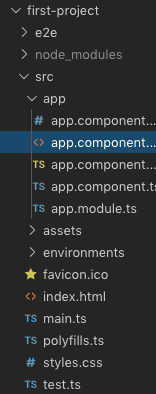
The
srcfolder holds the files and source code needed for the project.The
appfolder holds the content for the web page. Although the page is treated as a single entity, it actually consists of multiple pieces.appholds these different parts and establishes links between them. We will modify some of these files soon.index.htmlis the highest level for displaying content. Anything added to this HTML file will appear on every page within a website.main.tsimports the core methods required to make everything work. It also imports the content from theappfolder.styles.cssholds the global style settings for the entire website.
29.4.1.2. What To Ignore
For every new project, Angular automatically sets up the code to make the different parts communicate with each other. As your skills grow during your career, you may need to learn how to modify these files. For now, however, leave the following alone:
main.ts,test.ts, andpolyfills.ts. No touch!The
e2e,node_modules, andenvironmentsfolders. No touch!.jsonfiles. No touch!
The assets folder is a "Maybe touch". It holds user defined files that
support a project. Examples include JavaScript code, images, gifs, or video
clips. The exercises in the next chapter will use files stored in this folder,
but we will leave it empty for this lesson.
29.4.2. Launch the Page
ng new creates all of the files required to launch a functioning web page.
You have not added any content yet, but Angular provides a standard starting
point that allows you to check if everything works.
Before sending an Angular project out into the world, you should preview it locally in a browser. Any changes you make to the project files will be reflected only on your screen, so you can play around with the code without worry.
Note
Even though you view your work in a browser, "local" means no one else can access your webpage, since it is stored on your computer. If you want to share your local page with someone else, they will have to look over your shoulder.
To launch your new webpage, use the Terminal to navigate into the project
folder, then enter the command ng serve.
$ cd my-project-name
$ ng serve
Be prepared to wait... The compiler requires some time to build and deploy even small projects, and it may be a few moments before you see any action in the terminal. If no errors occur, a "Compiled successfully" message eventually appears.
The important part of this feedback is the localhost line, which provides
a URL for viewing your work in a browser. Copy the URL and paste it into the
address bar of your web browser (Mac shortcut: command-click automatically
opens the URL in your default browser).

29.4.2.1. What is ng serve Doing?
ng serve allows you to view your project in a browser by running a series
of tasks in the background. It's NOT magic, just the tedious mechanics that you
don't need to set up yourself.
ng serve performs these tasks:
Compiles and analyzes your Angular files to build HTML and JavaScript files that can be run in a browser.
This step will throw errors if you try to serve code that contains syntax or other errors.
You will learn more about the different types of files that are compiled in the coming sections.
Starts a web server on your computer that serves the built version of your Angular project.
Your Angular project is viewable at the web address http://localhost:4200
Note
Angular projects are written in TypeScript. Your web browser can run HTML, CSS, and JavaScript.
In order for your Angular project to run in the browser, the TypeScript code has to be converted into JavaScript.
The conversion from TypeScript to JavaScript happens during the build phase of ng serve.
29.4.3. Yay! A Webpage!
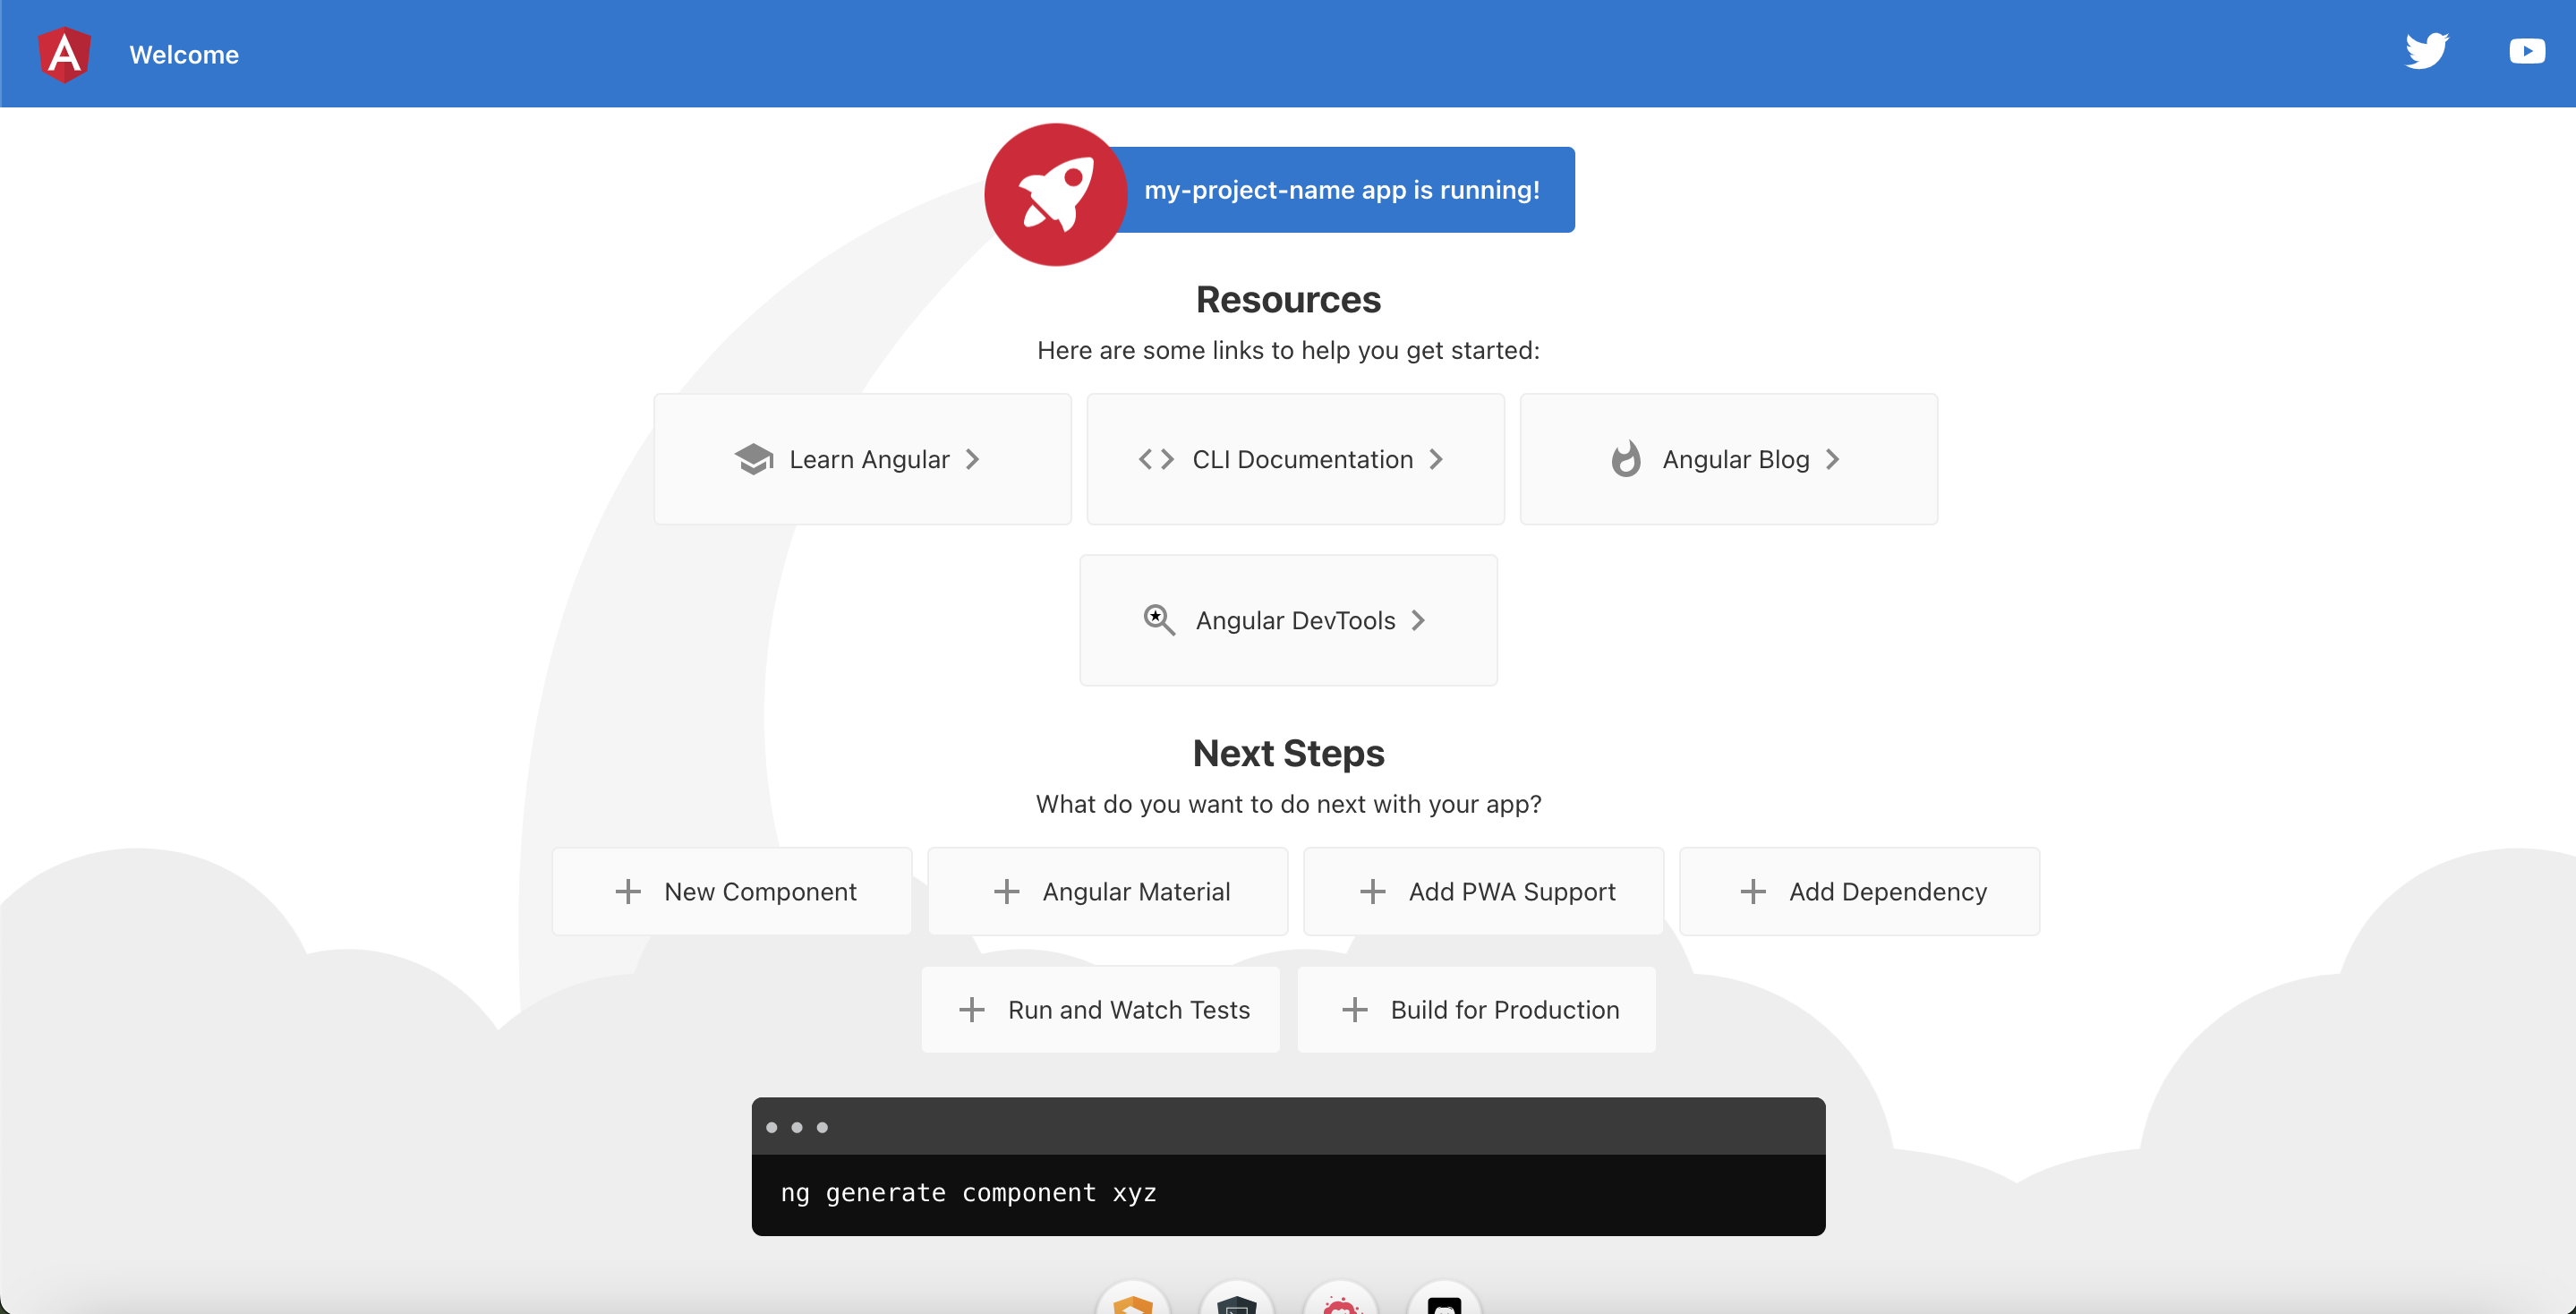
Congratulations! You have a functioning webpage. You should see the following in your browser:

This is the default format created by ng new, but your chosen project name
will replace my-project-name in the title. The links lead back to selected
pages from the angular.io documentation.
Feel free to play around a little bit before continuing. Do not worry about breaking anything. If necessary, you can always start another new project.
29.4.3.1. Try It
In VSCode, open the four files within the app folder. Modify the code to
accomplish the following:
Find where your project name is assigned to the
titlevariable. Replace it with a different string.Change one
h2heading to anh3.Change the color for the Welcome to... heading.
Change one of the links to send users to your favorite website.
Replace the Angular shield with a different image.
After making each change, save your work. Your webpage should automatically refresh.
Note
Which files did you modify?
Do not worry if you got stuck on some of the tasks. This was a time for experimentation. As long as you tried something and saw the result, you still learned something valuable.
29.4.4. Un-launching Your Page
ng serve continues to run until you press control+c in the terminal. Go
ahead and interrupt the process now. If you try refreshing your page, you will
see an error.
Now let's take a look at the different project files.
