Instruction for Using GitHub w/Jupyter Notebooks
Welcome to Git!
Git is the most common version control system used in the tech industry today. After Assignment 1 (submitted in Replit), you will submit your exercises, studios, and assignments using Github.
This will help your mentors access your code more easily and will help you practice a valuable industry skill.
Set up your own GitHub account here. or if you already have an account sign in here.
When you click a link to the GitHub notebooks in the instructions, it will take you to the repository page and will look something like this.
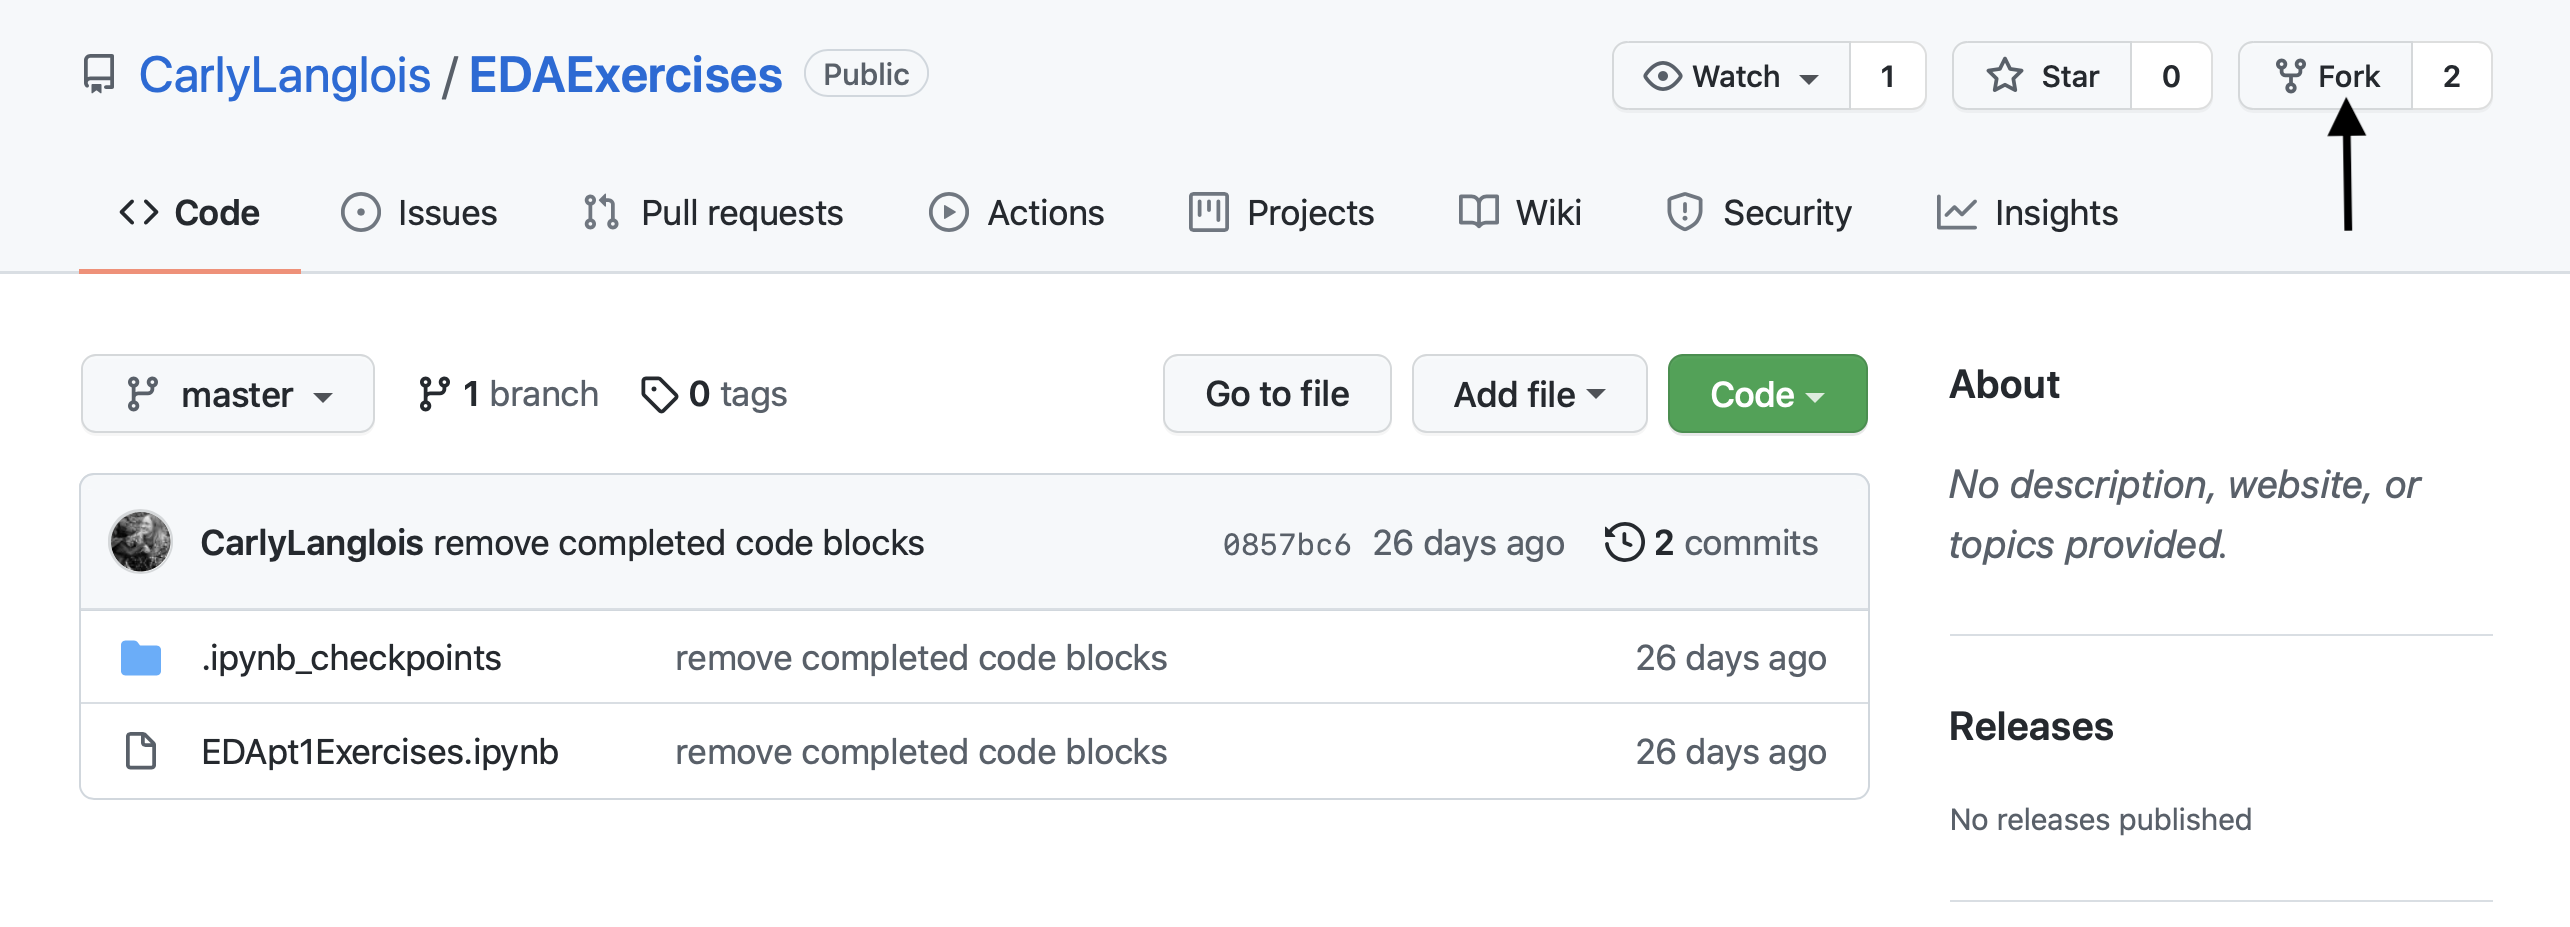
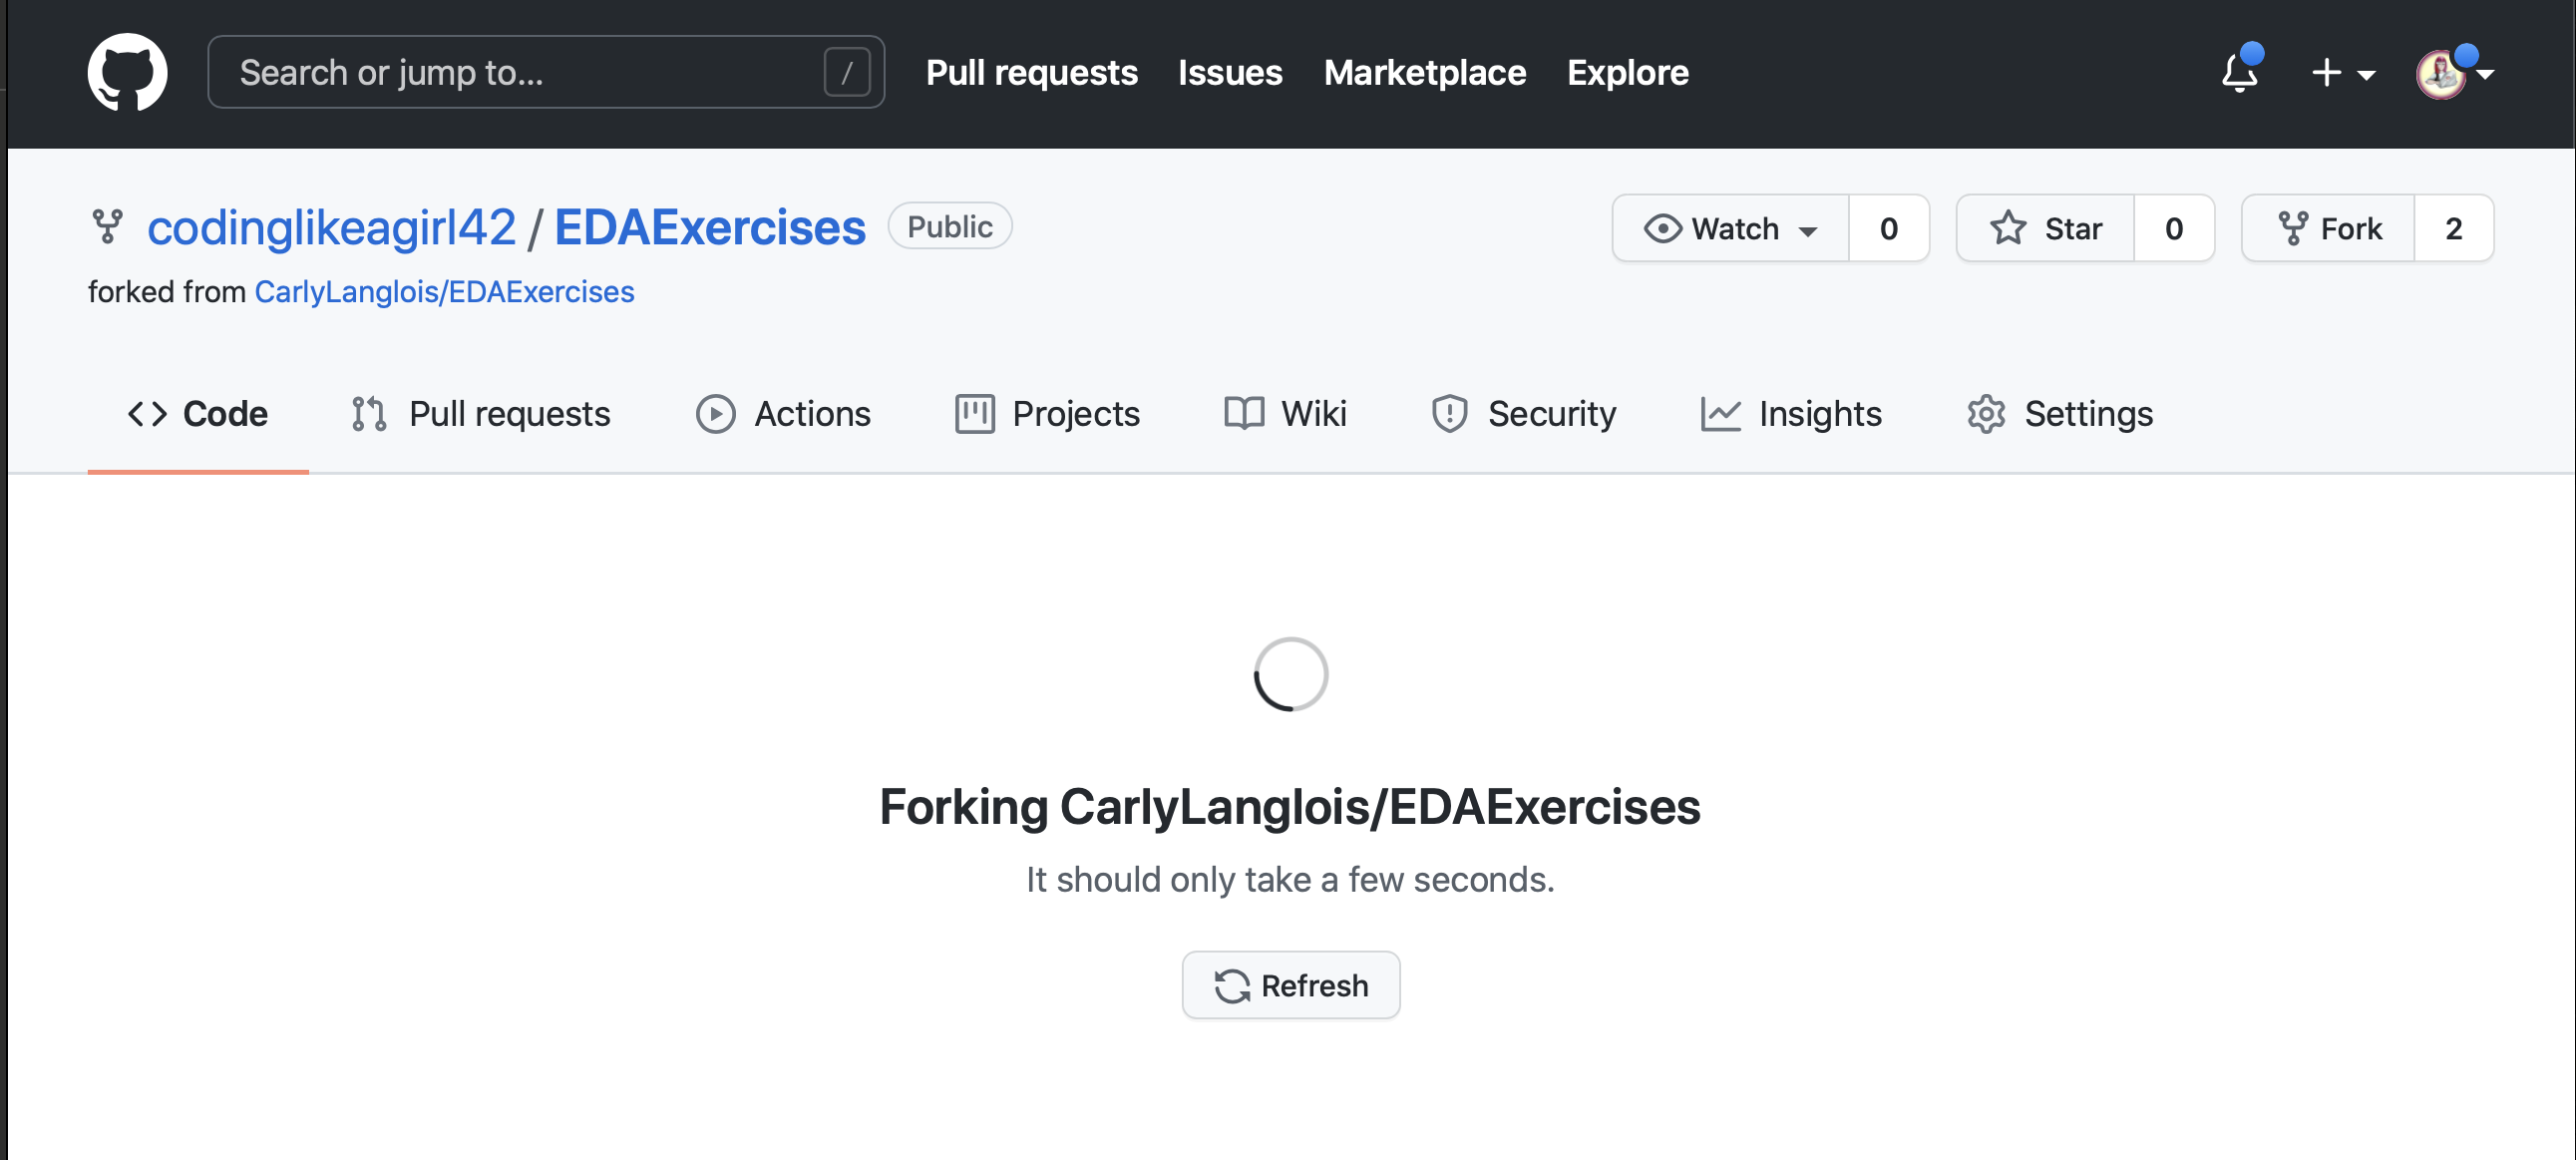
In the upper right corner your will see the fork button, when you click it a pop-up with accounts to choose from appears:
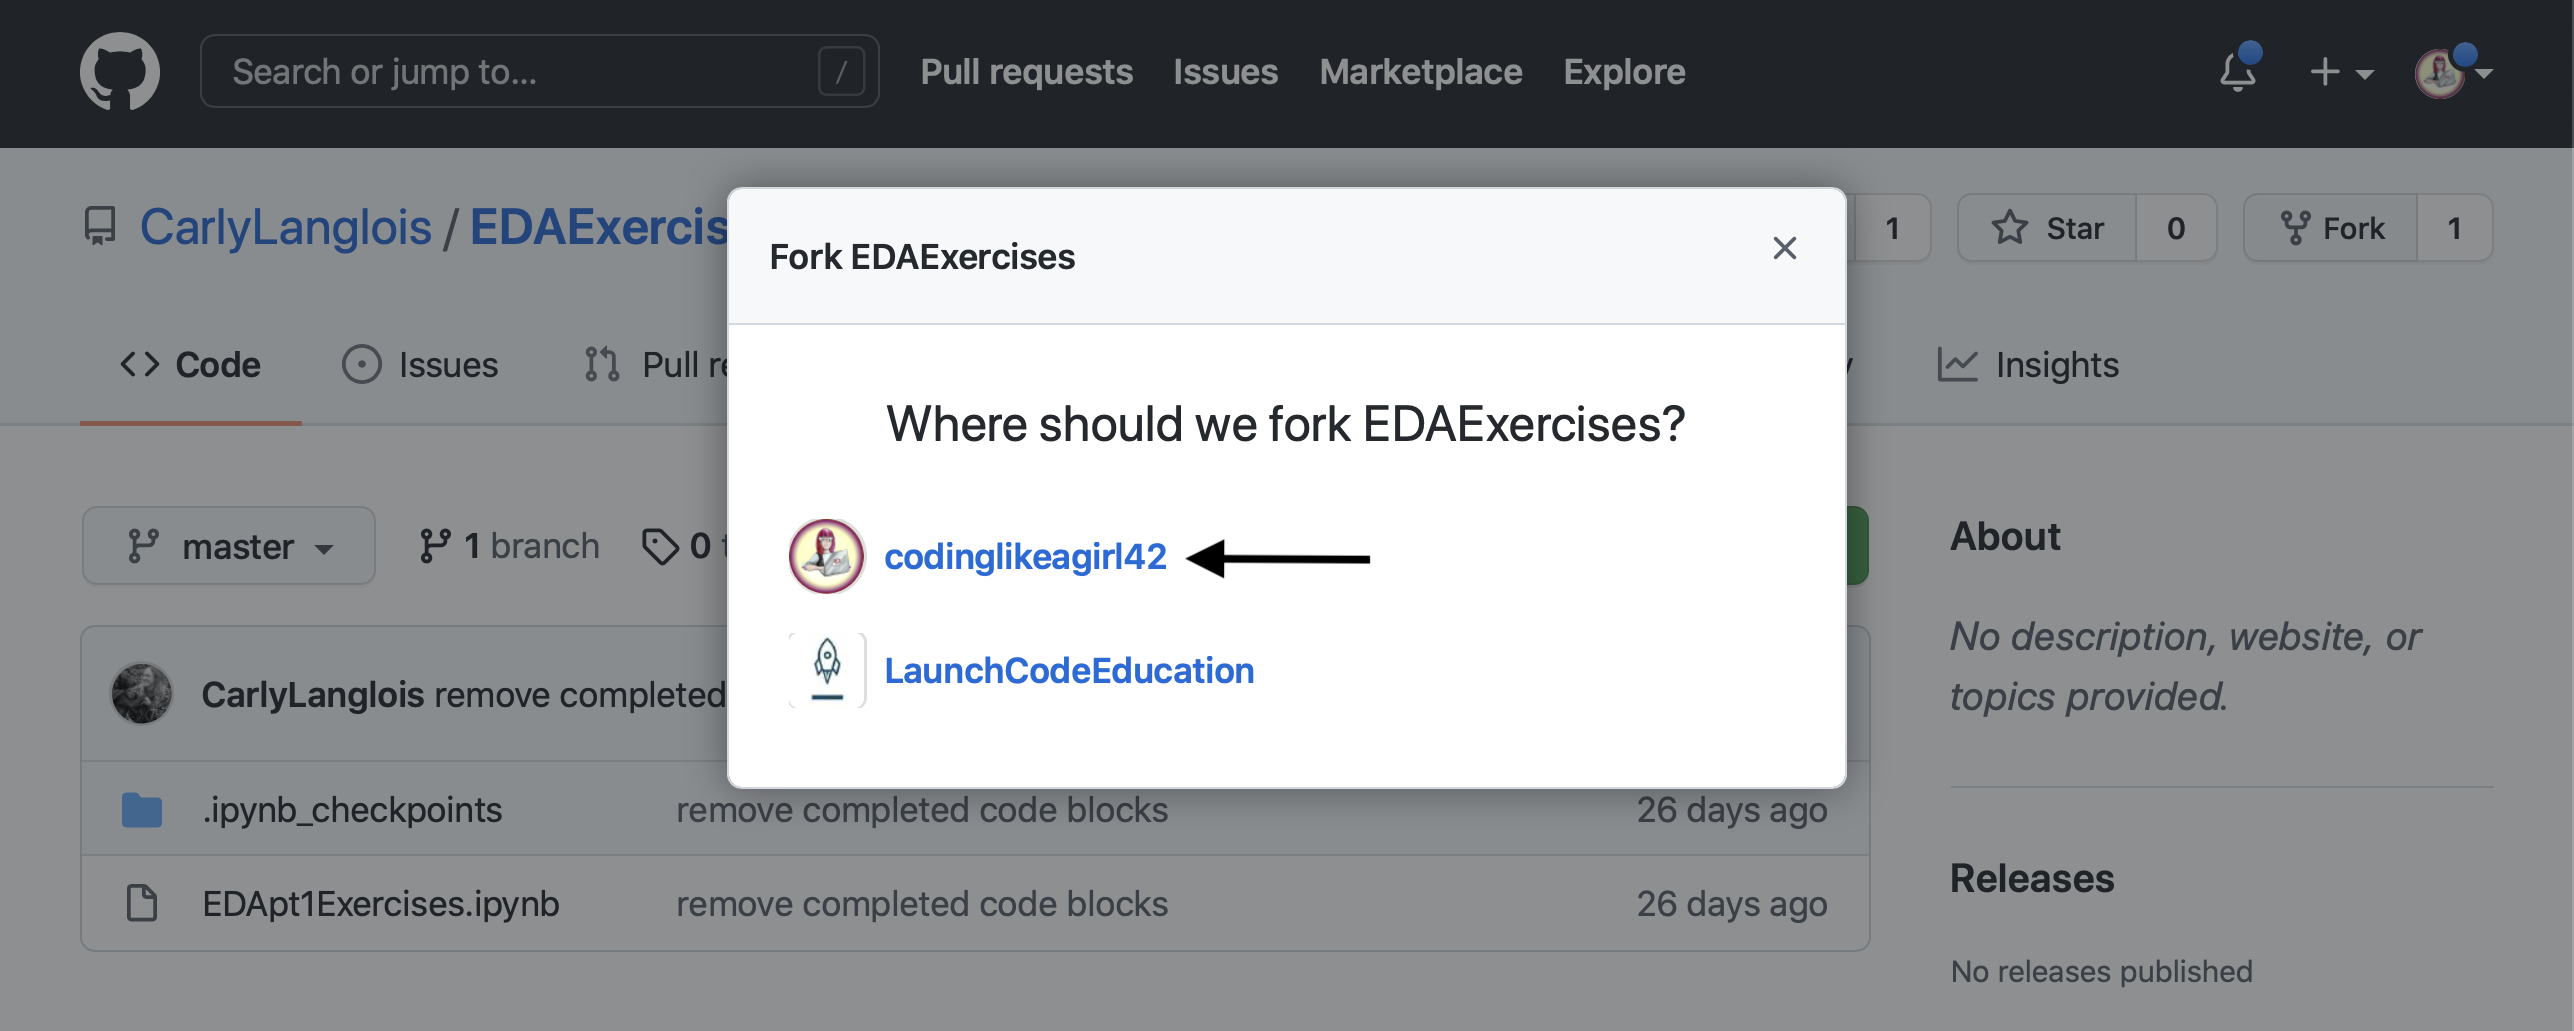
Choose your account:
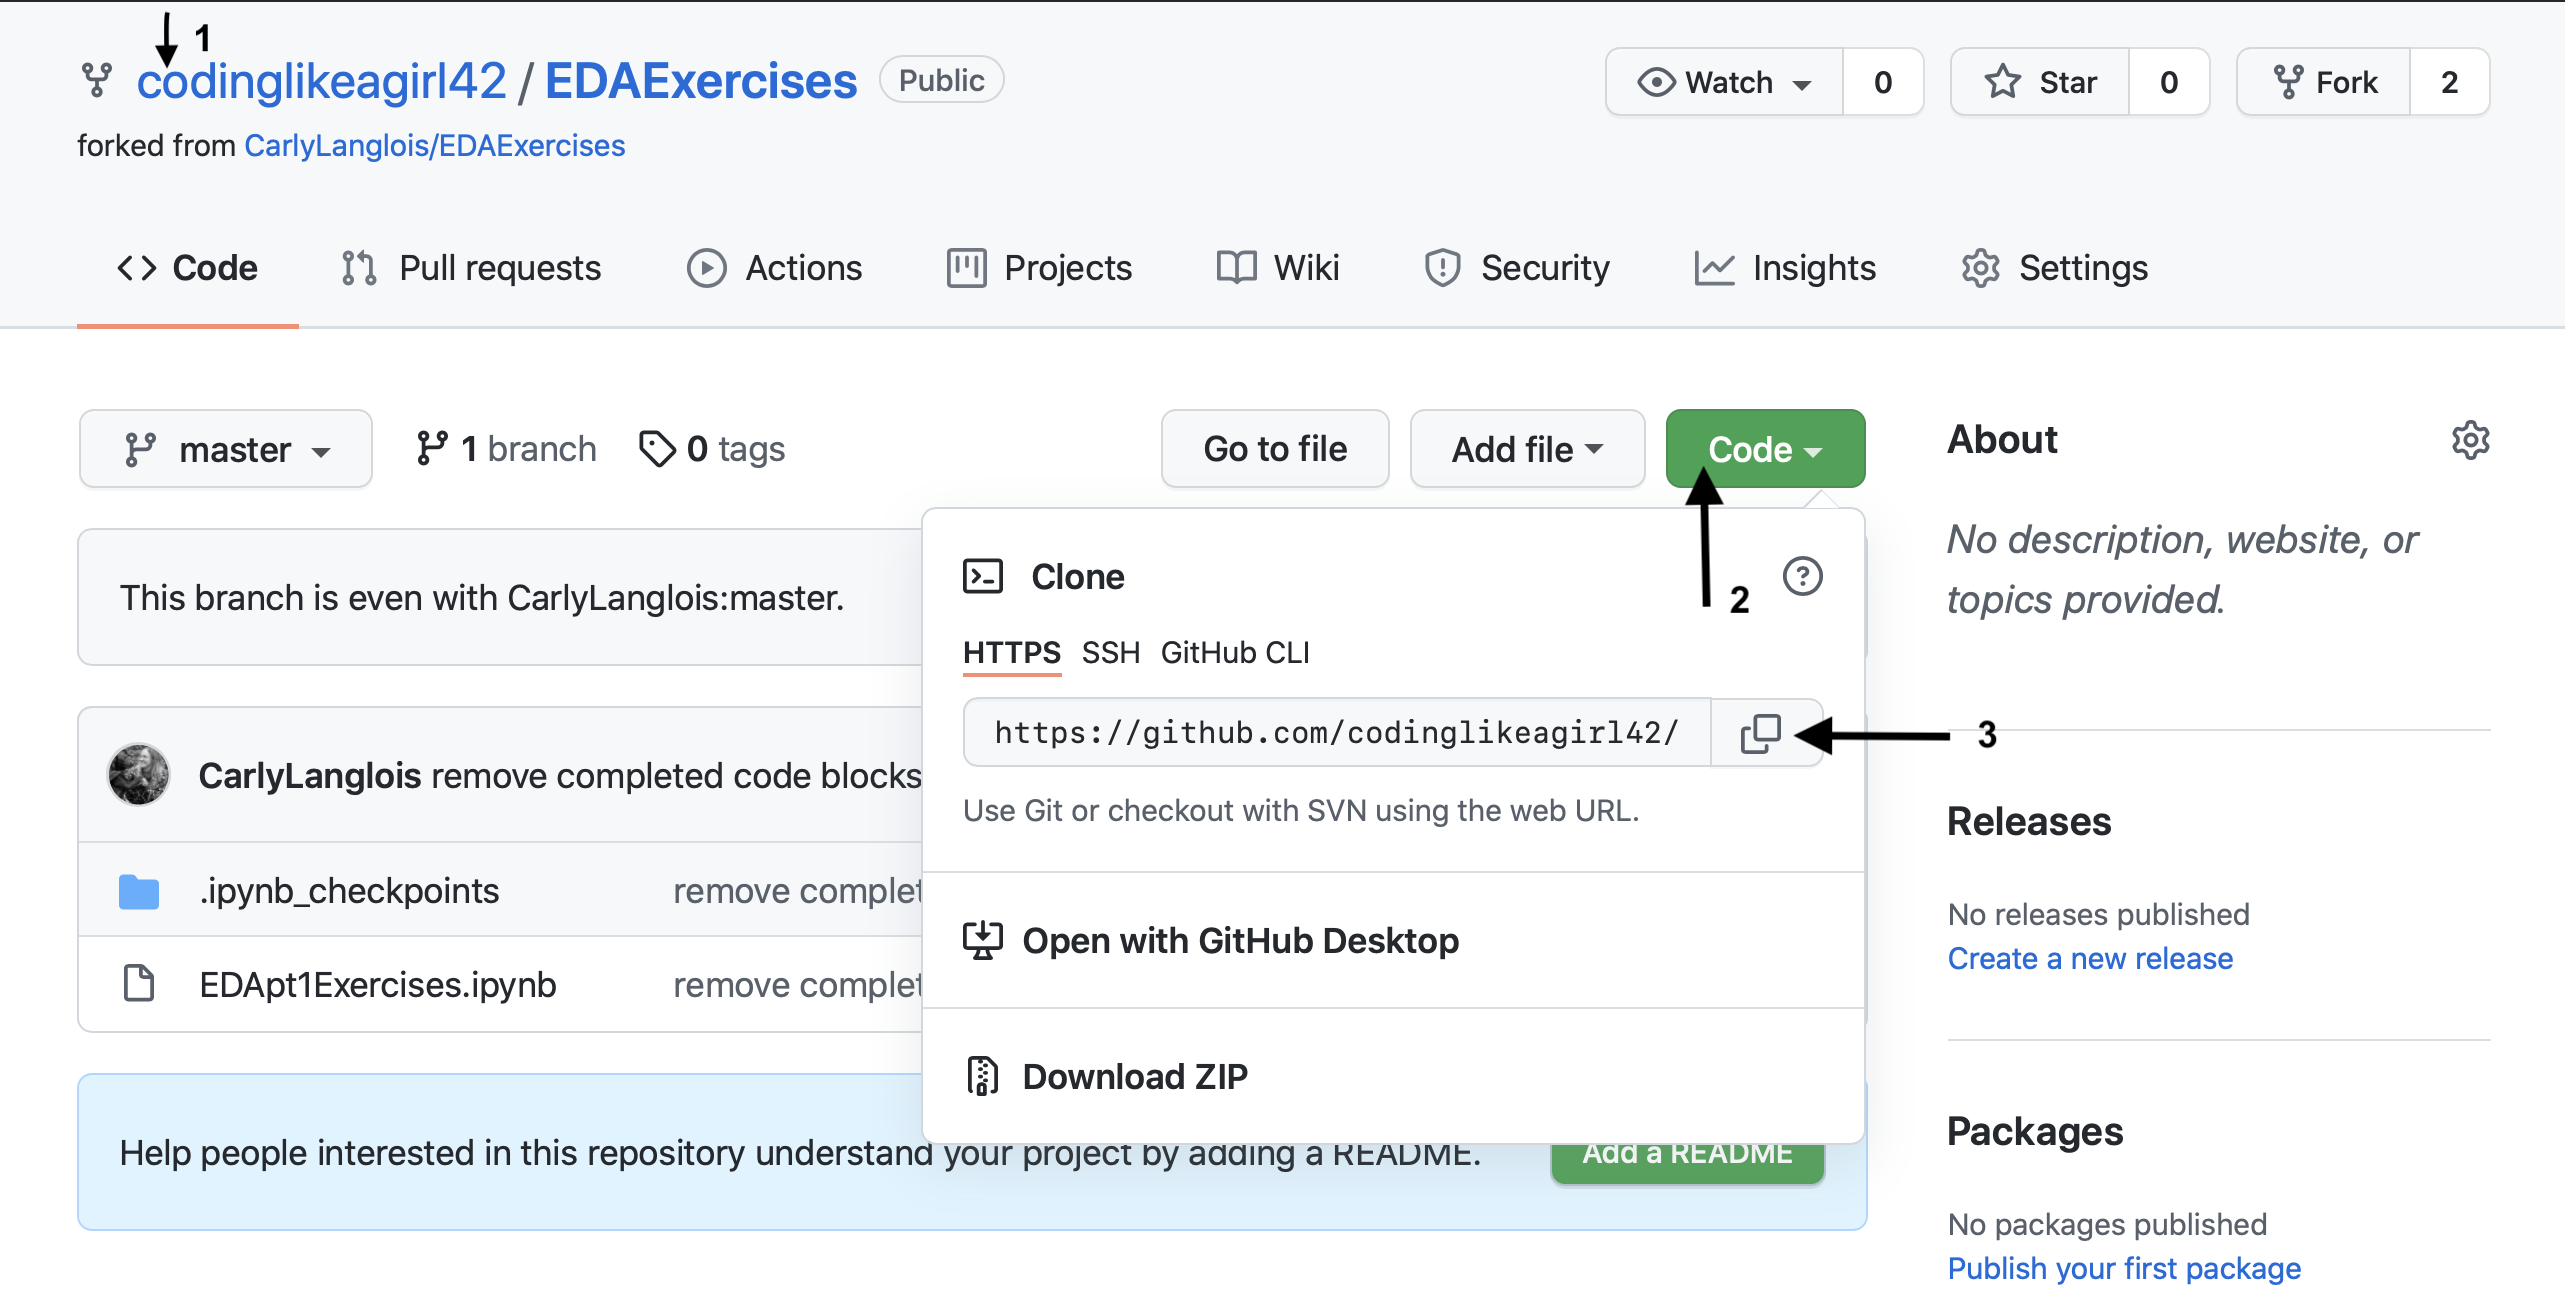
Notice that instead of CarlyLanglois/EDAExercises the repo has your name now.
Next, click on the Code button.
Copy the link to your repo.
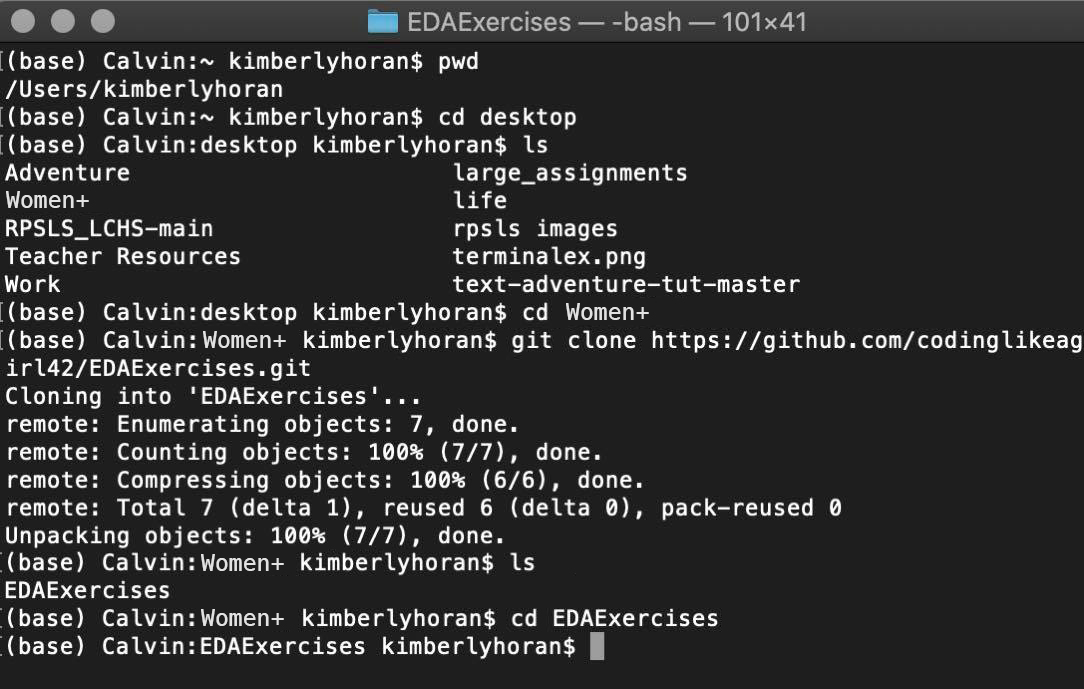
Next open the terminal on your computer and navigate to the folder where you will keep all your work for this class. To make things easier I created a Women+ folder on my desktop.
Command |
Description |
|
Shows current directory, where you are. |
|
Lists everything in the current directory. |
|
Changes directory. |
|
Makes a new folder. |
|
cd space two period will take you one level up in the directory. |
I ran the following commands to navigate into and create a new folder(directory) for the assignment.
Command Line Prompt |
Reason Why |
|
First I want to see where i was. |
|
Then switch directory to desktop. |
|
Ran ls to list contents. |
|
Switch to Women+ folder. |
|
(paste link you copied earlier) |
|
Ran ls to see if my project cloned |
|
Switch into my new project folder |
Note
If you would like a more detailed description of the terminal see Chapter 4 Terminal. For more command line prompts see Terminal Commands Tutorial.
Now open your notebook in Jupyter Notebooks.
After you have made changes to your notebook and saved them, you will want to push those changes back up to GitHub.
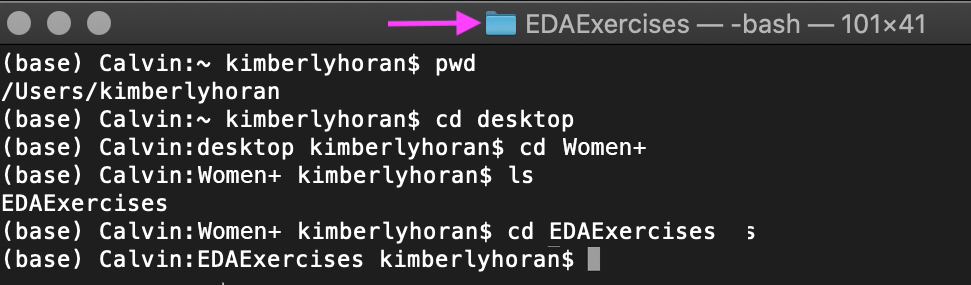
In the terminal, navigate to your project.
tip
Direct your attention to the photo below. In the top right-hand corner of your terminal window, you may notice that the current directory is displayed. This is a great way to easily check that you are in the right place!
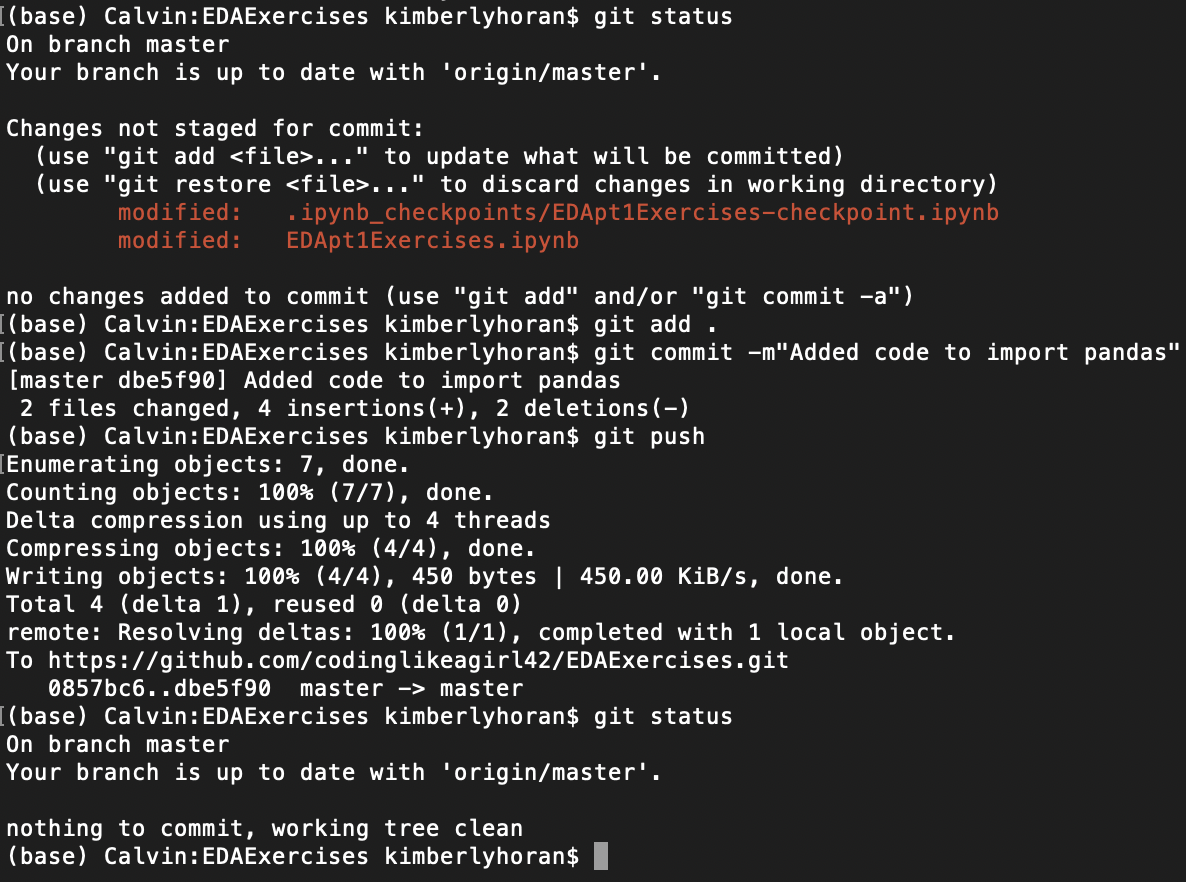
There are three steps used to commit changes to your git repository and a final step to push up to your repository on github.
Command Line Prompt |
Reason Why |
|
Gives us information about files that have been changed. |
|
Adds all the files that have changed to the commit, there is a space between add and the period(don’t forget the period) |
|
Creates the new commit, the message should describe the changes made to the files. |
|
Pushes changes from your local repository up to your repository on GitHub. |
|
Check to see your were successful. Should now say:
Your branch is up to date with ‘origin/master’.
nothing to commit, working tree clean
|
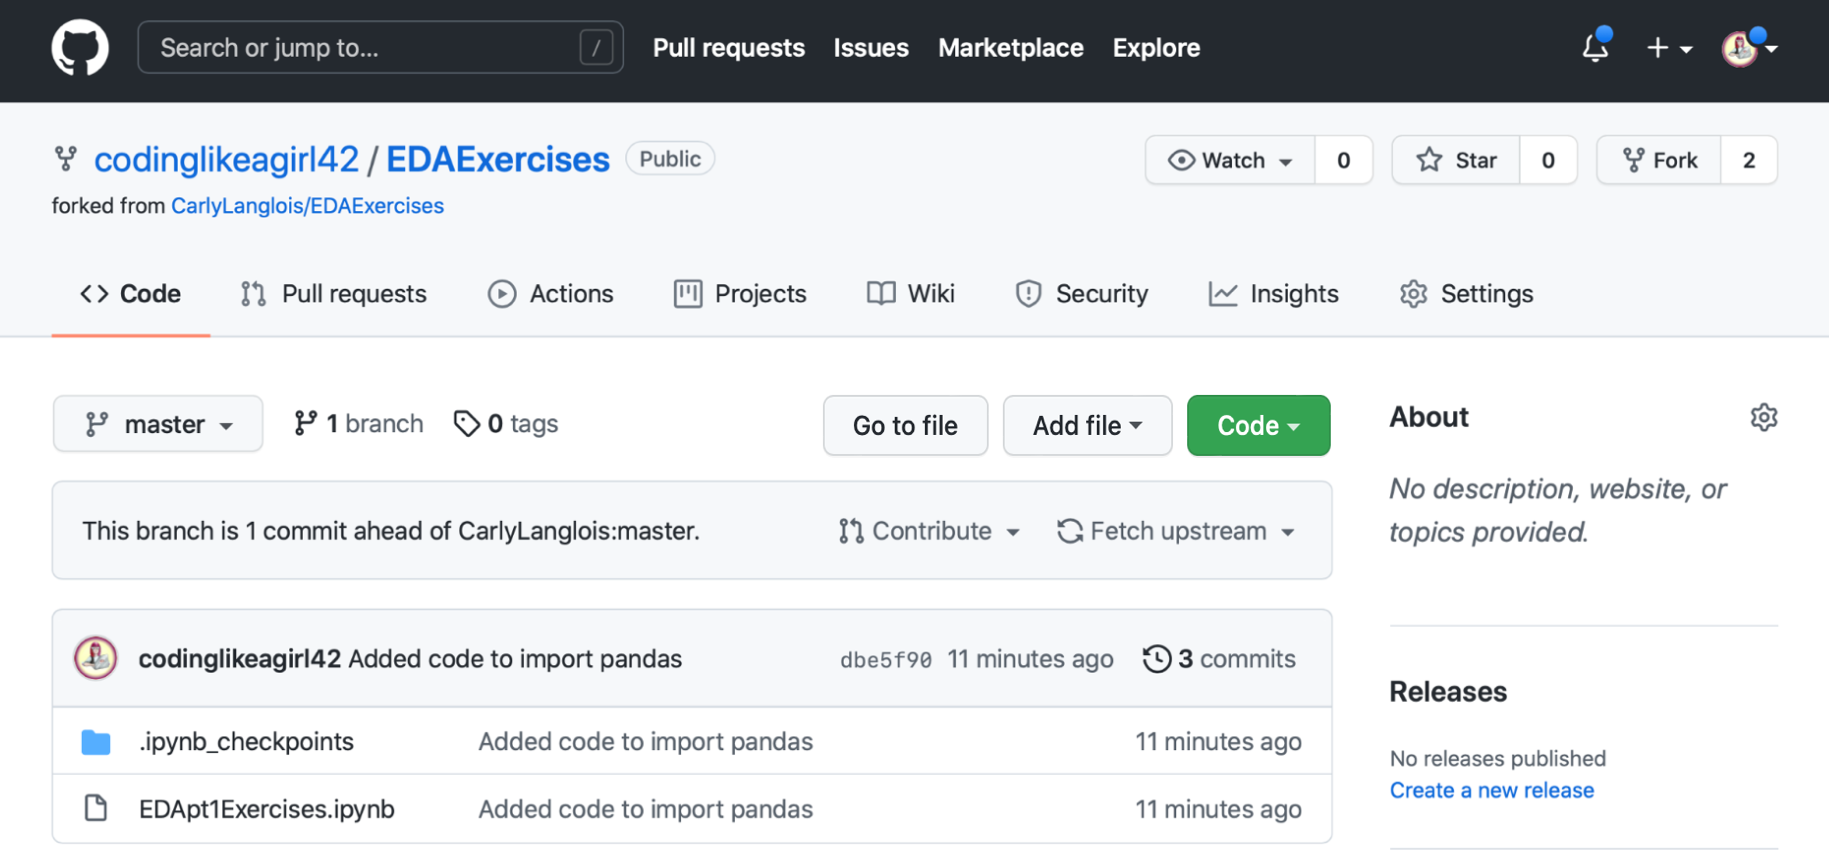
When you check your github repository, you will see the update.
note
For a more detailed explanation of Git, use this link.
When you are ready to submit your assignment, copy the link to your repository on GitHub and paste it into the submission box in Canvas and hit Submit.