Git Workflows
This cheatsheet covers basic workflows for local and remote Git repositories.
For details on the Git commands mentioned, or on creating and cloning repositories, revisit the chapter on Git More Collaboration.
Single Developer / Single Branch
When working on a project by yourself, you will typically follow this workflow:
Make changes to your code
Check status:
git statusStage changes:
git add .Commit changes:
git commit -m "Added feature X"(If working with a remote repository) Push changes:
git push origin master
Single Developer / Feature Branches
As you become more comfortable with Git and begin to build larger projects on your own, you'll want to use feature branches. This is a branch created in order to isolate changes related to a single feature or bug. Professional developers use them for a few reasons:
They can work on multiple new features at the same time, while keeping the work separated.
If a bug is found, they can commit changes to their feature branch and switch to the branch containing the bug.
Working in feature branches allows code to be easily reviewed by other developers before it is merged.
Fun Fact
Some development teams will only work in feature branches. On these teams, developers are NOT allowed to make changes directly to the master branch. They must work in feature branches and create pull requests into master to add those changes to the main code base.
In the workflow below, we use main to refer to the branch from which the feature branch is created (often master) and feature to refer to the feature branch. Remember to use descriptive names for your branches.
Create a new branch. While in
maincreate and move to the feature branch:git checkout -b feature.Follow the Single Developer / Single Branch workflow until work on the feature is complete.
After all changes in
featurehave been committed and pushed, move back tomain:git checkout main.Merge your feature branch back into
main, resolving any conflicts:git merge feature
Team / Single Branch
The case of a team working on a project with a single branch is very uncommon. However, multiple developers working on the same branch happens quite a bit. This workflow, therefore, can be thought of as a sub-workflow of the Team / Feature Branches workflow.
This workflow is similar to the Single Developer / Single Branch workflow, only now you must be mindful to merge in changes made by others.
Make changes to your code
Check status:
git statusStage changes:
git add .Commit changes:
git commit -m "Added feature X"Pull changes made by other:
git pull origin masterMerge changes as necessary
Push changes:
git push origin master
Team / Feature Branches
The workflow for a team of developers using feature branches combines the Team / Single Branch and Single Developer / Feature Branches workflows.
In the workflow below, we use main to refer to the branch from which the feature branch is created (often master) and feature to refer to the feature branch. Remember to use descriptive names for your branches.
Create a new branch. While in
maincreate and move to the feature branch:git checkout -b feature. OR if contributing to a branch made by a team member, fetch and checkout their existing branch:git fetch originthengit checkout featureFollow the Team / Single Branch workflow until work on the feature is complete.
After all changes in
featurehave been committed and pushed, move back tomain:git checkout main.Merge your feature branch back into
main, resolving any conflicts:git merge feature. Alternatively, create a pull request <create-pr> intomainas described below.
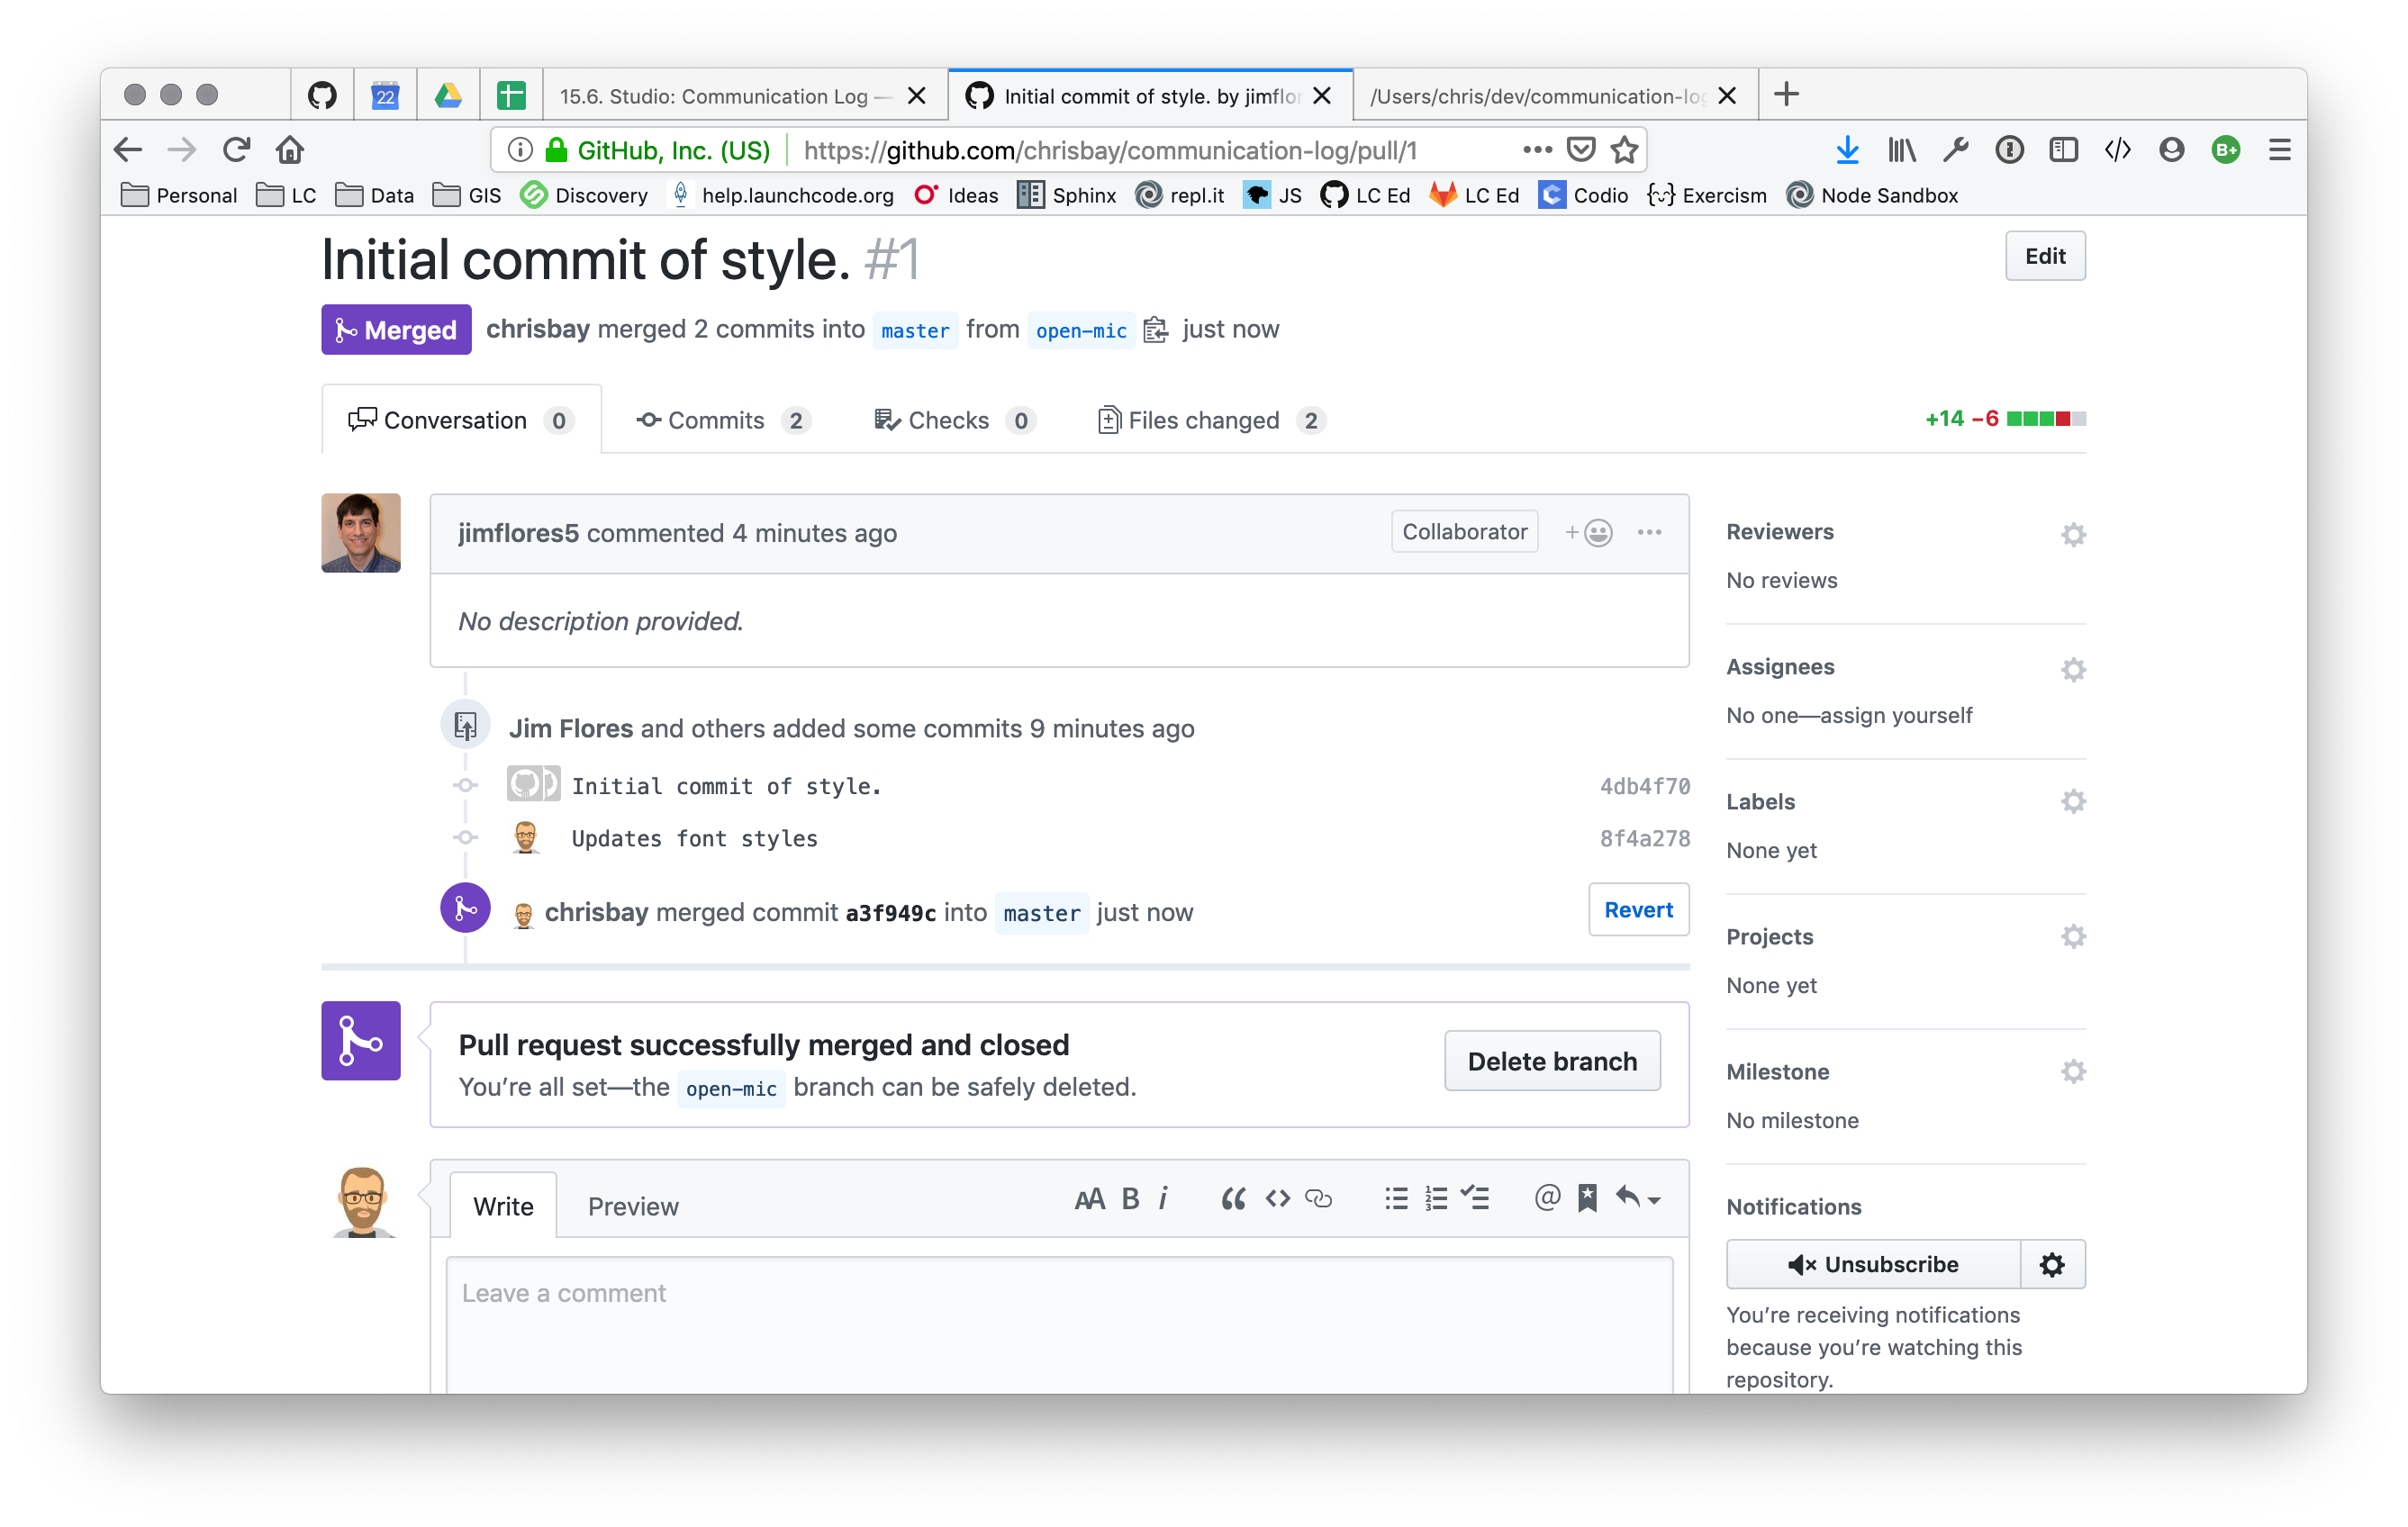
Working With Pull Requests
The ability to create pull requests is a powerful feature of GitHub that allows changes to be reviewed and discussed by team members.
A pull request is a request via GitHub to merge one branch into another. Team members can comment on and review the changes in the request, suggesting or requiring changes. Once the code is ready, the pull request is merged and closed. The code from the feature branch is now part of the destination branch.
Many teams use pull requests when using the Team / Feature Branches workflow.
To create a pull request, commit and push all changes in your feature branch. Then visit the project's GitHub page and click on the Branches link.
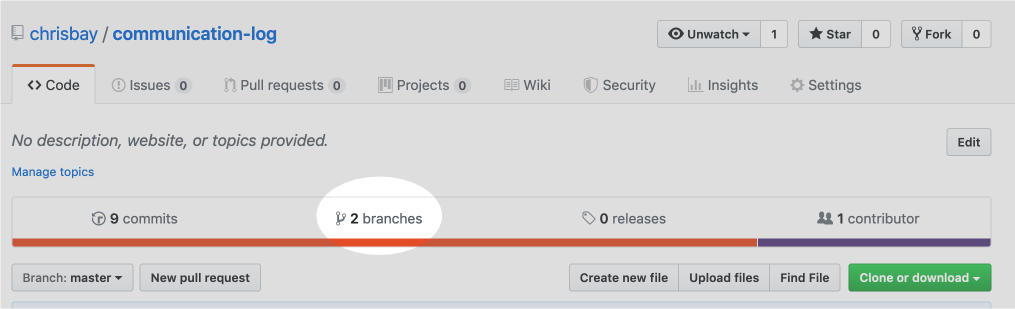
The Branches page shows all branches that have been pushed to GitHub. To the right of every branch (except master) is a button to create a new pull request.
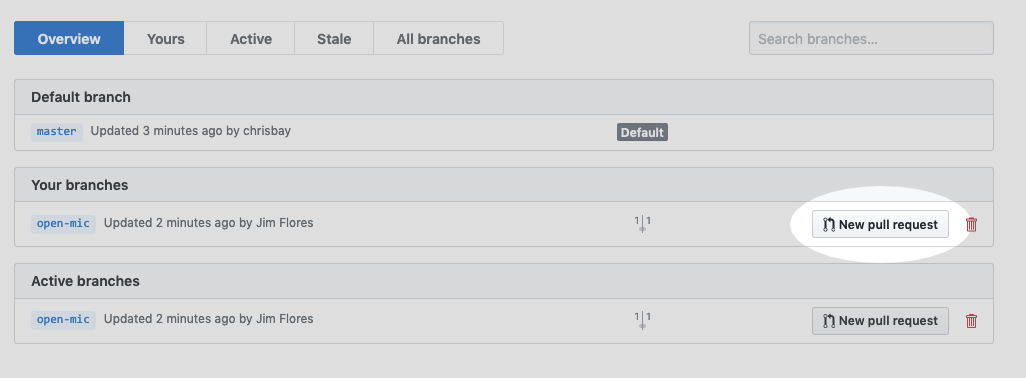
To create a new pull request, fill out the brief form describing the changes that it contains.
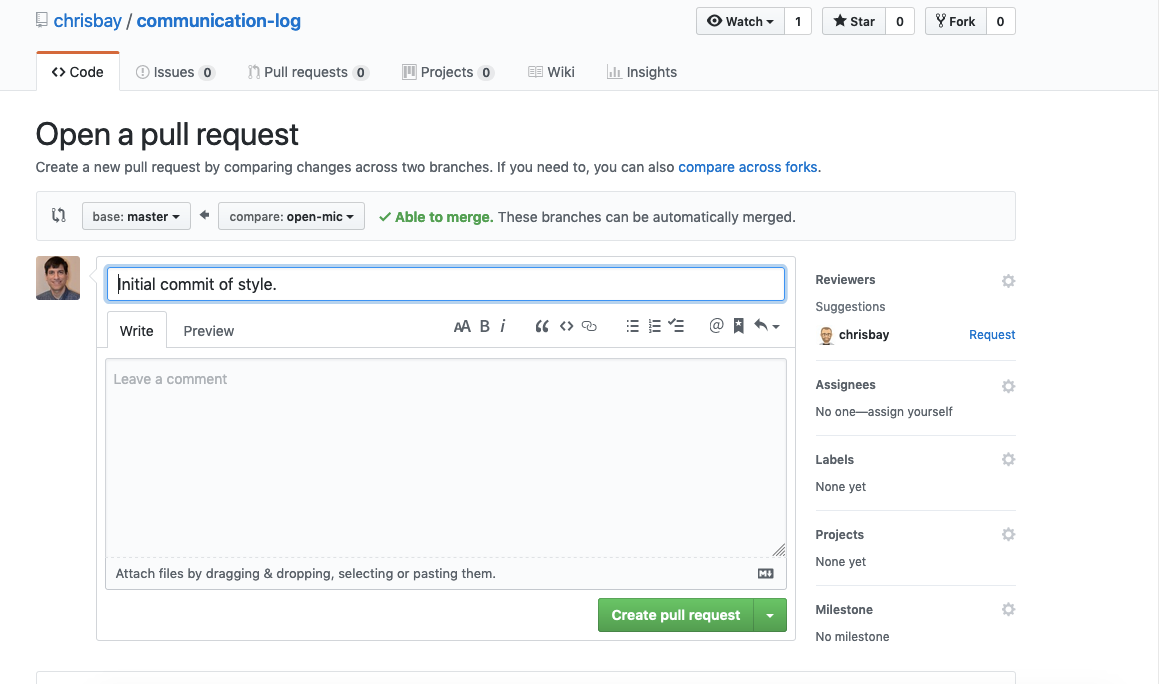
Once the pull request has been created, it remains in the Open state for team members to comment.
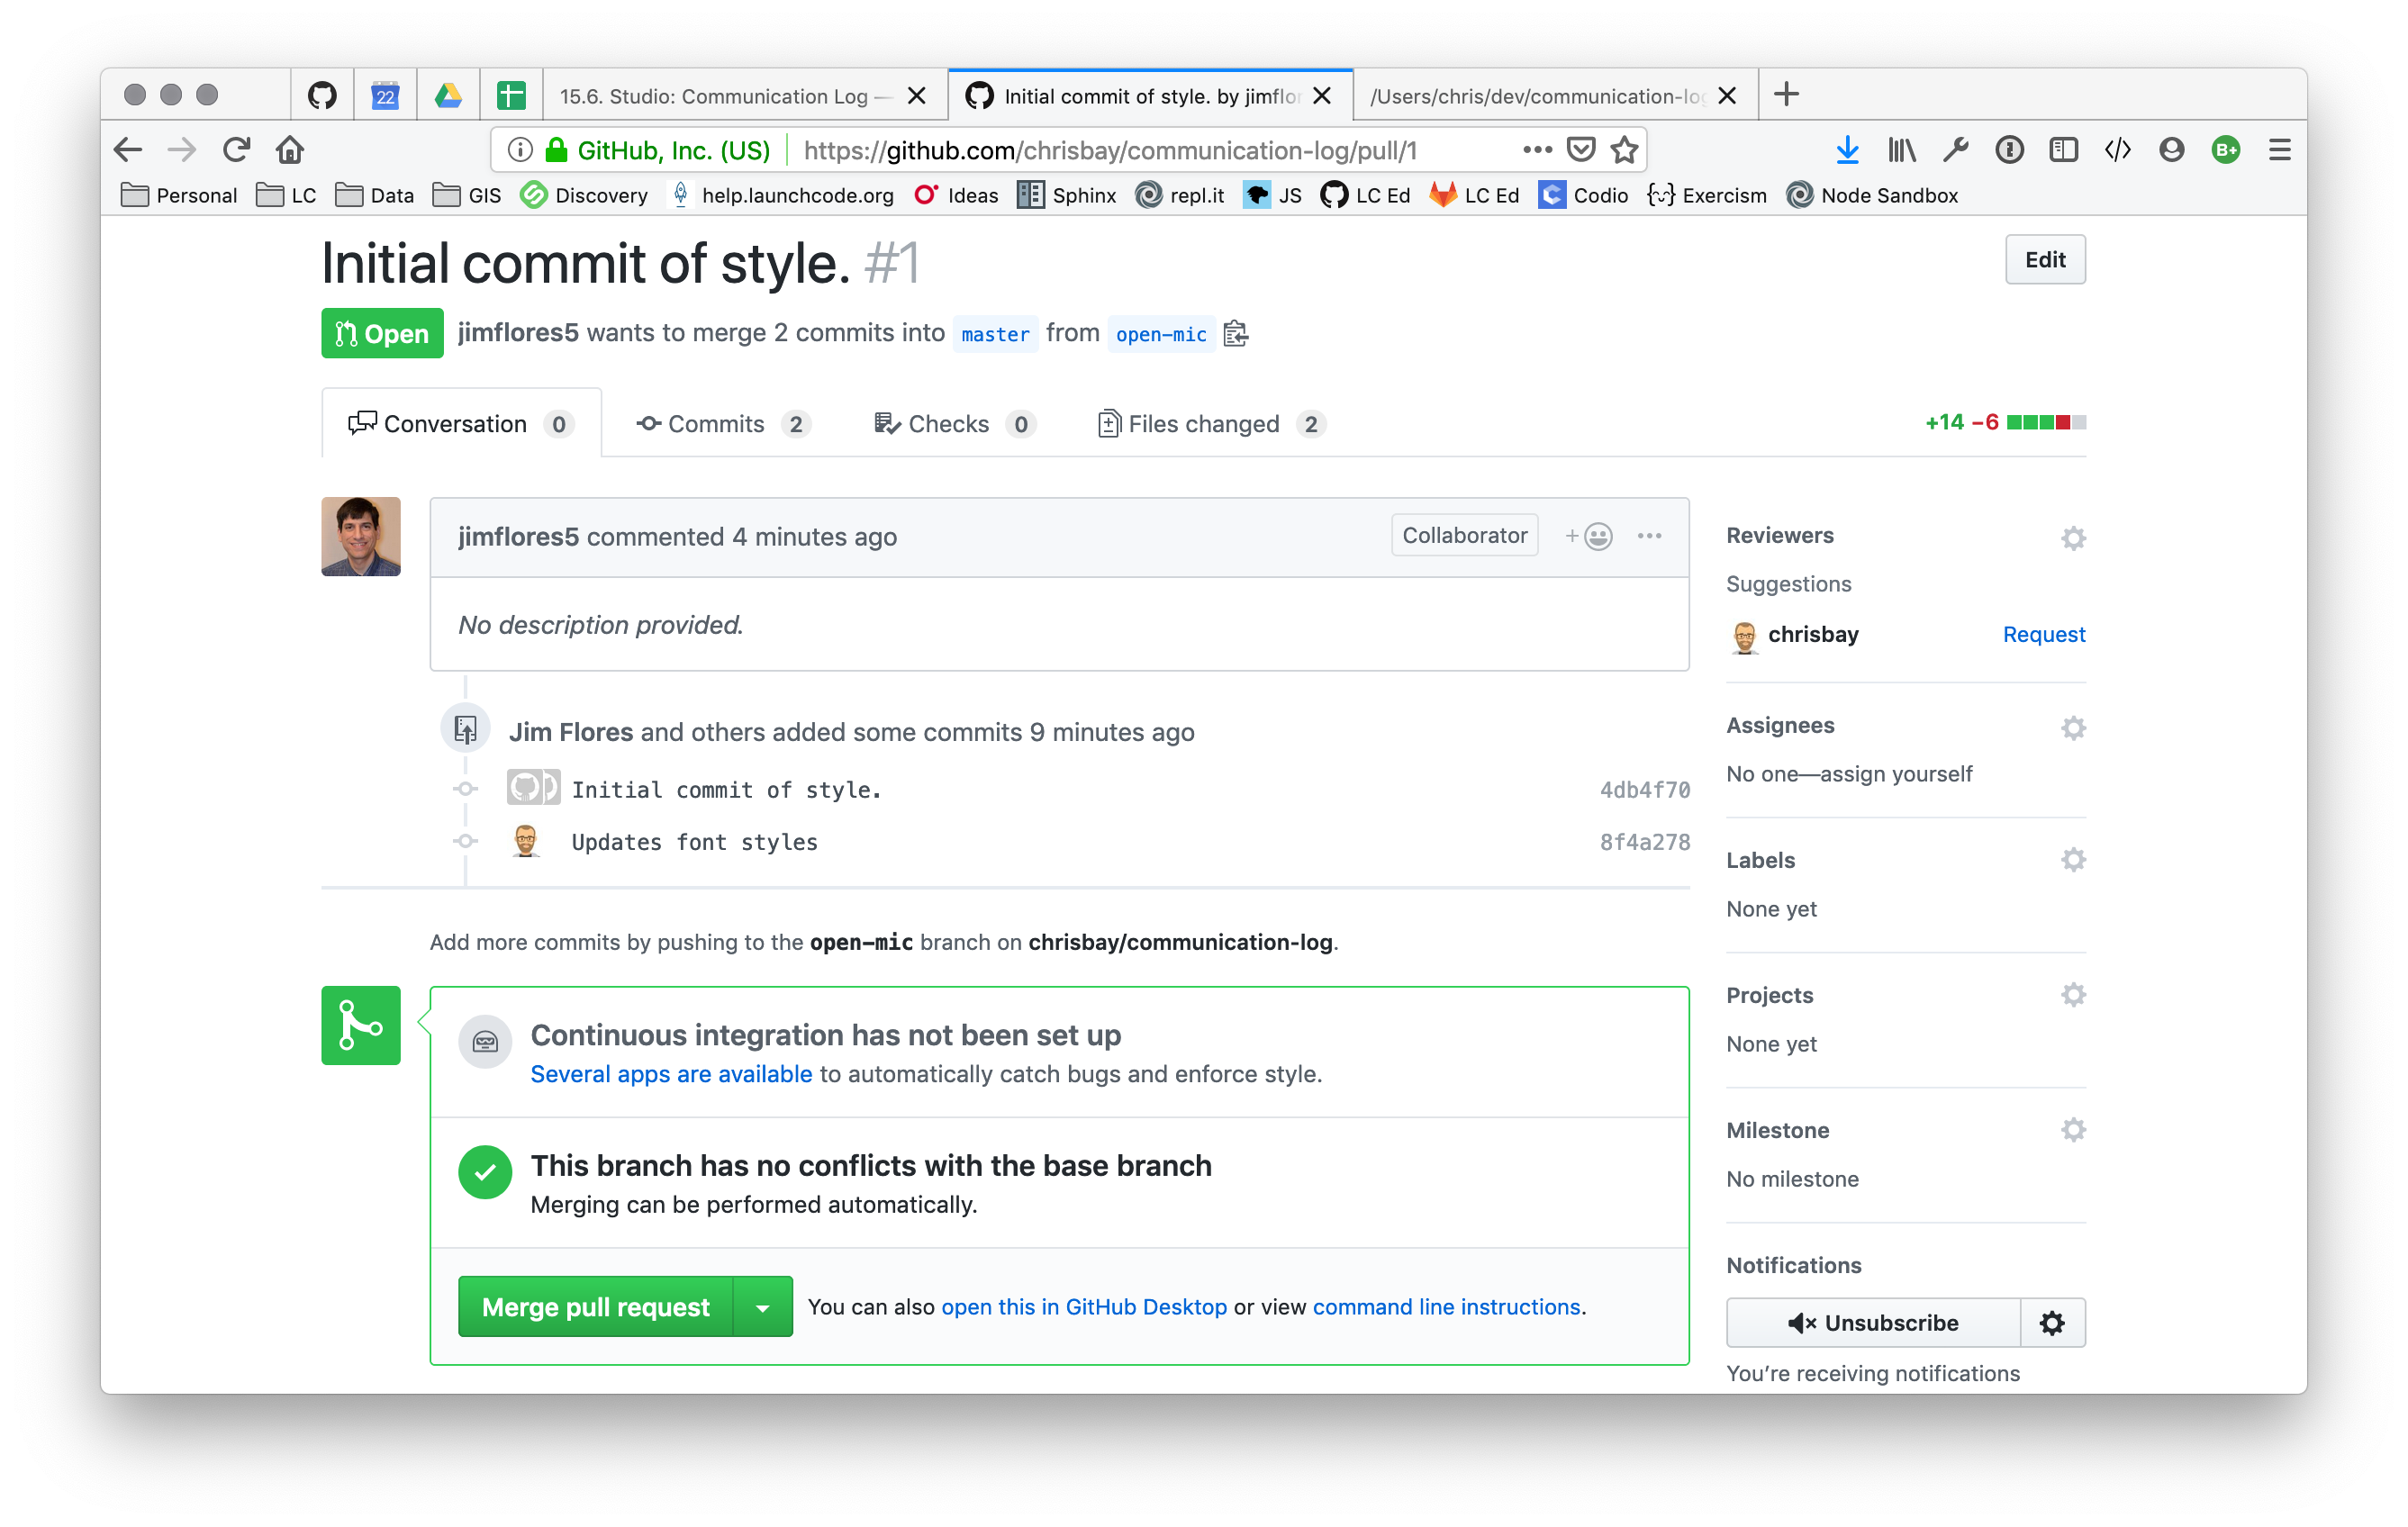
When the code is ready, the pull request is merged and closed. The code is then part of the destination branch.
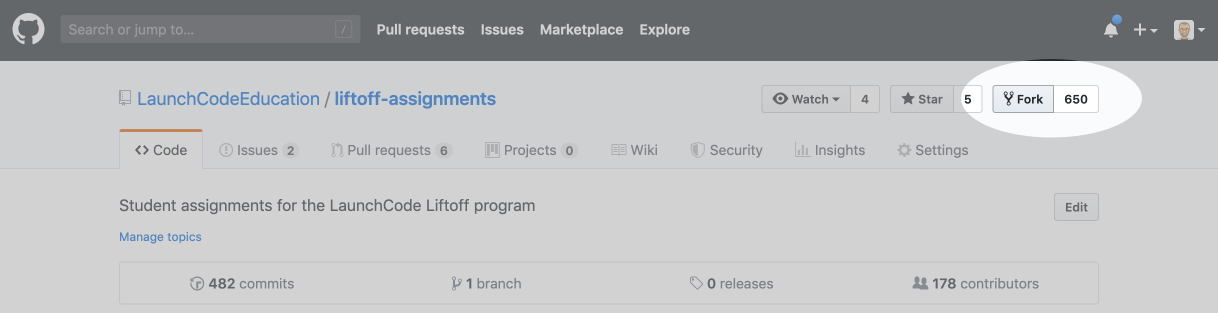
Forking a Repository at GitHub
A scenario that will occur from time-to-time in LaunchCode courses, and which occurs quite a lot for developers in general, is when you want to copy another developer's project and modify it. This process is known as "forking a repository" since if you view a project's history as a timeline, copying it effectively creates a "fork" in that history.
To fork another developer's repository, visit the project at GitHub and hit the Fork button:
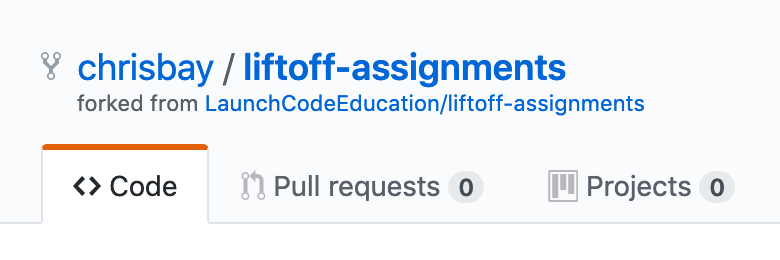
This will create a copy of the remote repository under your GitHub profile. You will have a snapshot of the other developer's repository, taken at the moment you hit the Fork button.
From your own profile page, you will see the forked repository listed alongside your other repositories. To work on the code, clone the repository to your computer using the method above.
Forked repositories can easily be identified by the reference to the original project under the project name on your profile.
Helpful Git Resources
Pro Git Book - A reference book covering Git in depth.
Flight Rules for Git - A "How to" guide for git
Interactive GitHub Sandbox - A place to practice git without fear of messing anything up.