Reverse Proxy
Configuring NGINX as a Reverse Proxy
A common task performed by a web server is to proxy HTTP requests to a running application server.
If you have completed an LC101 style course you predominately wrote code running in an application server.
Examples of application server frameworks:
- Springboot (Java)
- Entity (C#)
- Express.js (Node)
- Flask (Python)
- Django (Python)
- Rails (Ruby)
- Cake (PHP)
- 1 million additional options for every single programming language under the sun
The application server frameworks contain code that handle raw HTTP requests, perform certain actions, and serve an HTTP response.
A production grade web server must proxy HTTP requests to the application server framework.
In this case a web user makes an HTTP request to a server. NGINX catches the initial HTTP request and passes it to a running application server. The application server processes the HTTP request and builds an appropriate HTTP response. The application server then passes the HTTP response back to NGINX who sends it back to the web user.
This may seem like a complicated process. However, application servers are not built as production grade web servers and lack many of the features that web servers like NGINX provide. NGINX and other production grade web servers allow for multiple workers to handle requests, can distribute high web load to many different locations, can provide TLS via SSL termination, are optimized to handle a high volume of HTTP requests, and more.
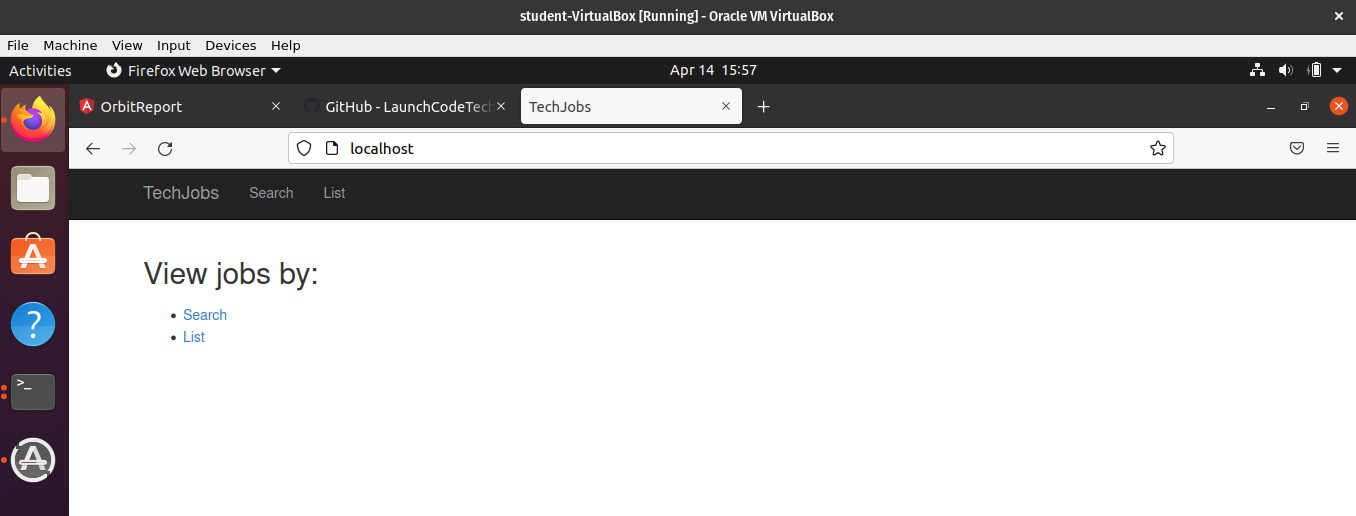
In this article we will be running a Springboot application framework, and configuring NGINX to serve as a reverse proxy to the application framework.
Remove Old Configuration Files
Delete any existing nginx.conf files inside of /etc/nginx/conf.d/.
Create New Configuration File
sudo touch /etc/nginx/conf.d/spring-mvc.confAdd Configuration to New Configuration File
server {
    listen 80;
    server_name localhost;

    location / {
        proxy_pass http://localhost:8080;
    }
}
Clone Build Artifacts
git clone https://github.com/LaunchCodeTechnicalTraining/spring-techjobs-mvc-artifactInstall Runtime Dependency
Note
You may already have the necessary Java Runtime Environment to run this project openjdk-11-jre.
If you do not have this installed on your system you can install it with:
sudo apt update -y
sudo apt install openjdk-11-jre
Run Application Server
In a new terminal run:
java -jar /home/student/spring-techjobs-mvc-artifact/spring-mvc.jarReload NGINX
sudo nginx -s reloadAccess via Web Browser