Installing Packages
apt install vim
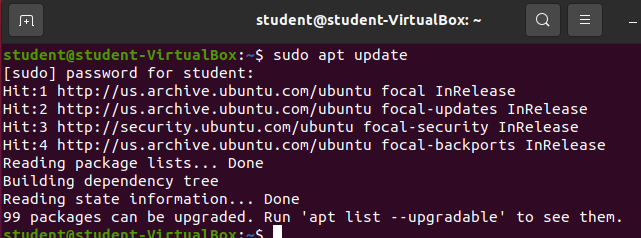
Before installing any new packages it is a good idea to update your package repositories, this way you can guarantee you have the most updated package for your specific version of Ubuntu!
Now you can install the Vim package: sudo apt install vim:
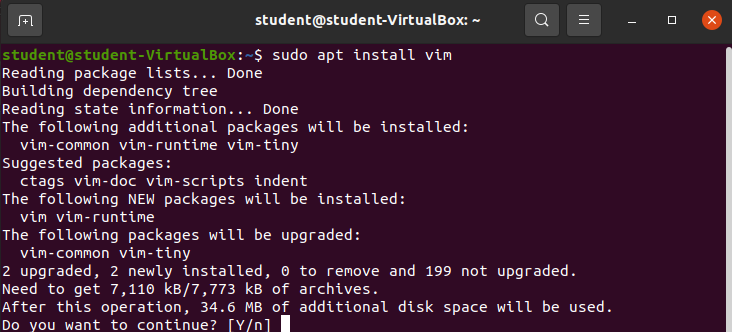
As a standard feature of the apt CLI it will ask for confirmation before installing any packages. We need to enter Y, or simply hit enter on our keyboard to confirm the package installation. Once we do the apt CLI will install and configure the new package for our use!
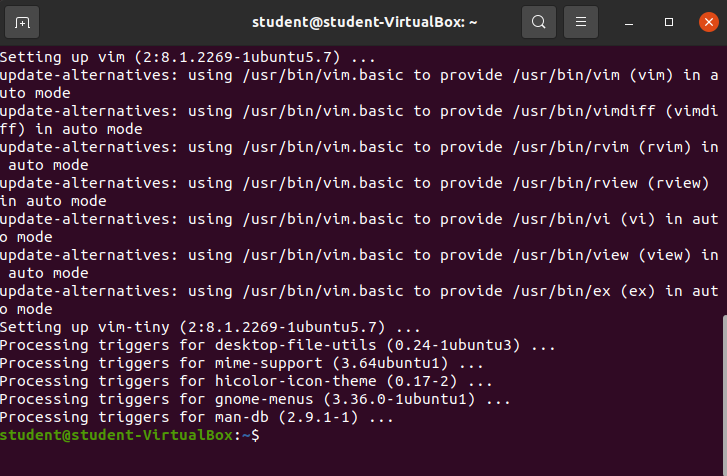
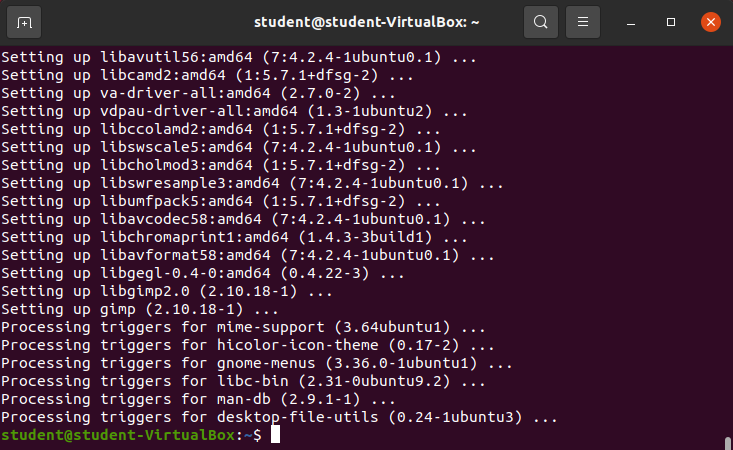
Lots of text was output to the bash shell’s display (STDOUT). If you scroll through the text take note of some of the statements including where the package files were installed, packages that were unpacked (so they could be installed), triggers that were processed or created, and more.
You don’t really need to worry about those statements for now. You should mainly be concerned with ensuring this tool was installed and you can use it.
How can you determine that this tool was installed and configured to use from your Bash shell?
which vim
Our old friend the which command:

vim --version
Another common way to check for program installation and usage from the CLI shell is by using the --version option:

Note
Not all packages have created a --version flag, however it is a very regular part of packages and if you are installing packages in the future, is a handy way for determining if you can use the package from your CLI shell.
Opening vim
Finally you can open vim in the manner you would use it.
vim is similar to nano in that it is a CLI shell text file editor.
So you can create and open a new file for edits by executing: vim [filename]. If the file doesn’t exist it will create the file and open it for editing. If the file already exists its contents will be loaded into the file as it is being opened for editing.
To try it out execute: vim temp.temp, which will create and open a new temp.temp file in your working directory:

Once the file has opened you will see that it doesn’t have any contents:
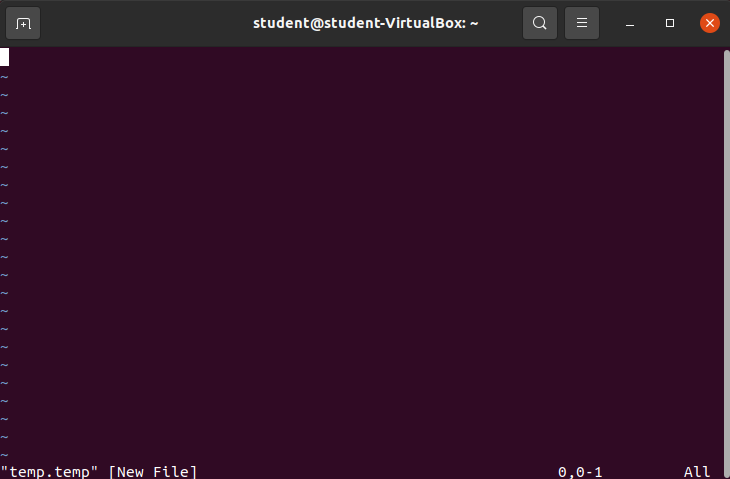
Nothing exists in the file, and so therefore nothing is displayed. Your cursor is currently on the first line of the file, but if you type nothing happens!
Bonus
vim has various modes, you are in command mode, which allows the user to perform various commands and operations within, or on the entire file. Some of the features built into command mode are what make vim such a popular terminal text editor. You will learn about vim usage in a future lesson.
Closing vim
There are many ways to exit vim, but none of them are readily apparent. The easiest way is to enter the command :q or :wq while in vim command mode. :q is the operation to quit a file, and :w is the operation to write (save) the file.
In order to type and execute one of these commands you must be in vim command mode. When you are in command mode when you type : with any additional characters it will be displayed at the bottom of the vim window:
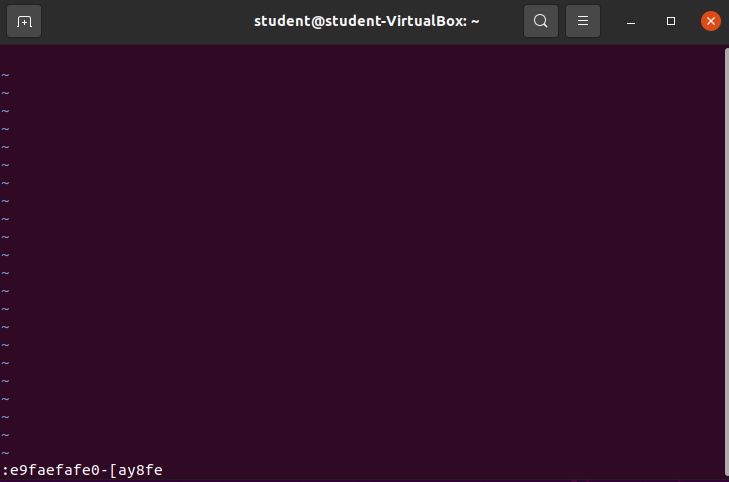
In the picture above notice the line at the bottom that says: :e9faefafe0-[ay8fe. Being able to type after entering the colon (:) character at the bottom of the file is a way we know we are in command mode.
Insert Mode
You may find yourself in vim insert mode:

Take note of the line at the bottom that says: -- INSERT -- indicating you are in insert mode.
While in insert mode any key presses you make will show up in the file. This is the primary way for entering or editing text into a file while in vim.
Visual Mode
Or you may find yourself in vim visual mode:
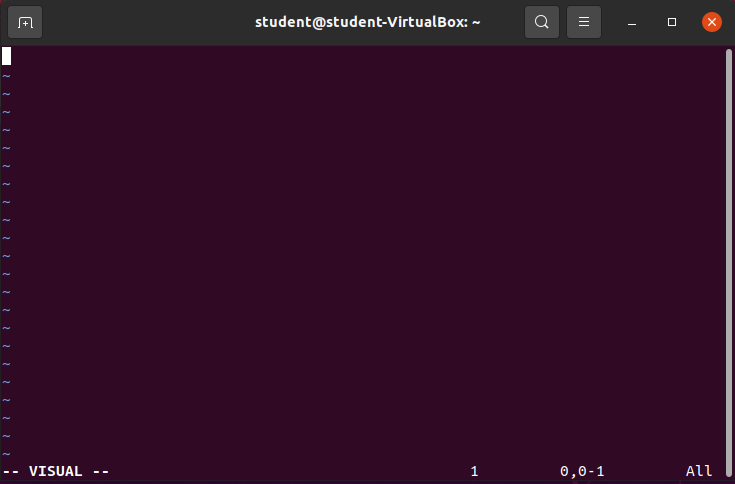
Take note of the line at the bottom that says: -- VISUAL -- indicating you are in visual mode.
Visual mode allows you to visually select lines, or characters and then perform operations on those specific sections.
Returning to Command Mode
In either insert mode or visual mode you can return to command mode by hitting the escape (esc) key on your keyboard.
Note
You may need to hit the escape (esc) key twice as you may have a partial keyboard operation in process, and hitting escape first cancels the operation, and then hitting it again returns you to command mode if you aren’t already in it. Sometimes when I want to return to command mode and I don’t remember what operation or mode I’m in, I just spam the escape key like 15 times.
Writing and Exiting a File
Once you are in command mode enter :wq:
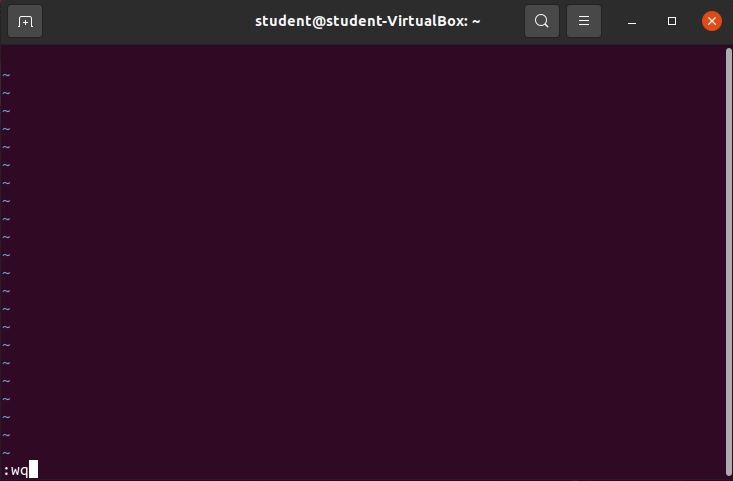
Then hit the enter key which will execute the vim command to write and quit the file returning to your bash shell:

Closing Vim can feel like quite a process! Vim will likely feel like a hassle until you’ve learned some of its features. Those features make it a very powerful tool for editing and manipulating the contents of a file. You will continue to learn more about Vim in a later lesson.
apt install gimp
Let’s practice installing a package that has a GUI component. The GIMP package stands for GNU Image Manipulation Program. This program is an open source, and free software for manipulating files.
Note
You won’t use, or learn GIMP in this program. This is just an example of a package that is predominately driven by a GUI.
Update Package Repositories
Again, before installing a new package you should update our package repositories:
Install GIMP
Now let’s install GIMP with: sudo apt install gimp:
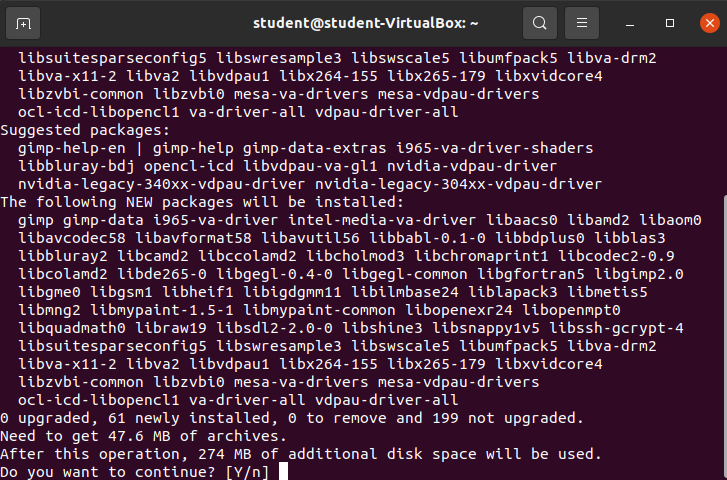
Again confirm the install by hitting enter or entering in Y and hitting enter.
Bonus
The apt install CLI has a -y option that will automatically enter yes into any package installation confirmations. So you would find that sudo apt install gimp -y would install the gimp package without asking for confirmation. In this class we are going to recommend not using the -y flag as it’s great to reinforce the steps of the apt CLI.
Confirm Installation
which gimp

gimp --version

Opening gimp
You can simply enter gimp into our Bash shell:

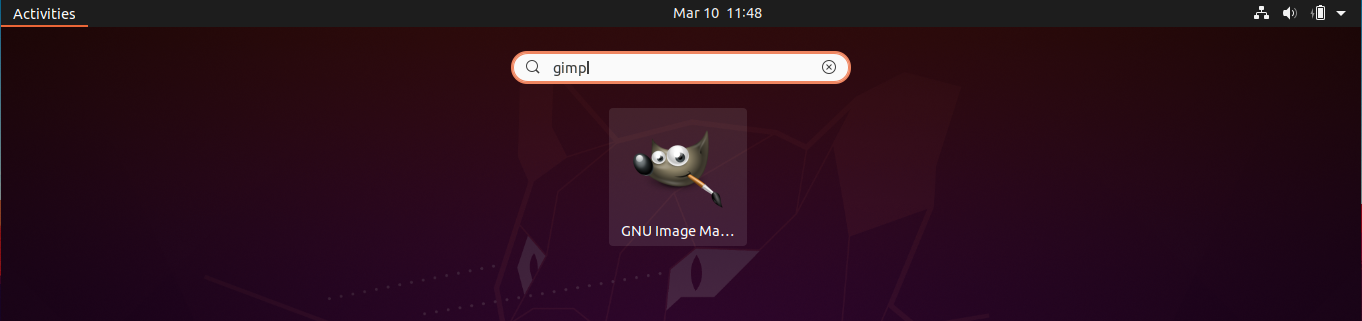
Note
Alternatively you could search for gimp in the Activities pane:
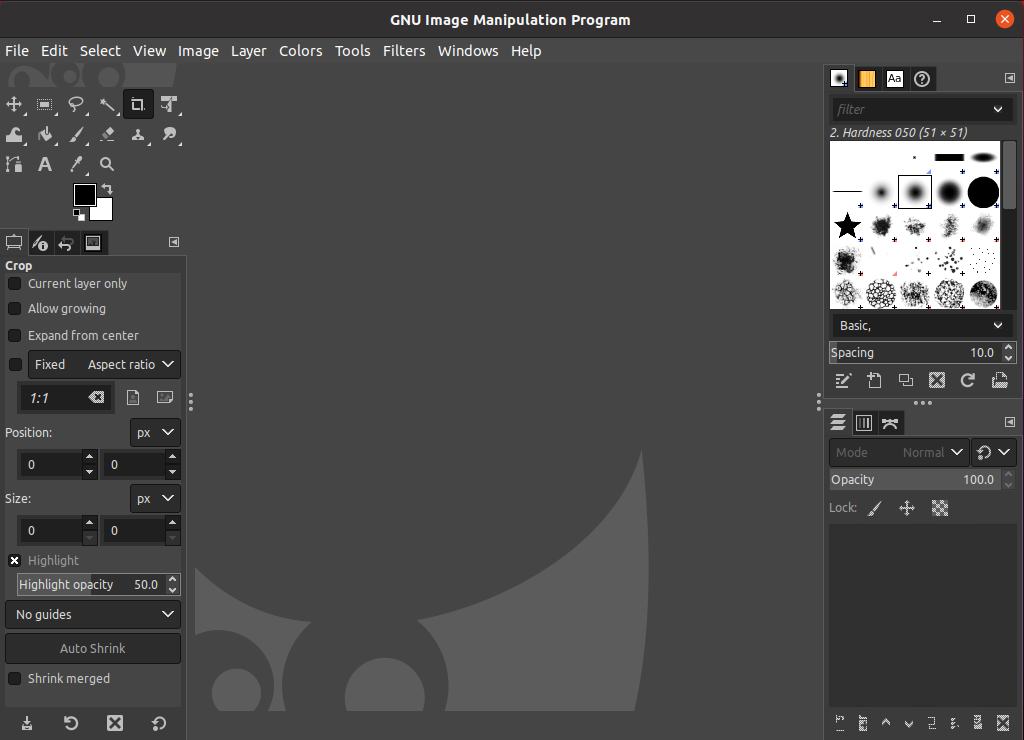
And the GNU Image Manipulation Program GUI will open:
Closing gimp
Since this is a GUI you simply need to click the red X in the top right hand corner of the GIMP window, or you can select File->Quit (or use the shortcut ctrl + q).
After closing GIMP, if you opened it from your bash shell you should see your terminal once again:

GIMP is a popular tool in the GNU/Linux world, because it is an open source, free software maintained by GNU. We will not be using GIMP in this course.