Example: Angular Initialization Script
Get Organized
What needs to happen for the Angular project to be deployed?
VirtualBox
- VirtualBox Image created
- VirtualBox First time setup completed
Machine State
gitmust be installed- web server must be installed I’ll use
caddy
Project Artifacts
The artifacts are already built, I just need to install them onto the machine with git.
- use
gitto clone build artifacts
Web Server Configuration
caddy must be configured to catch HTTP requests and respond as a file_server, and then must be reloaded.
- configure
caddy - reload
caddy
At this point the angular project should be accessible.
The Script
Organization
# Install Dependencies (Machine State)

# Download Project Artifacts

# Configure Web Server
Install Dependencies
# Install Dependencies
## Update Package Repositories
sudo apt update -y
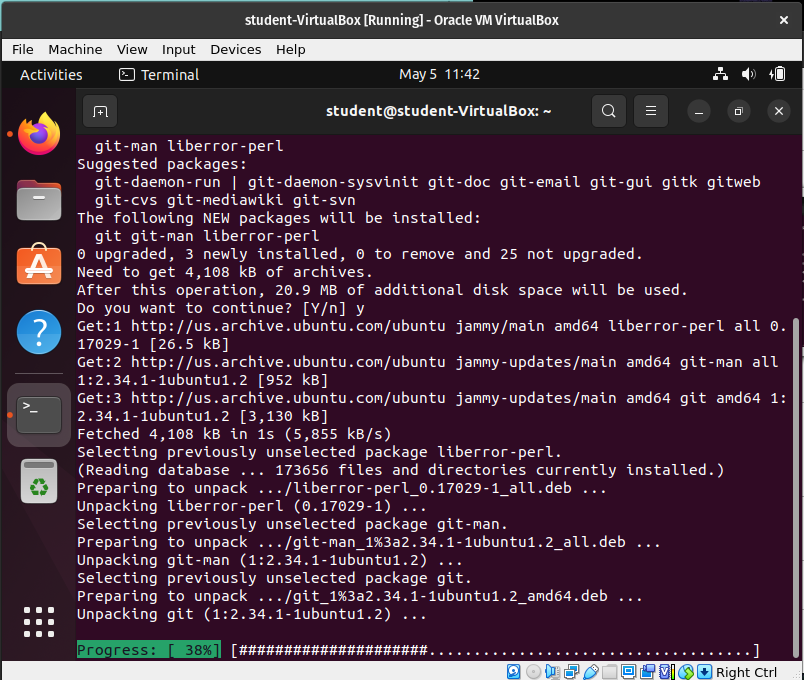
## Install Git
sudo apt install git
## Install Caddy
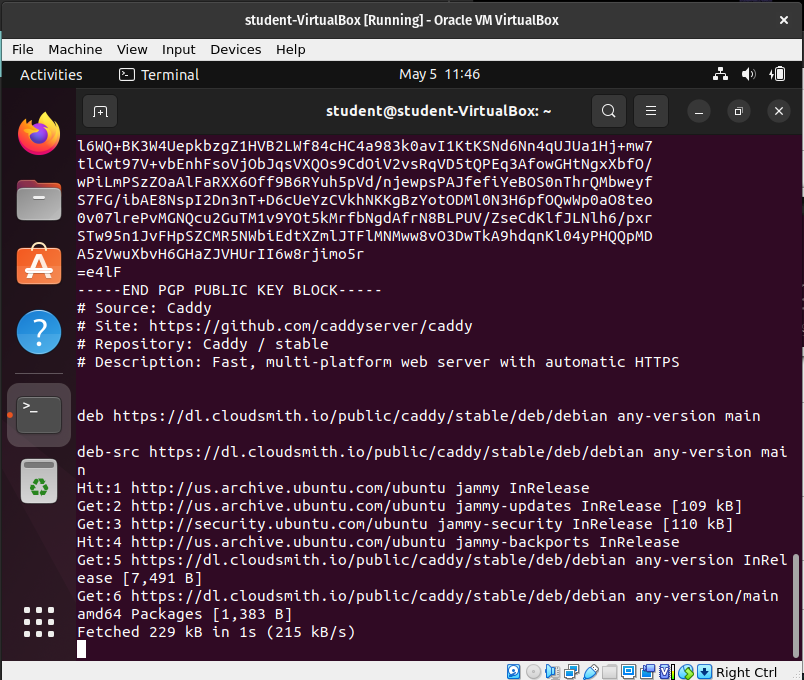
### Add Caddy Package
sudo apt install -y debian-keyring debian-archive-keyring apt-transport-https
curl -1sLf 'https://dl.cloudsmith.io/public/caddy/stable/gpg.key' | sudo tee /etc/apt/trusted.gpg.d/caddy-stable.asc
curl -1sLf 'https://dl.cloudsmith.io/public/caddy/stable/debian.deb.txt' | sudo tee /etc/apt/sources.list.d/caddy-stable.list
### Update Package Repositories
sudo apt update -y
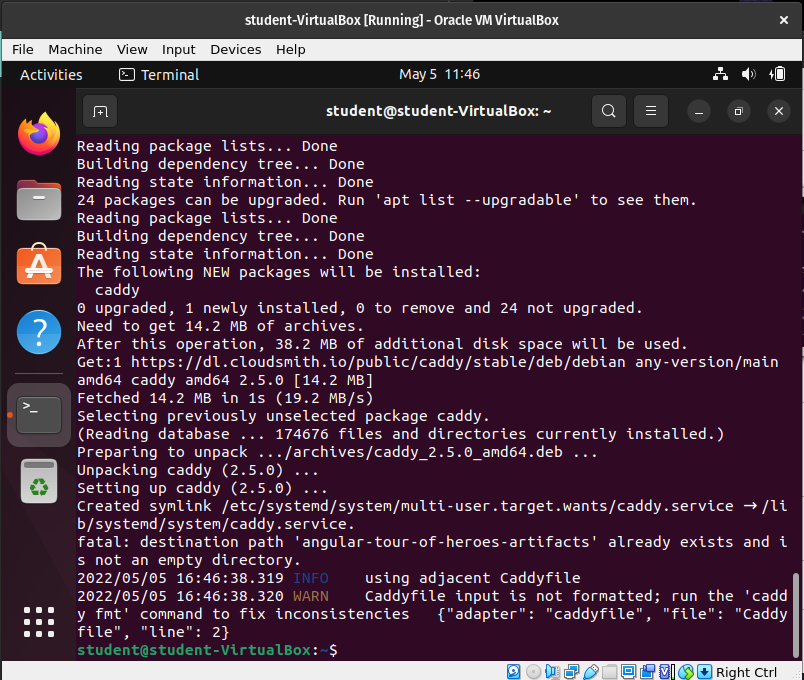
### Install Caddy
sudo apt install caddyDownload Project Artifacts
# Download Project Artifacts
git clone https://github.com/LaunchCodeTechnicalTraining/orbit-report-artifacts
Configure Web Server
This is a little different, we have to create a valid Caddyfile that instructs it to catch HTTP requests and serve the files in our build artifact directory. We could manually do this with vim or Visual Studio Code or something, or we could use a bash Heredoc to create a file.
# Configure Web Server

## Create Caddyfile
(
cat <<'EOF'
https://localhost {
    root * /home/student/angular-tour-of-heroes-artifacts/
    file_server
}
EOF
) > Caddyfile

## Reload Caddy
sudo caddy reload
Full Script Solution
#!/bin/bash

# Install Dependencies

## Update Package Repositories
sudo apt update -y

## Install Git
sudo apt install git

## Install Caddy

### Add Caddy Package
sudo apt install -y debian-keyring debian-archive-keyring apt-transport-https
curl -1sLf 'https://dl.cloudsmith.io/public/caddy/stable/gpg.key' | sudo tee /etc/apt/trusted.gpg.d/caddy-stable.asc
curl -1sLf 'https://dl.cloudsmith.io/public/caddy/stable/debian.deb.txt' | sudo tee /etc/apt/sources.list.d/caddy-stable.list

### Update Package Repositories

sudo apt update -y

### Install Caddy
sudo apt install caddy

# Download Project Artifacts
git clone https://github.com/LaunchCodeTechnicalTraining/orbit-report-artifacts

# Configure Web Server

## Create Caddyfile
(
cat <<'EOF'
https://localhost {
    root * /home/student/orbit-report-artifacts/
    file_server
}
EOF
) > Caddyfile

## Reload Caddy
sudo caddy reload
Validation
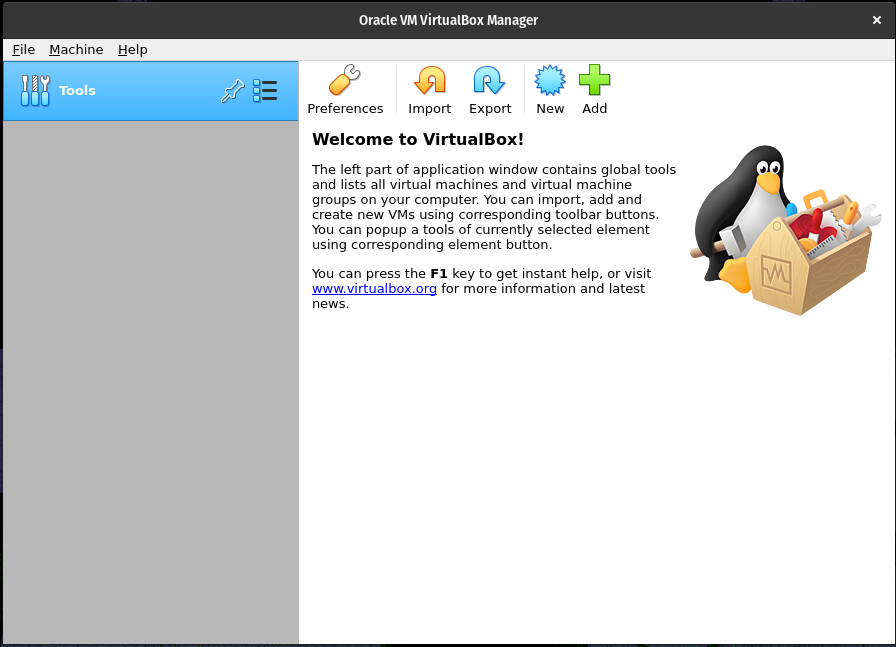
New VirtualBox Image
I deleted my old virtual box images to emphasize the point that this script will do all the work of configuring the machine.
Warning
I would recommend creating a new virtual machine instead of deleting and starting fresh.
After deleting all virtual machines with a fresh virtual box home screen:
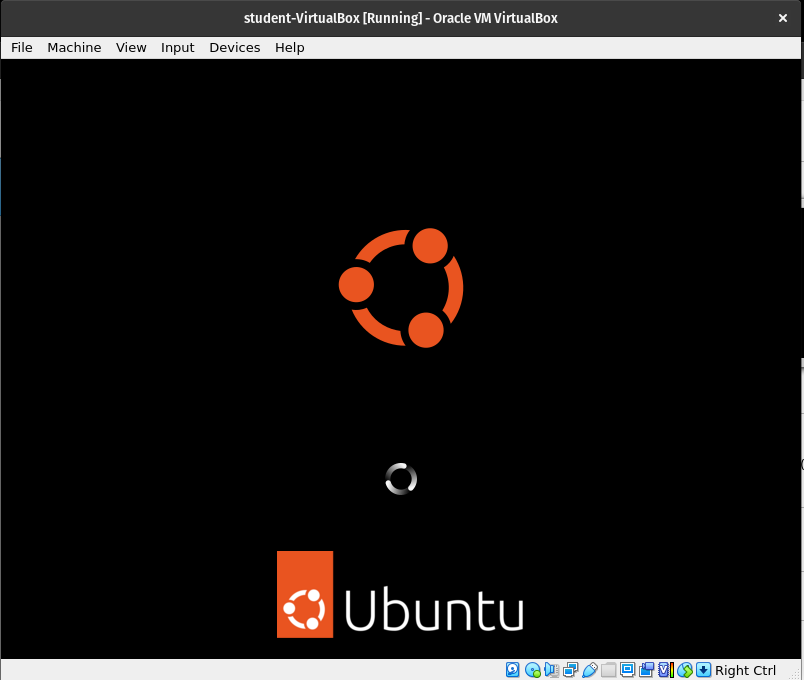
First time VirtualBox Setup
Booting the machine after inserting the virtual CD boot disk:
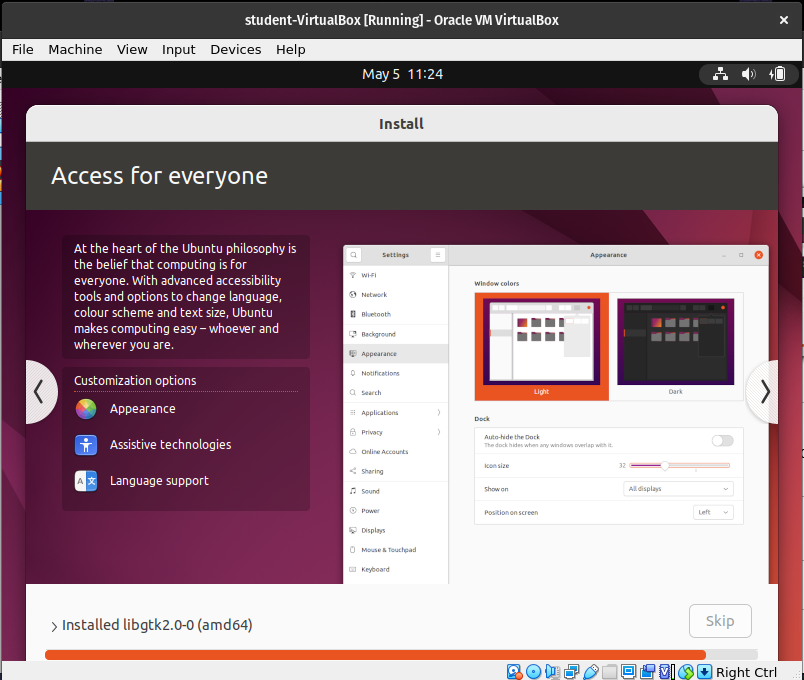
Still installing:
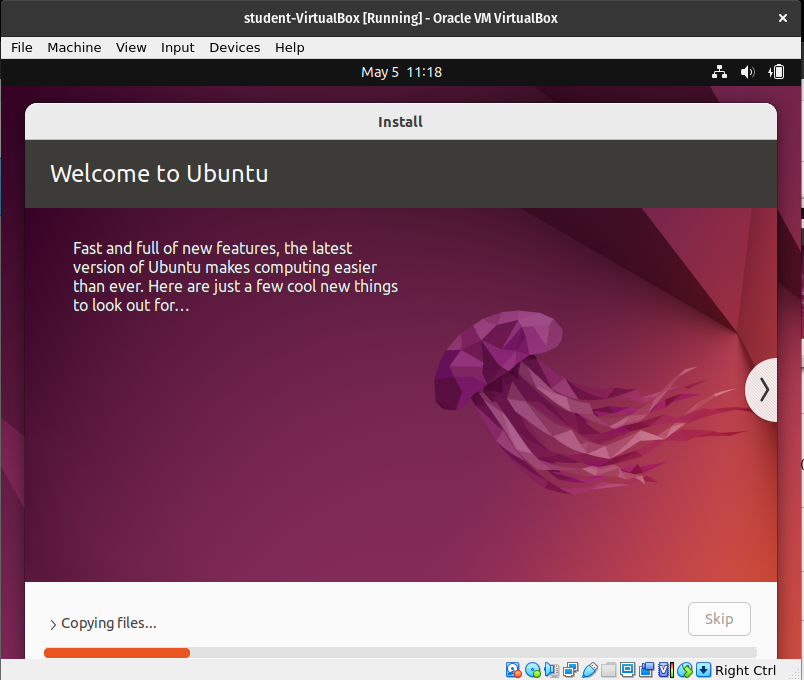
Still installing:
First time login:
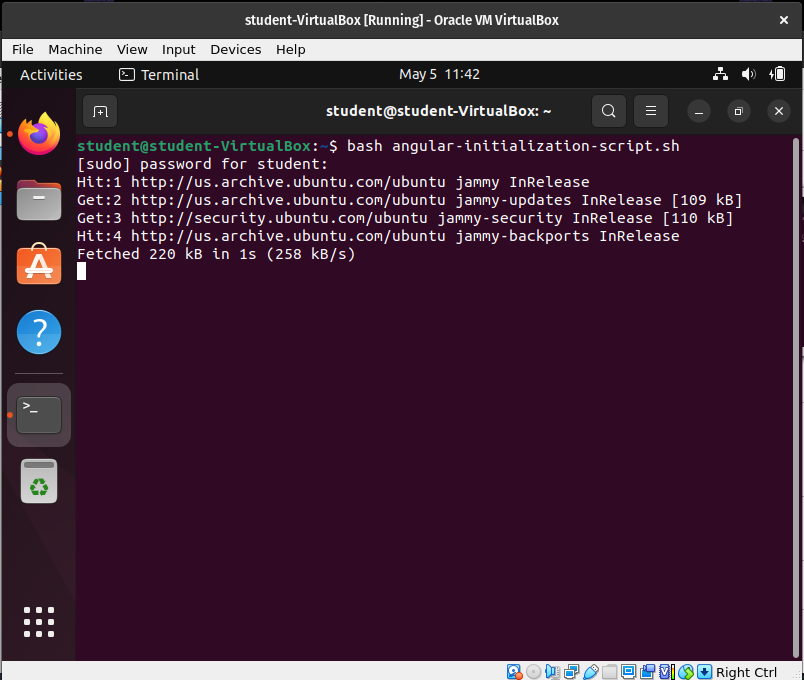
Run Script
Write and view script:
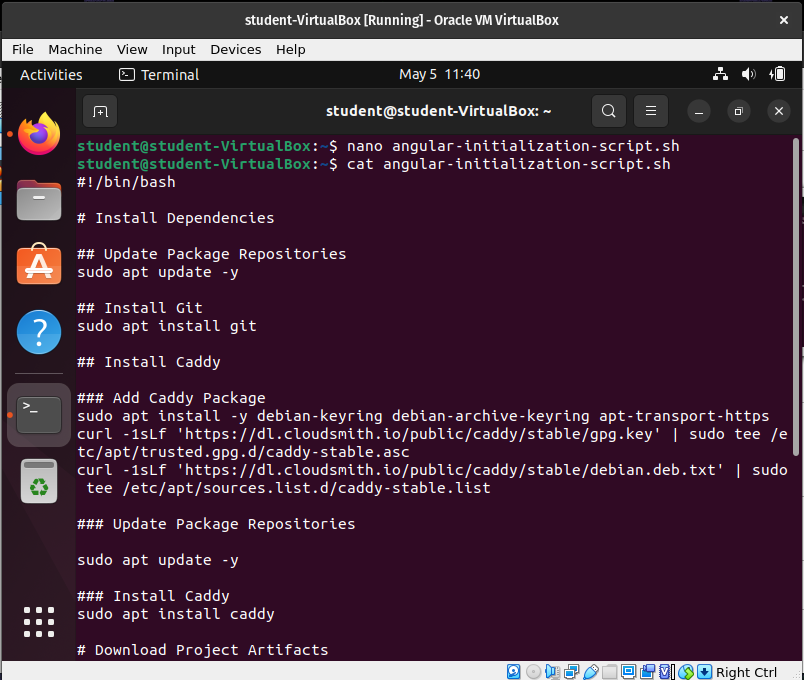
Run script: