Suggest a Change to a Page
In the top right corner of each page you will see a link in the page menu section called Edit this page. Clicking this button will take you to the GitHub repository of this project. If you are currently logged in to your personal Github account you will be presented with the option of Forking the repository into your own account.
After you fork the account, you will be able to directly edit the page through the fork on your account. Once you have completed your changes, you will be prompted to title your commit, add a description of the work you completed, and to open a Pull Request back into the original Github repo.
Once you create the Pull Request LaunchCode will be able to see your requested changes and can then approve, or deny the proposed changes. If approved your changes will be merged into the master branch and will be deployed to the live site.
Steps
Edit Page
On the page where you have seen a typo, click the Edit this Page button found in the breadcrumb menu in the top right hand corner of your screen. It looks like the following picture:

Repository has Write Protection
The GitHub repository is likely configured in a way that protects write access. The only individuals that can write directly to the repository are the team of developers and employees at LaunchCode that are responsible for maintaining this curriculum. Never fear, you still have a mechanism for sharing your changes with the team to be included in the curriculum, and you will become a contributor of the project!
GitHub is aware of this write protection and will prompt you to fork the repository to your own account, where you will have write access. You can make the corrections on your forked version, and then create a GitHub Pull Request into the original version. One of the project maintainers will be able to include your changes into the project, assuming your changes are accepted.
Note
When you first click the Edit this Page button if you aren’t already logged in to your GitHub account you will be prompted to do so and will be greeted by a login screen:

Forking the Repository
After logging in you will be asked to Fork the repository, assuming you haven’t forked the repository in the past.
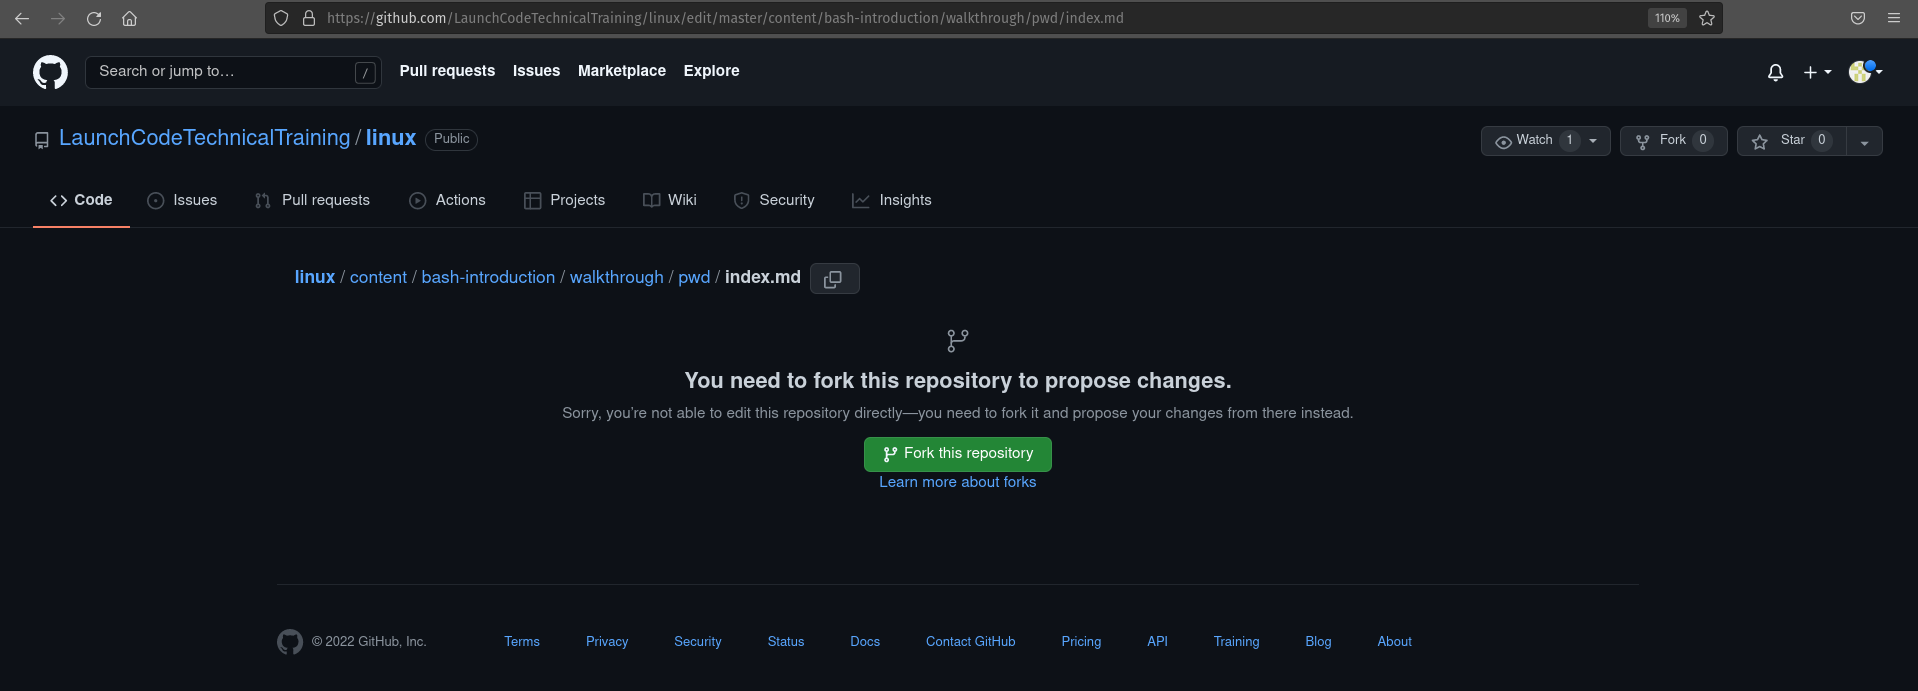
Click the green Fork this repository which will create a new repository on your github account at that follows this pattern: https://github.com/your-github-username/repository-name. However, GitHub will display to you a screen that allows you to directly edit the file called

Note
Take note of the notification in the picture: “You’re making changes in a project you don’t have write access to. Submitting a change will write it to a new branch in y our fork paulmatthews1989/linux, so you can send a pull request.” It is clearly telling us any changes we make and commit will go to our forked project at the path in the note.
The bottom of the page has a basic form for allowing you to commit your changes to your personal fork. We will create a new Pull Request after making our changes, and committing to our personal fork.
Identifying & Making a Change
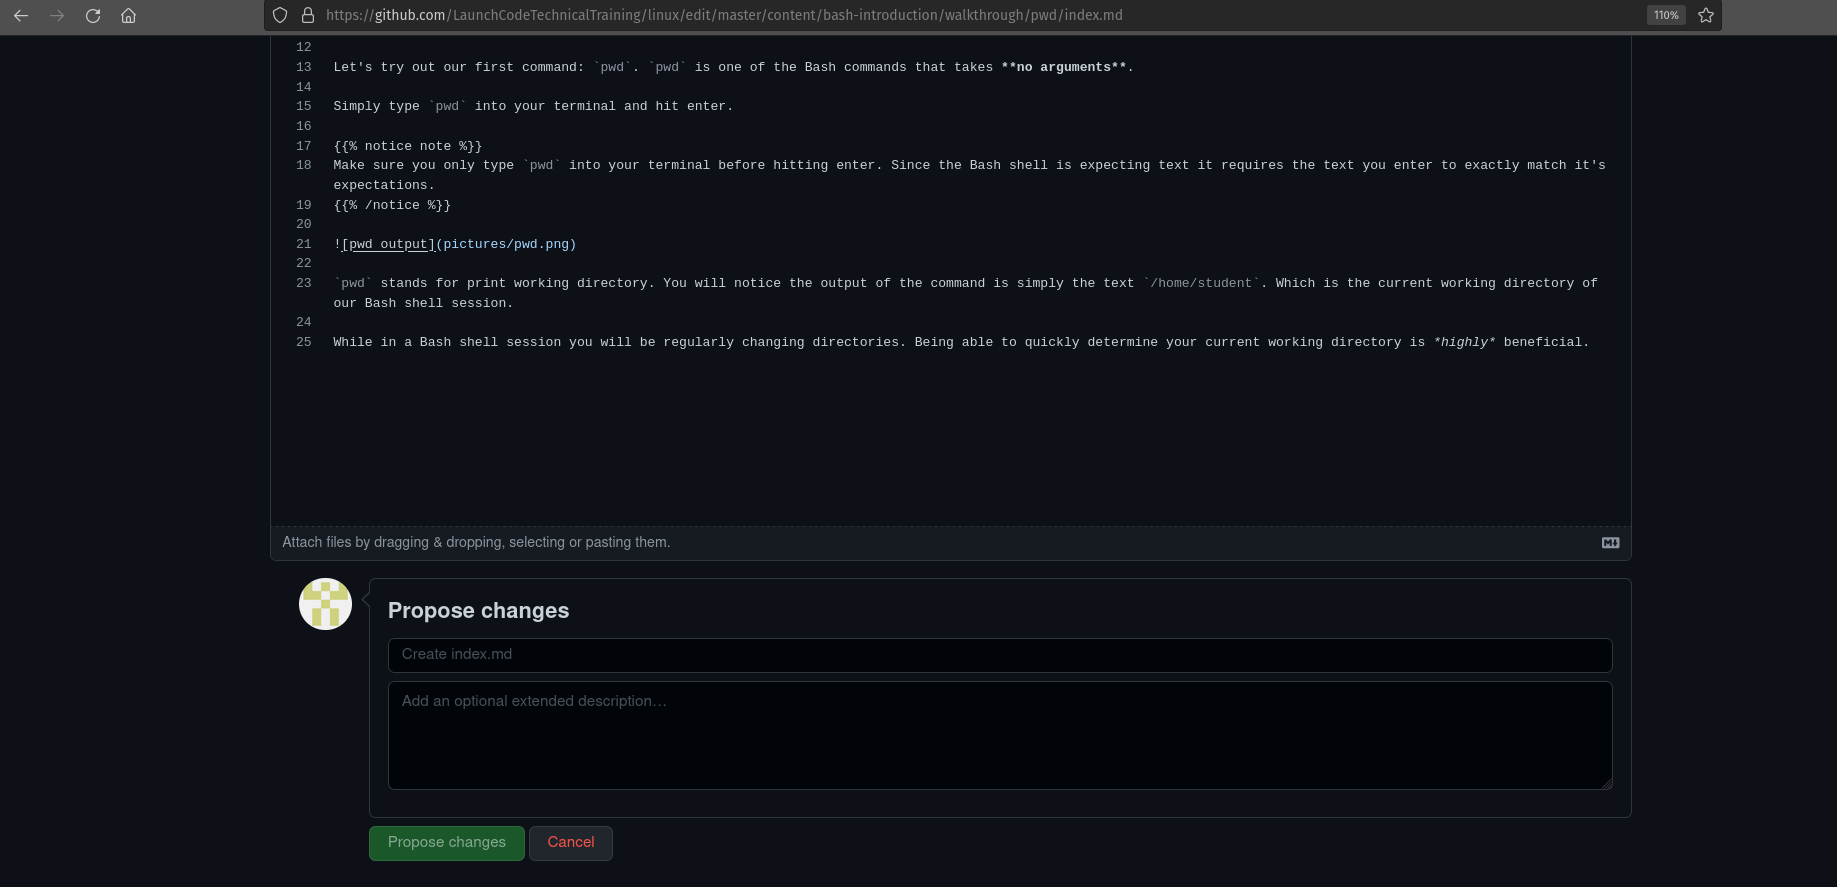
Looking over the file we see a typo. On line 18 the current curriculum says the word it's, but they are using the apostrophe incorrectly. The typo is highlighted in the following picture:

We can make the change directly in this window by removing the apostrophe:

We could continue to copy/edit this page, but for simplicity sake let’s go ahead and say our work is complete.
Propose a Change By Committing
Once our edits are complete we need to create a commit on our personal fork of this project, and propose the change. This is done simply in one step when we click the Propose changes button.
Before you propose your change make sure to add a Commit Title and Commit Description like the following picture:
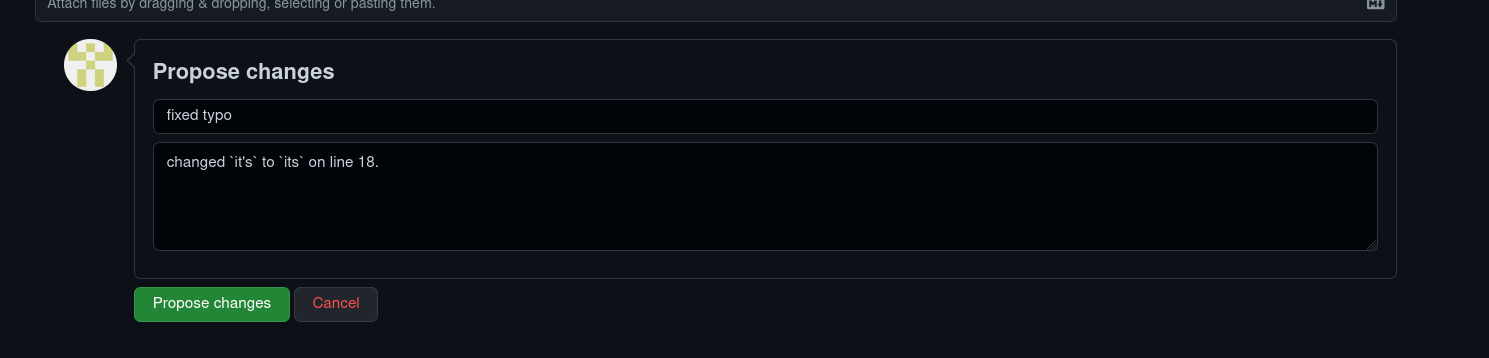
- commit title: fixed typo
- commit description: changed `it’s` to `its` on line 18.
Once you have added a meaningful commit click the Propose changes button:
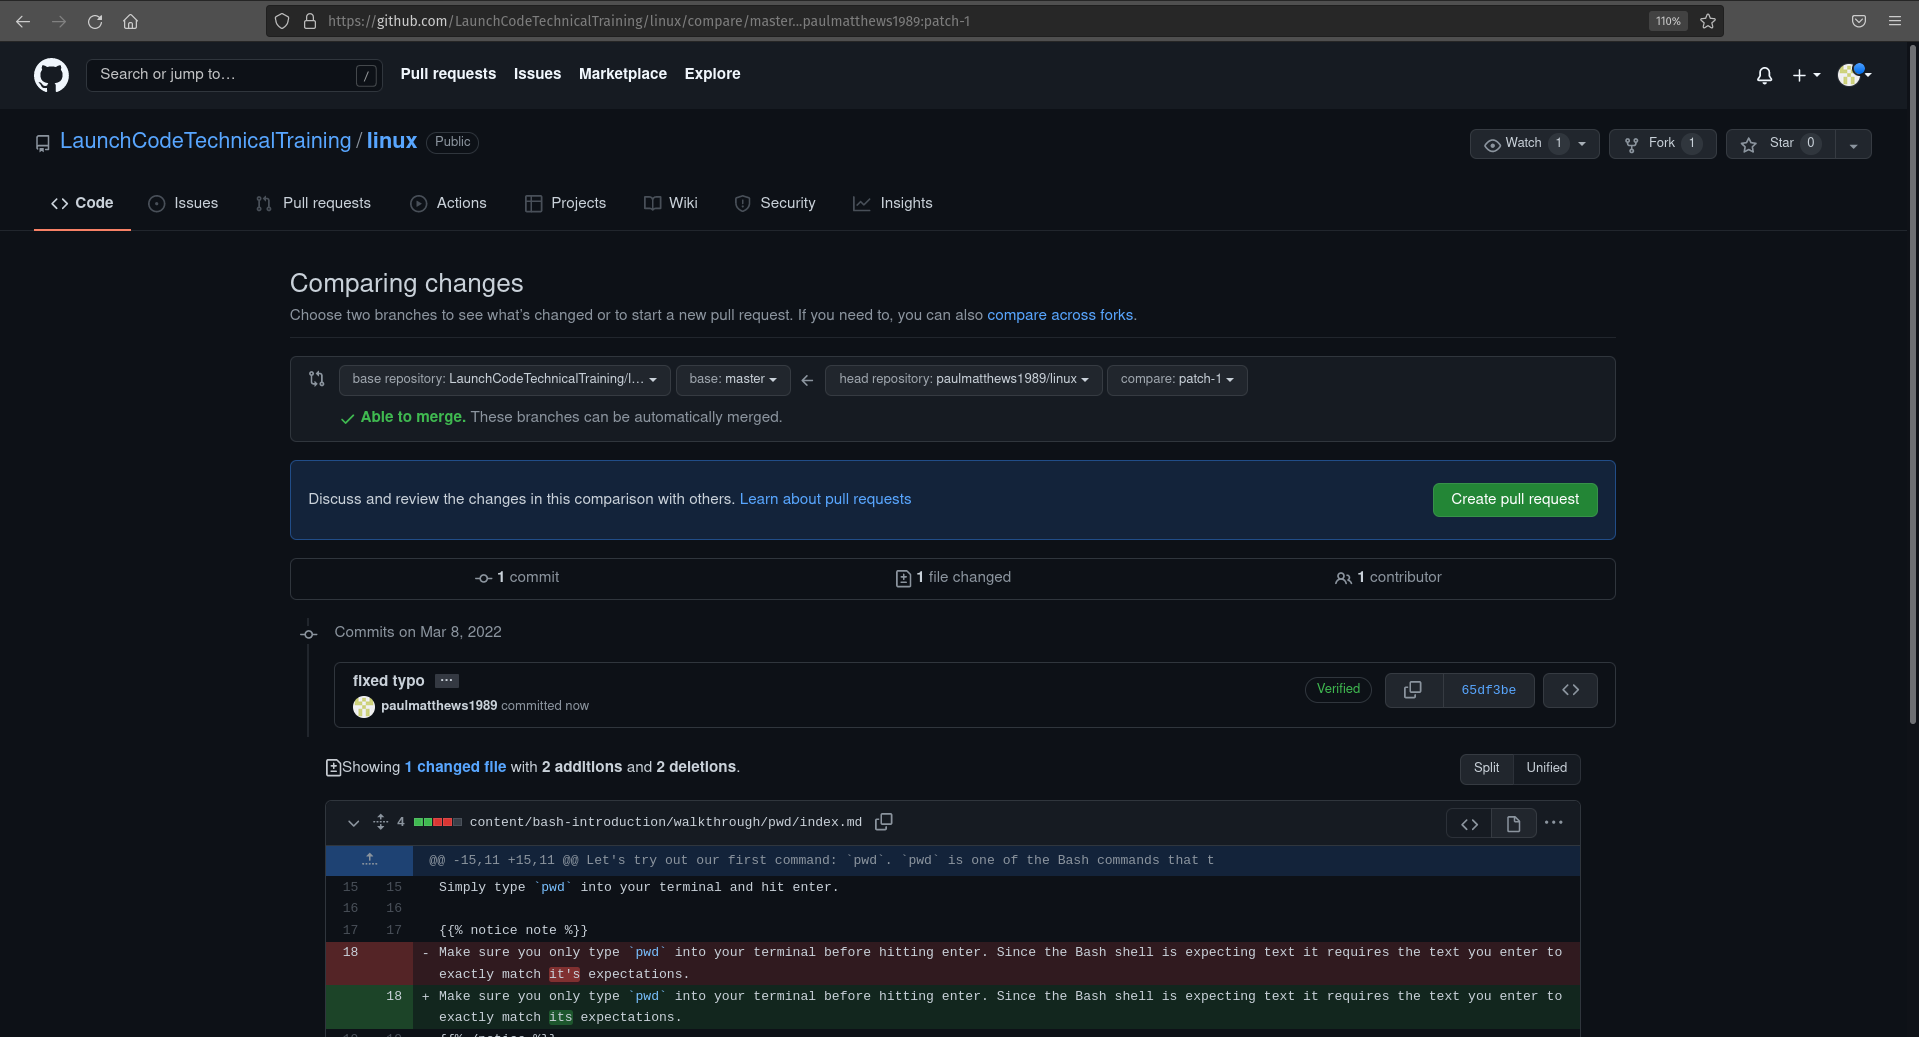
Upon clicking this button, multiple things happened. What you see is the comparing changes screen before a GitHub Pull Request is created. It is comparing https://github.com/LaunchCodeTechincalTraining/linux/ master branch to https://github.com/paulmatthews1989/linux patch-1 branch.
In fact we are trying to merge the paulmatthews/1989/linux:patch-1 branch into the LaunchCodeTechnicalTraining/linux:master branch.
Note
Behind the scenes stuff:
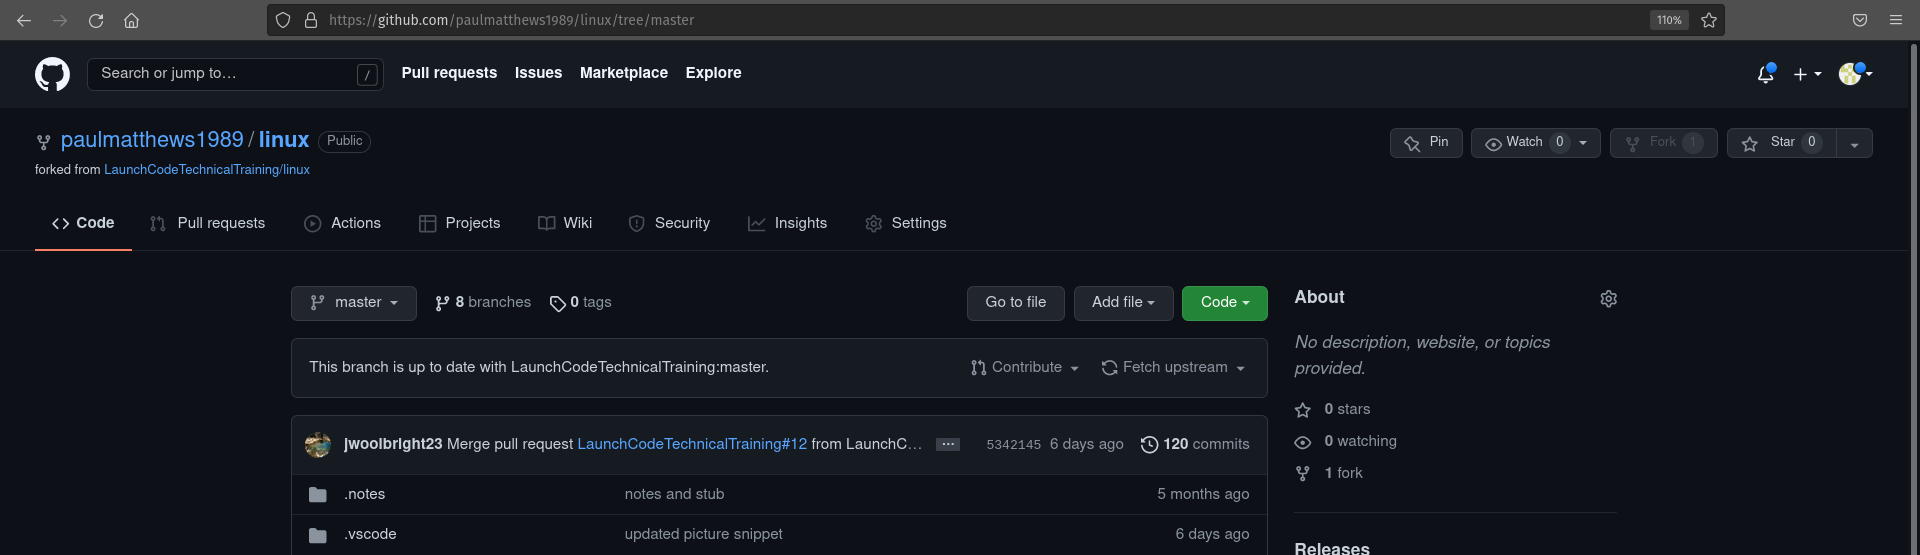
paulmatthews1989/linux/tree/master
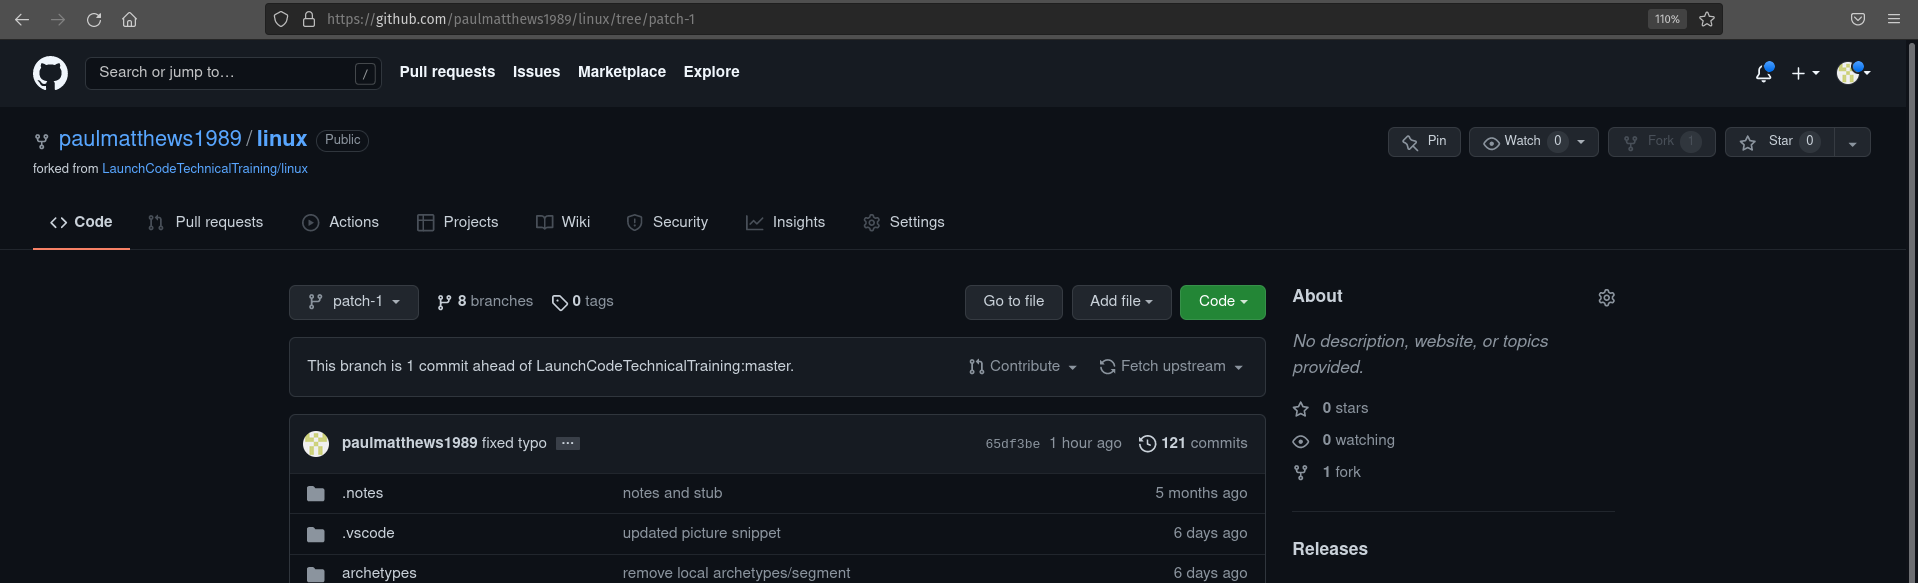
paulmatthews1989/linux/tree/patch-1
Once you click the Create pull request button on the Comparing changes screen you will notice the screen changes to:
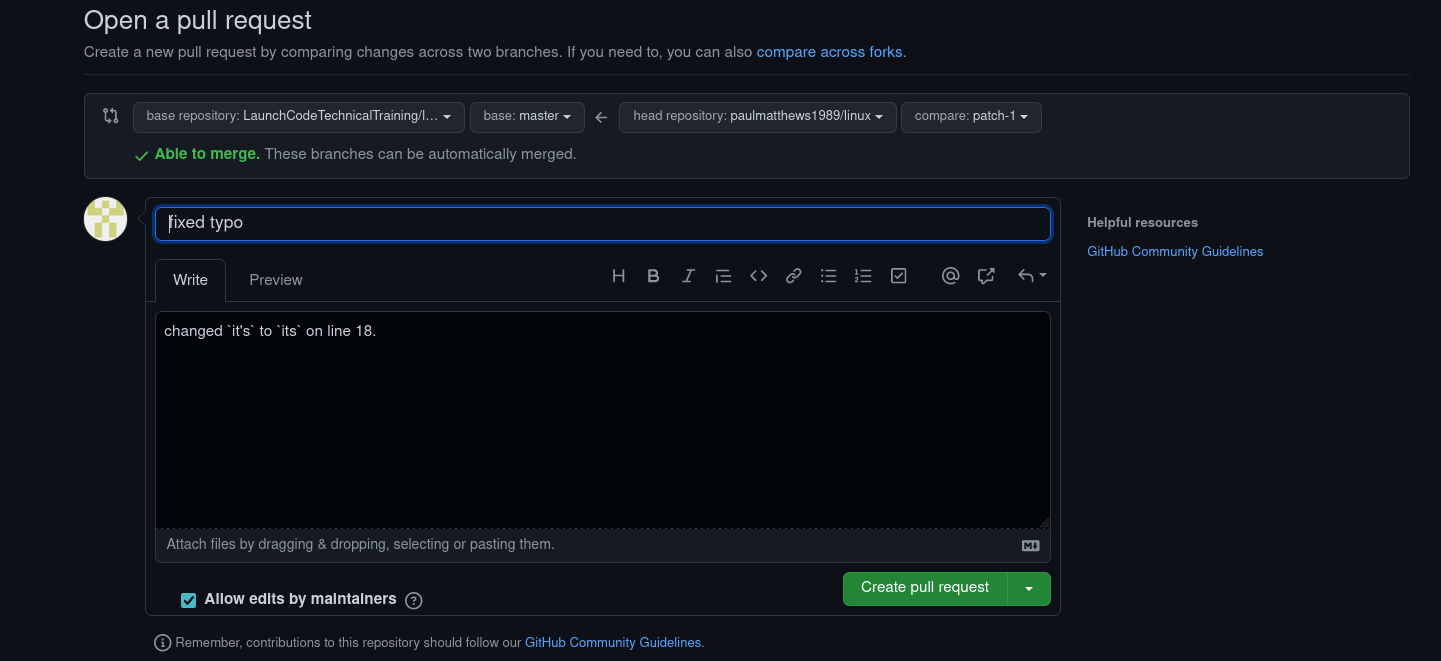
This is giving you a chance to change the Pull Request title, or description. If you didn’t provide a meaningful title and description make sure to do so before clicking the Create pull request button which will finally create the Pull Request.
Pull Request Screen
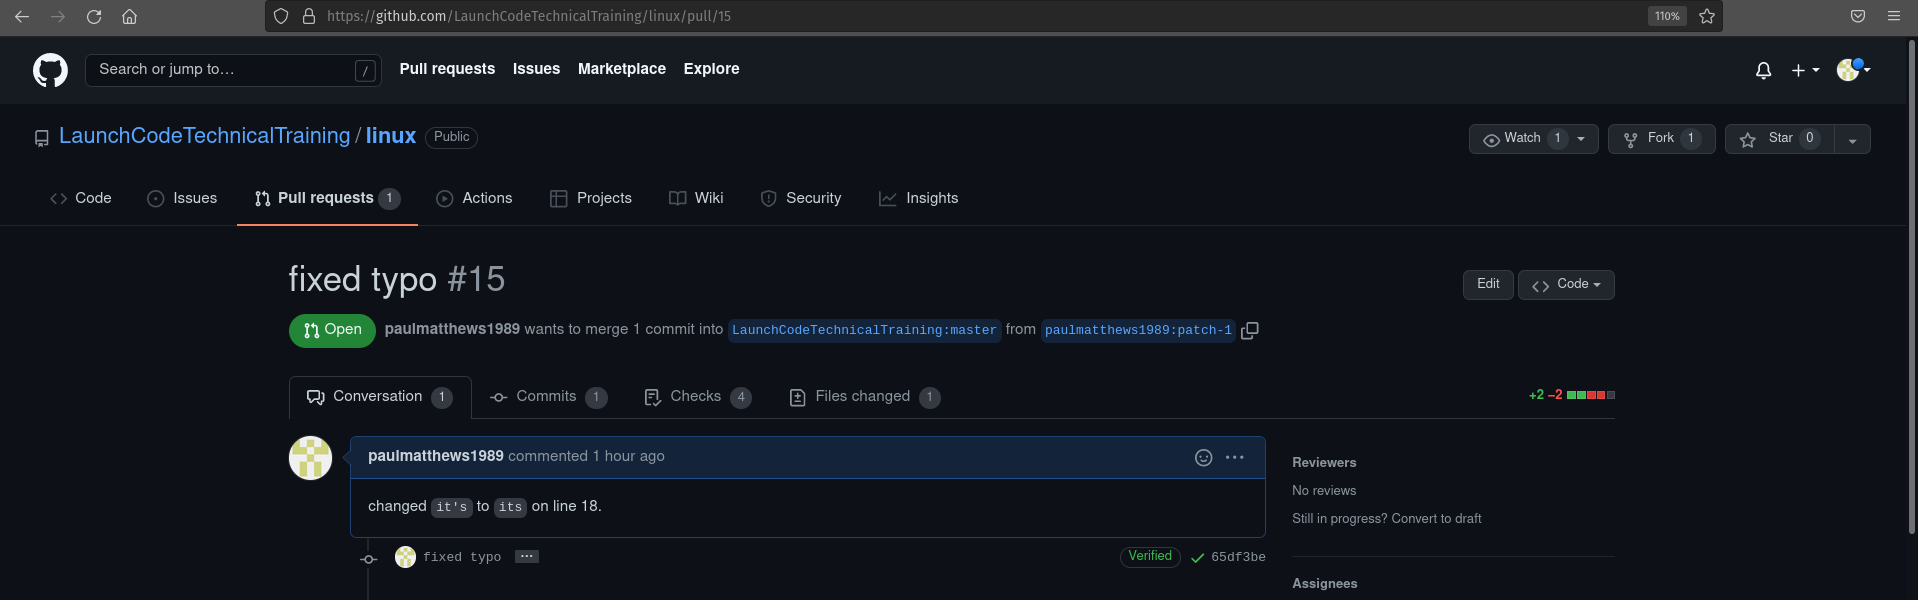
After the pull request has been created you will be taken to the page for the pull request you just created. This screen will contain:
- a pull request number
- pull request conversation
- pull request commits that are a part of the branch being merged into master, the status of any checks
- listed are all of the commits that occured in the
patch-1branch that are being merged into themasterbranch
- listed are all of the commits that occured in the
- all files that experienced a change
Pull Request Checks
As a part of this pull request there are various checks that are being performed. One of which will include a link to a live link for this project thanks to Netlify.
As the work is being performed and the checks are processing you will likely see a screen similar to the following image:
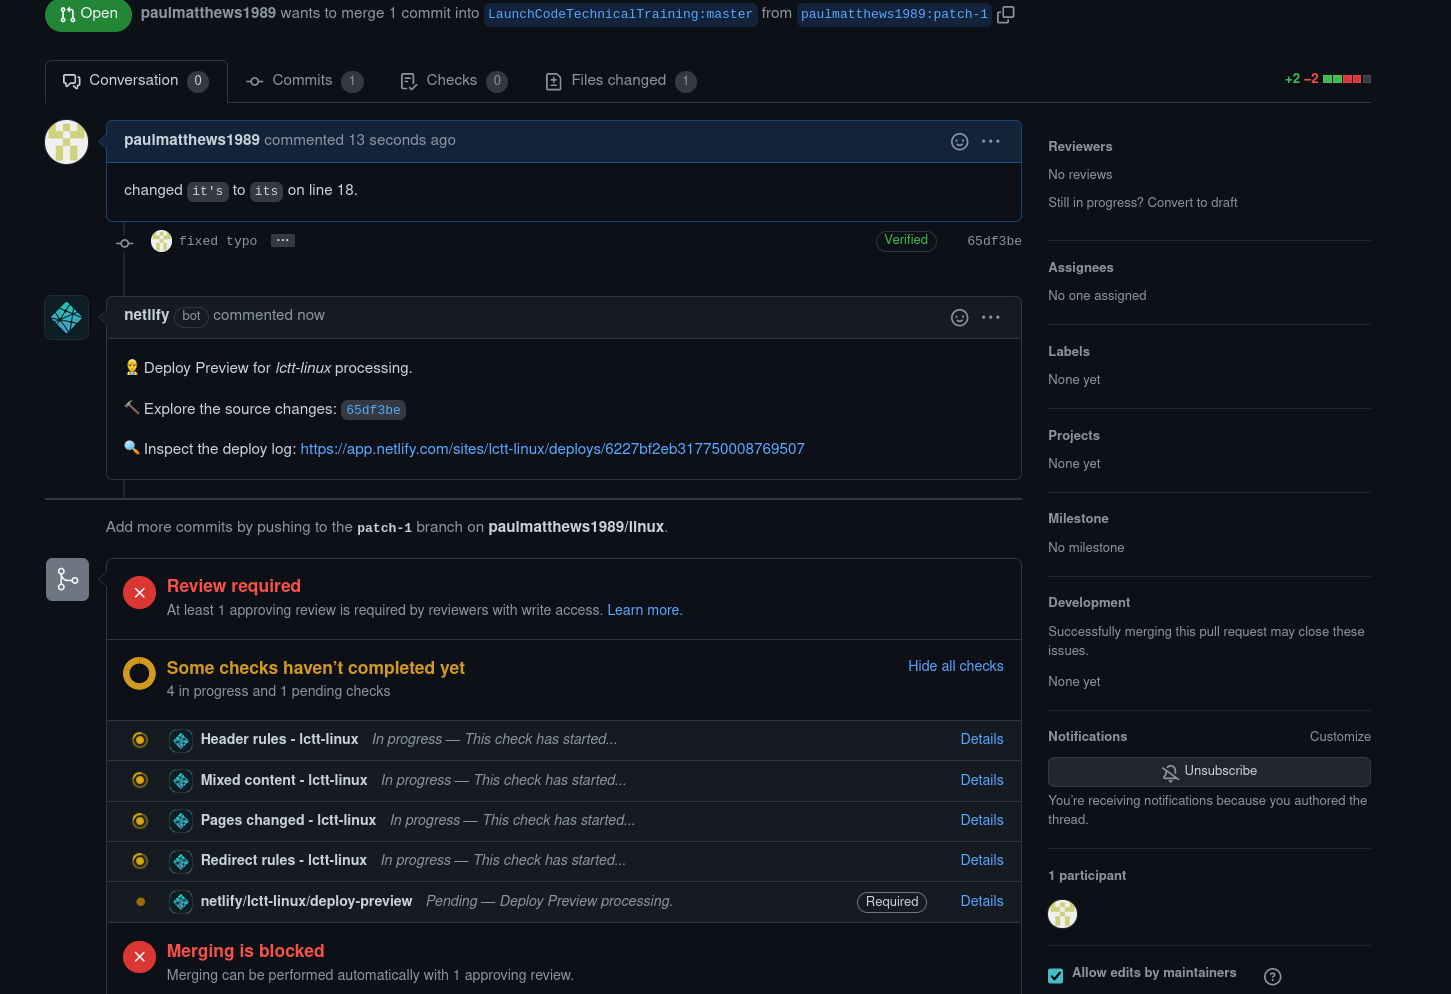
The Netfliy checks haven’t completed yet, and the Required Netlify task of deploying the preview for this Pull Request is still processing.
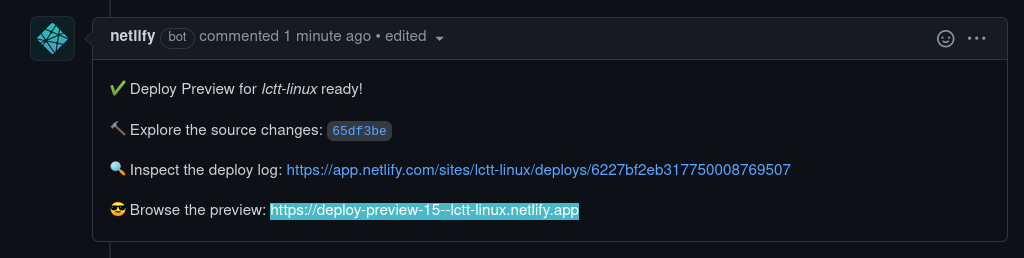
Once Netfliy has completed the deployment you will see:

There are two things of note here:
All checks have passed: Netlify did it’s thing and was able to successfully deploy the project including your changes!Browse the preview: https://deploy-preview-15--lctt-linux.netlify.app: A live link exists that we can follow to see the entire project deployed including your changes!
Note
If you didn’t see the link for the deployment try this picture highlighting the link:
Go ahead and click the link, and navigate to the page you edited:
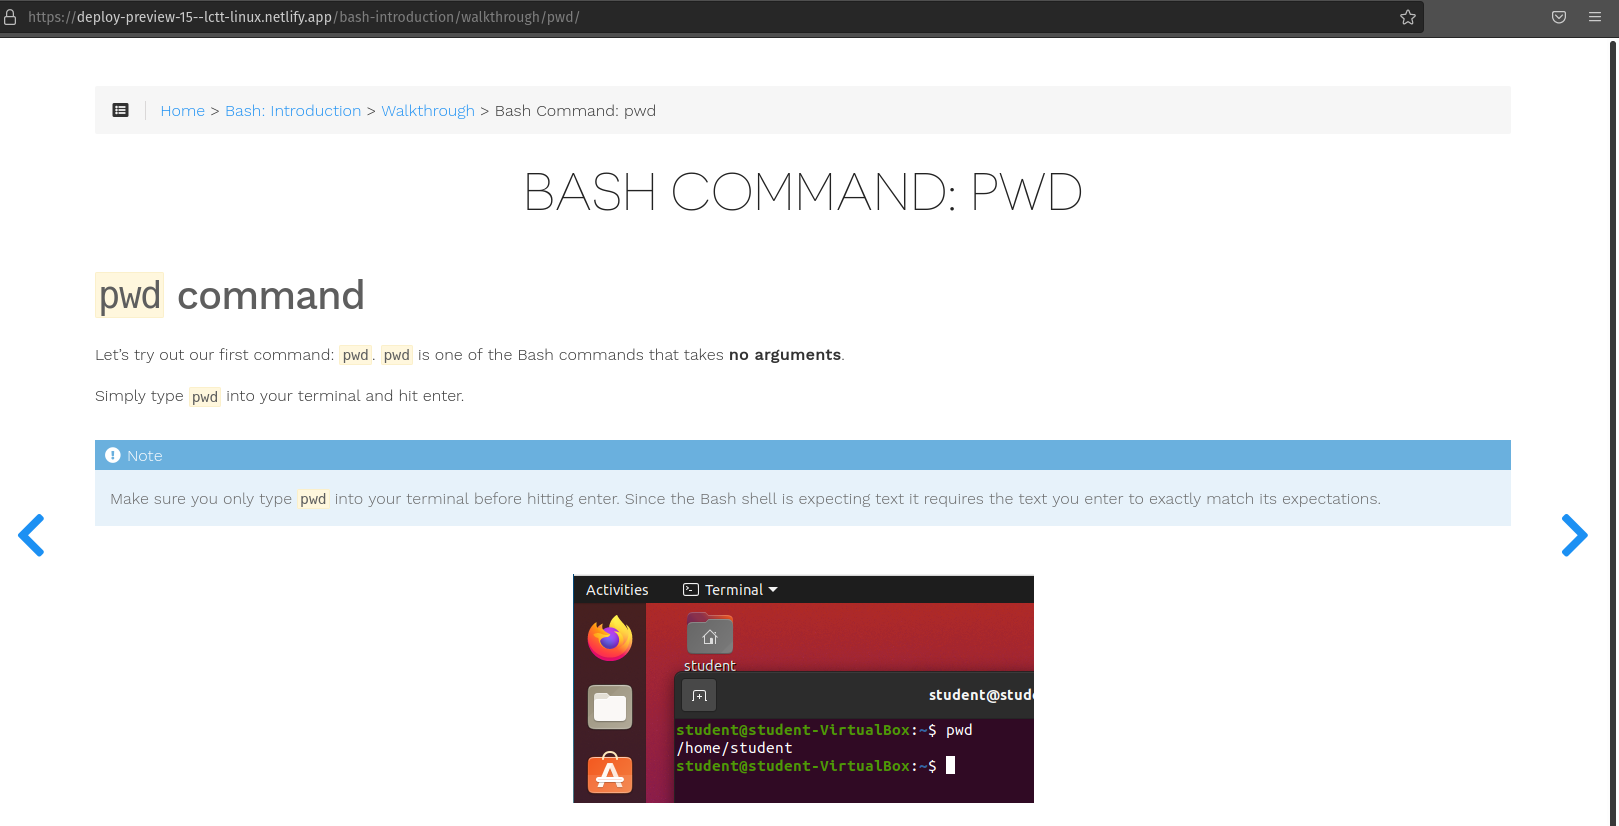
Notice the typo is gone.
Pull Request Approval Process
Your pull request will still need to be reviewed by a maintainer of this project.
We will do our best to incorporate valid changes to the curriculum, but make no guarantees that your work will be approved and merged into the LaunchCode GitHub repository. We will make an effort to leave feedback on pull requests that are denied with a brief explanation on why the pull request was denied.
Regardless to your pull request being approved or denied we thank you for your contributions to this project!
Thanks to all of the Linux Contributors !