MacOS Installation
Download VirtualBox Installer
Before we can install Oracle VirtualBox we need to download the installer application.
The direct link for the MacOS VirtualBox download can be found here
. Download the linked .dmg file to your computer.
Warning
The link will start a download for the .dmg file needed to install VirtualBox on a MacOS system.
A .dmg file is an Apple Disk Image file. Apple commonly uses this type of file (.dmg) to store software installers.
Install VirtualBox
To begin the VirtualBox installation we simply need to run the previously downloaded .dmg file.
Run the .dmg file
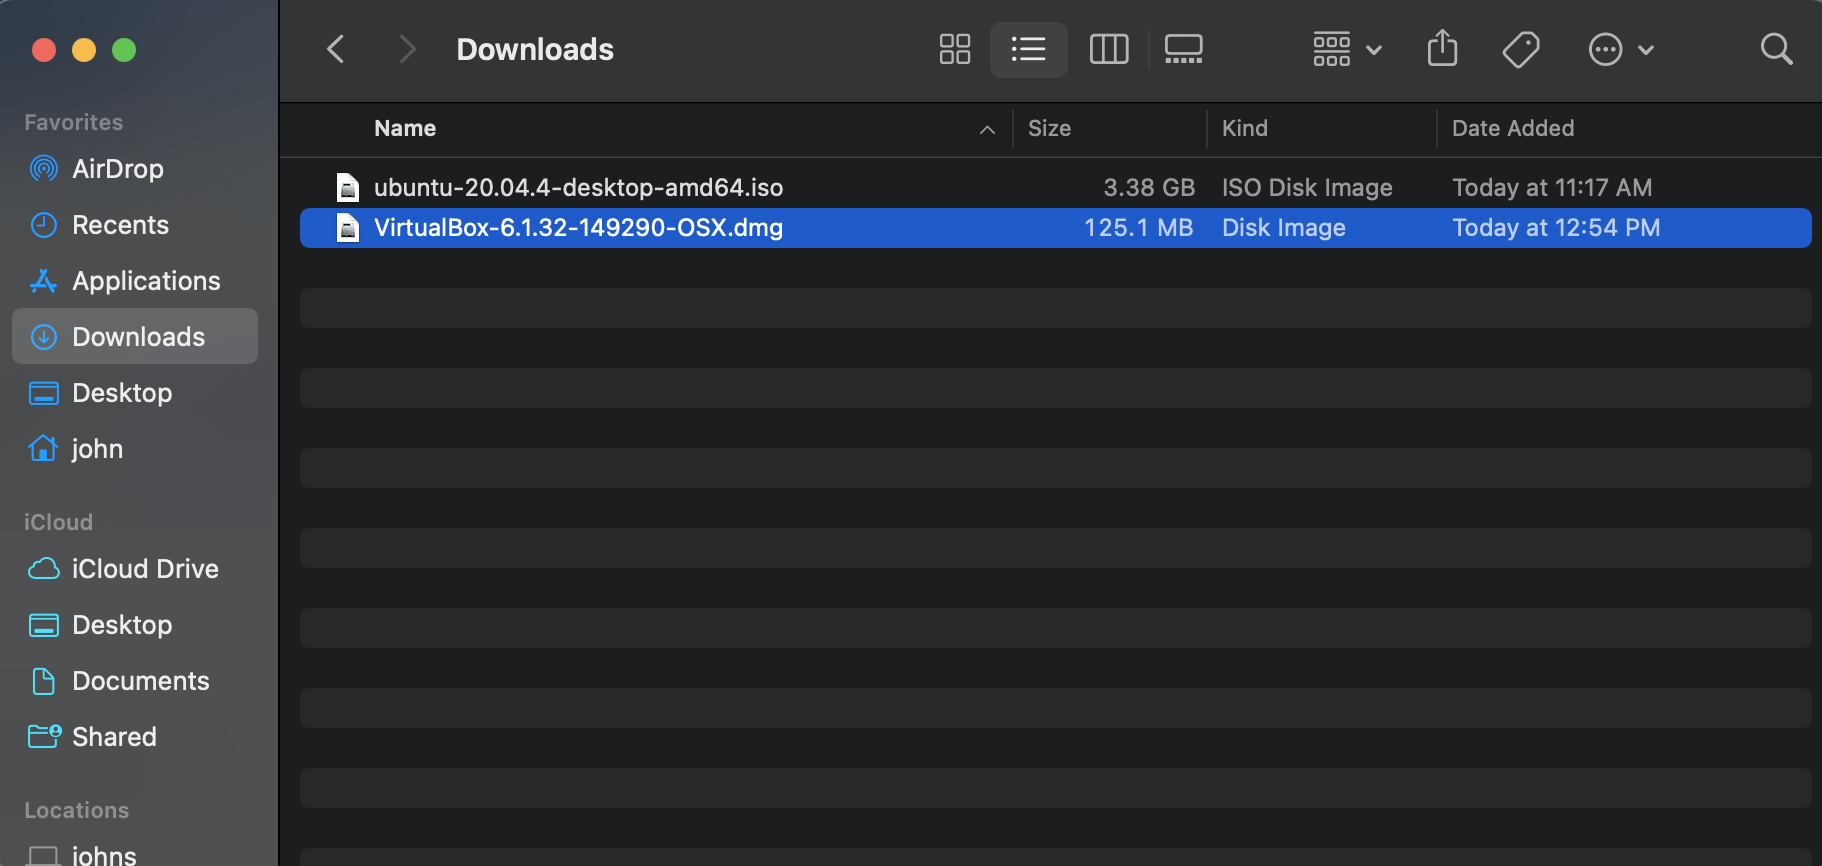
Double click the .dmg file that we downloaded from the first step in this article.
Note
If you are having trouble locating the downloaded .dmg file it is more than likely located in your downloads folder.
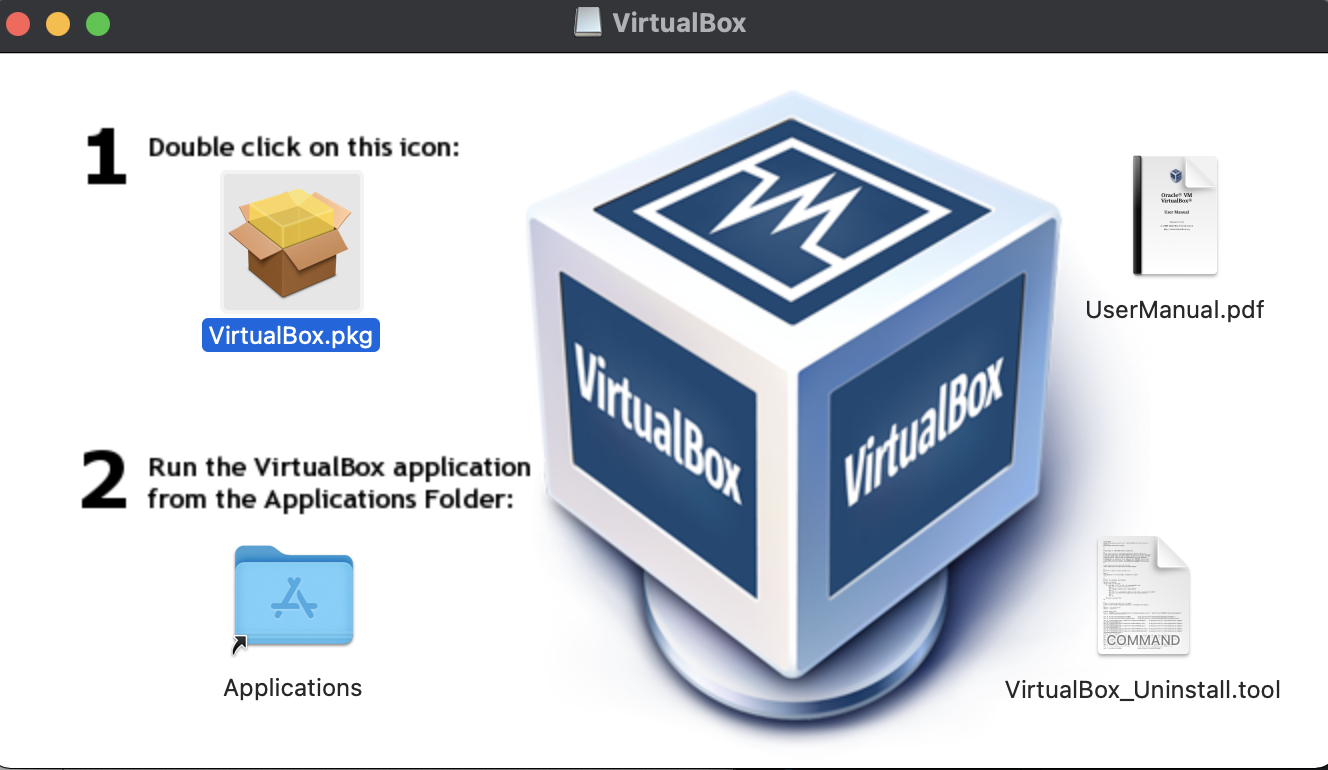
Start the Installation
Once you open the .dmg file a new window will pop up on your screen. You will need to double click the VirtualBox.pkg file. This will open up the VirtualBox installer window.
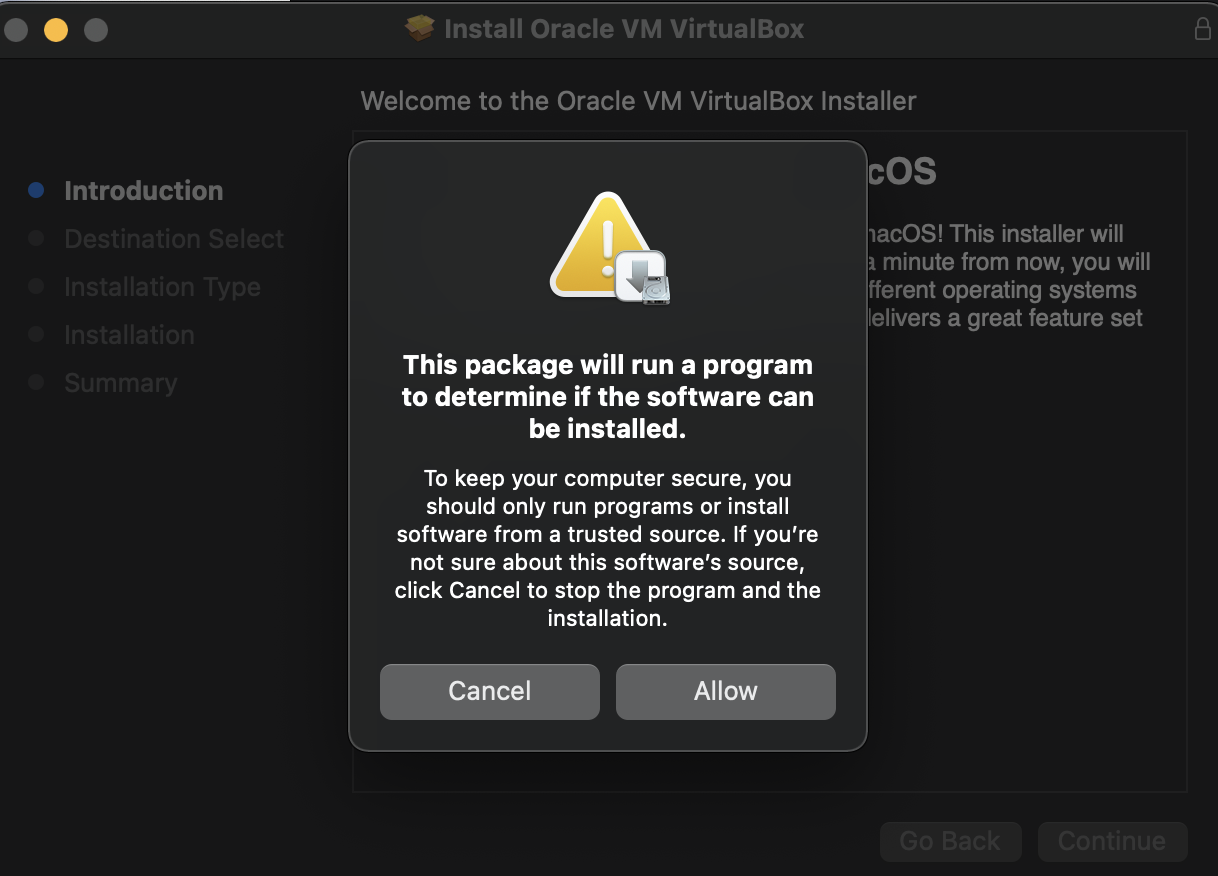
VirtualBox Installer
Once the installer has started you will be prompted to allow the VirtualBox.pkg file to run. Click the Allow button.
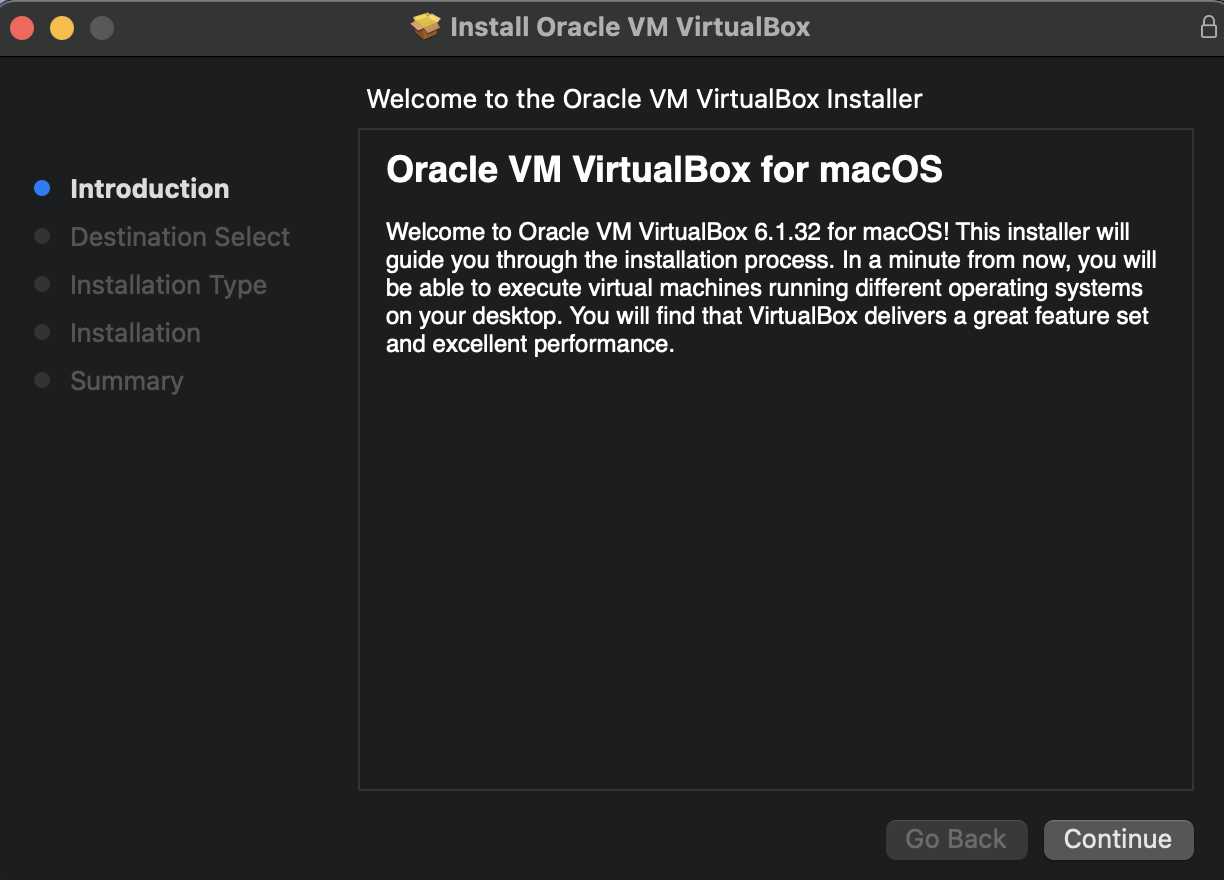
Introduction
After clicking the allow button you will find a brief overview of the installation process and what VirtualBox is capable of. After reading through the description click the continue button.
Note
Take note that the installer skips past the Destination Select screen. VirtualBox changed how you can specify the installation location, but left the option on the installer. This article uses the default installation location. If you are ever prompted to change, or select an installation location leave it on the default option. At the time of creating this article the installation location was hidden behind the Change Install Location... button. You can see this button in the following images. This article will not even click the button as we want the default location.
Security and Preferences Note
At some point in time during the installation of VirtualBox your MacOS will display a pop up window with the message: System Extension Updated.
Your MacOS is letting you know that the programs associated with Oracle America, Inc. (in this case VirtualBox) have been registered in your MacOS’ Security Preferences. In order to use the software installed you will have to confirm the access this software has to your computer. This is standard behavior for MacOS. This article will cover the work that needs to be completed in the MacOS Security Preferences settings after completing the installation of VirtualBox.
Warning
The System Extension Updated pops up at a non deterministic time in your installation process. It could pop up almost immediately, or you might not see it until one of the later screens of the installation. Whenever the System Extension Updated window pops up click the Open Security Preferences button and move the window out of the way, you will check these settings after completing the VirtualBox installation.
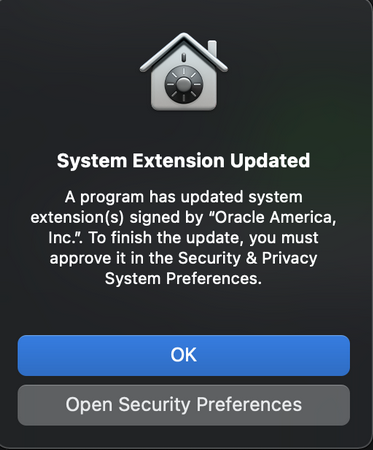 Whenever you see the above image in your VirtualBox installation click the
 Open Security Preferences button and set the resulting screen to the side so you can complete VirtualBox installation.
Installation Type
You will be using the standard installation of VirtualBox for this walkthrough. This is the default type of installation. Click the Install button.

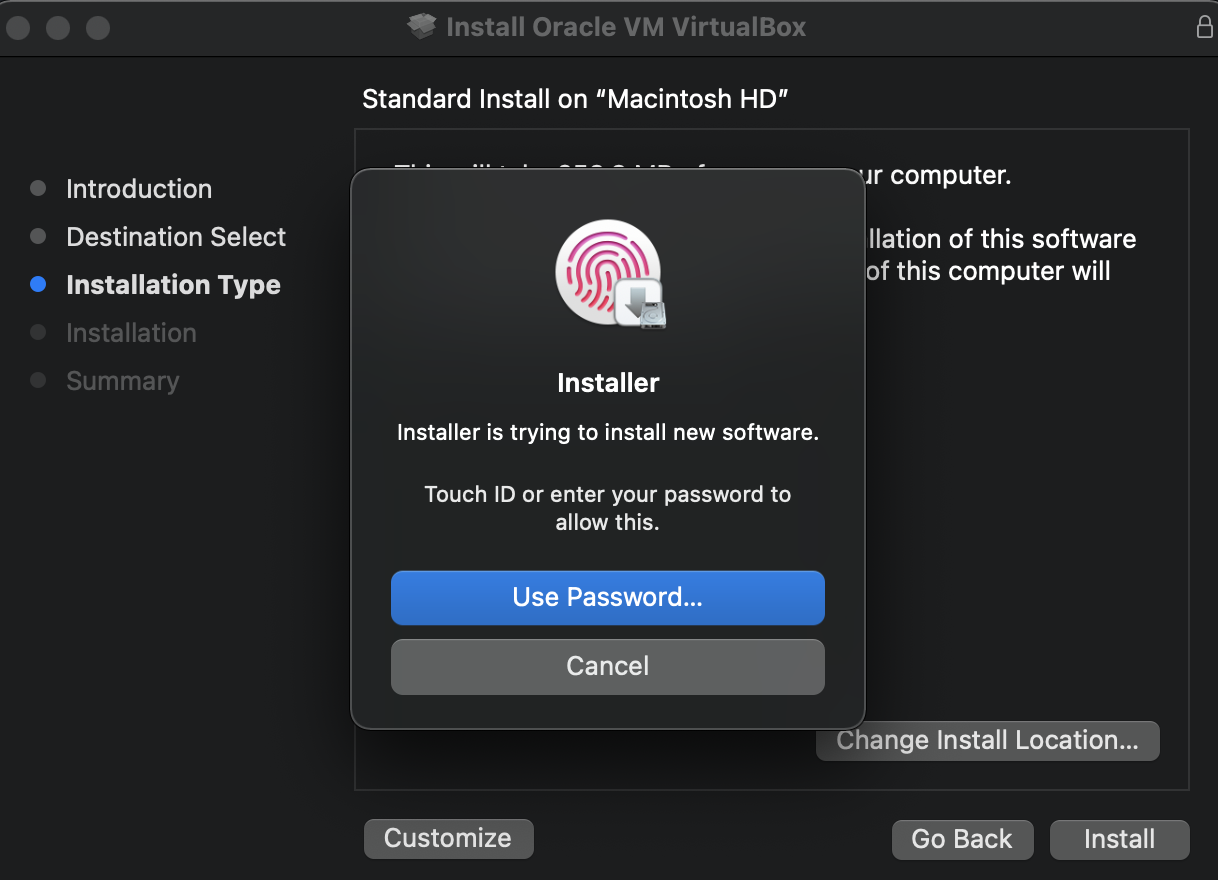
Installer Credentials
You might receive a notification that your installer is trying to install new software. Click on the Use Password... button and provide your credentials to continue our installation process.
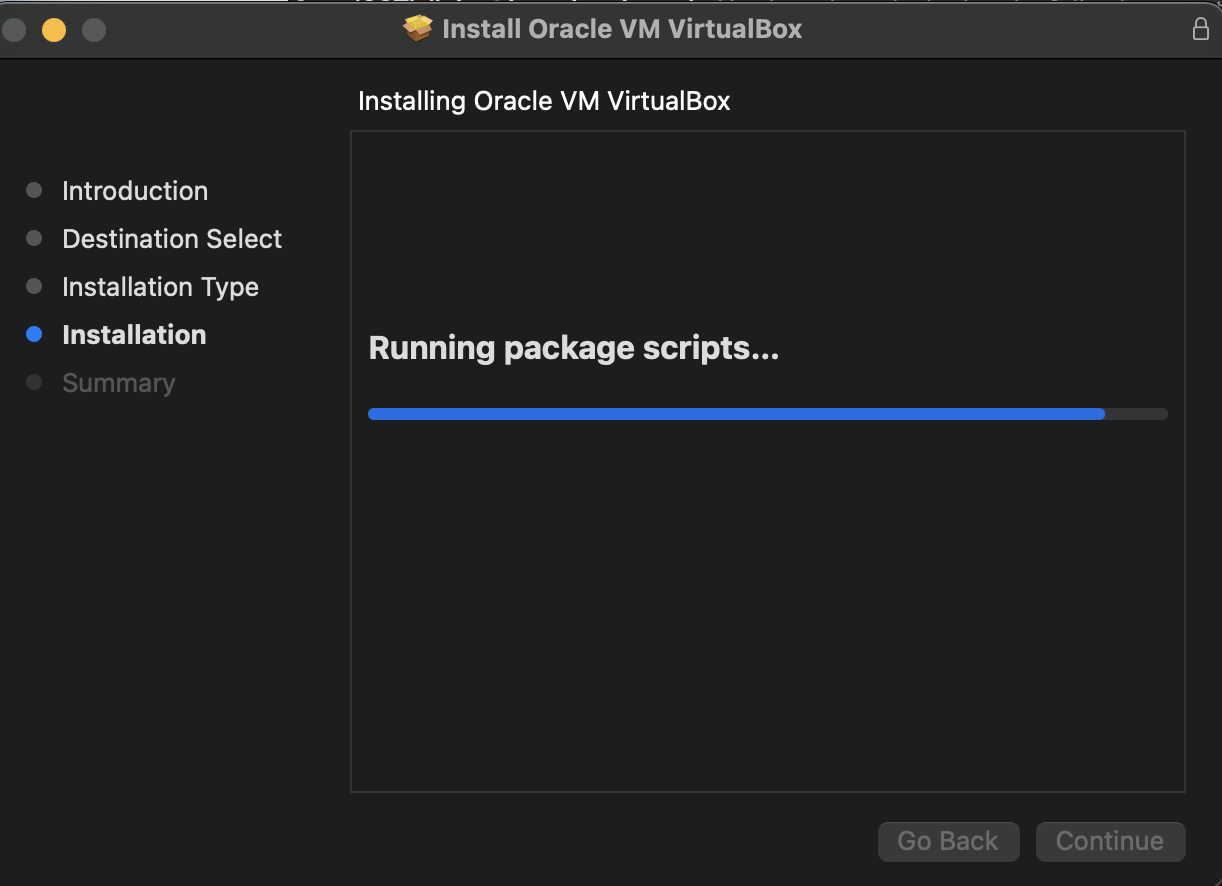
Complete Installation
The installer will now run the scripts included within the VirtualBox.pkg file to complete our configured installation. This may take a few moments.
Once your installation has completed successfully you should see a window similar to the following image:
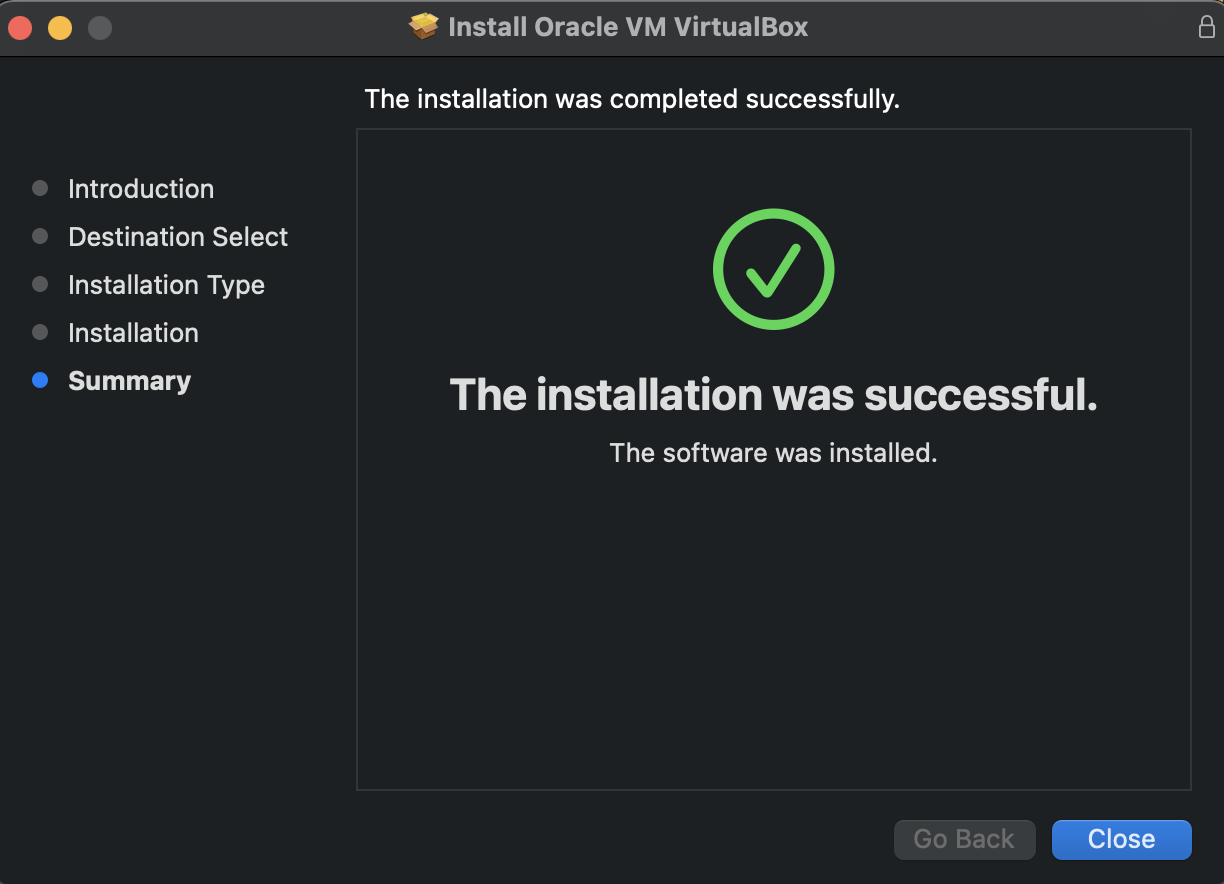
From here you can exit the Install Oracle VM VirtualBox window.
Configuring MacOS Security & Privacy
Before you can use the VirtualBox software we need to finish up the update necessary to grant proper access to Oracle America, Inc..
During the installation process you ran into the following pop up:
You clicked the Open Security Preferences and put the resulting window to the side. The resulting window was called Security & Privacy and looks like the following image:
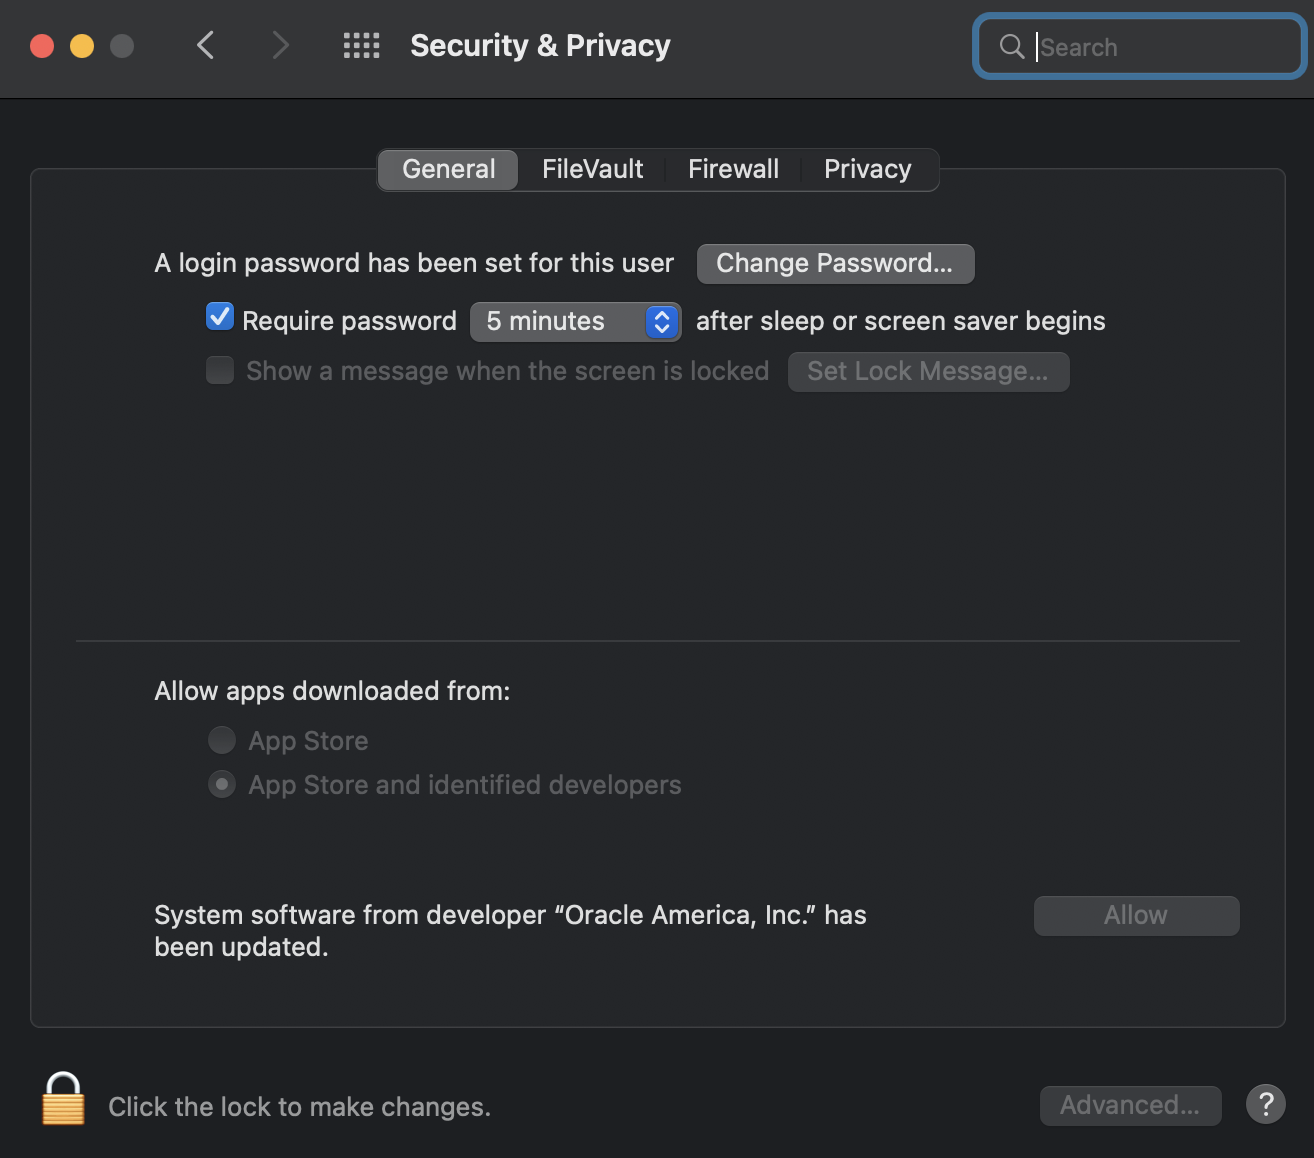
Using this window we will be granting VirtualBox the permissions needed to use the software.
From the Security & Privacy window we will need to:
- unlock the security preferences
- Allow “Oracle America, Inc.” permission to our machine
- Restart our computer
Unlock Security Preferences
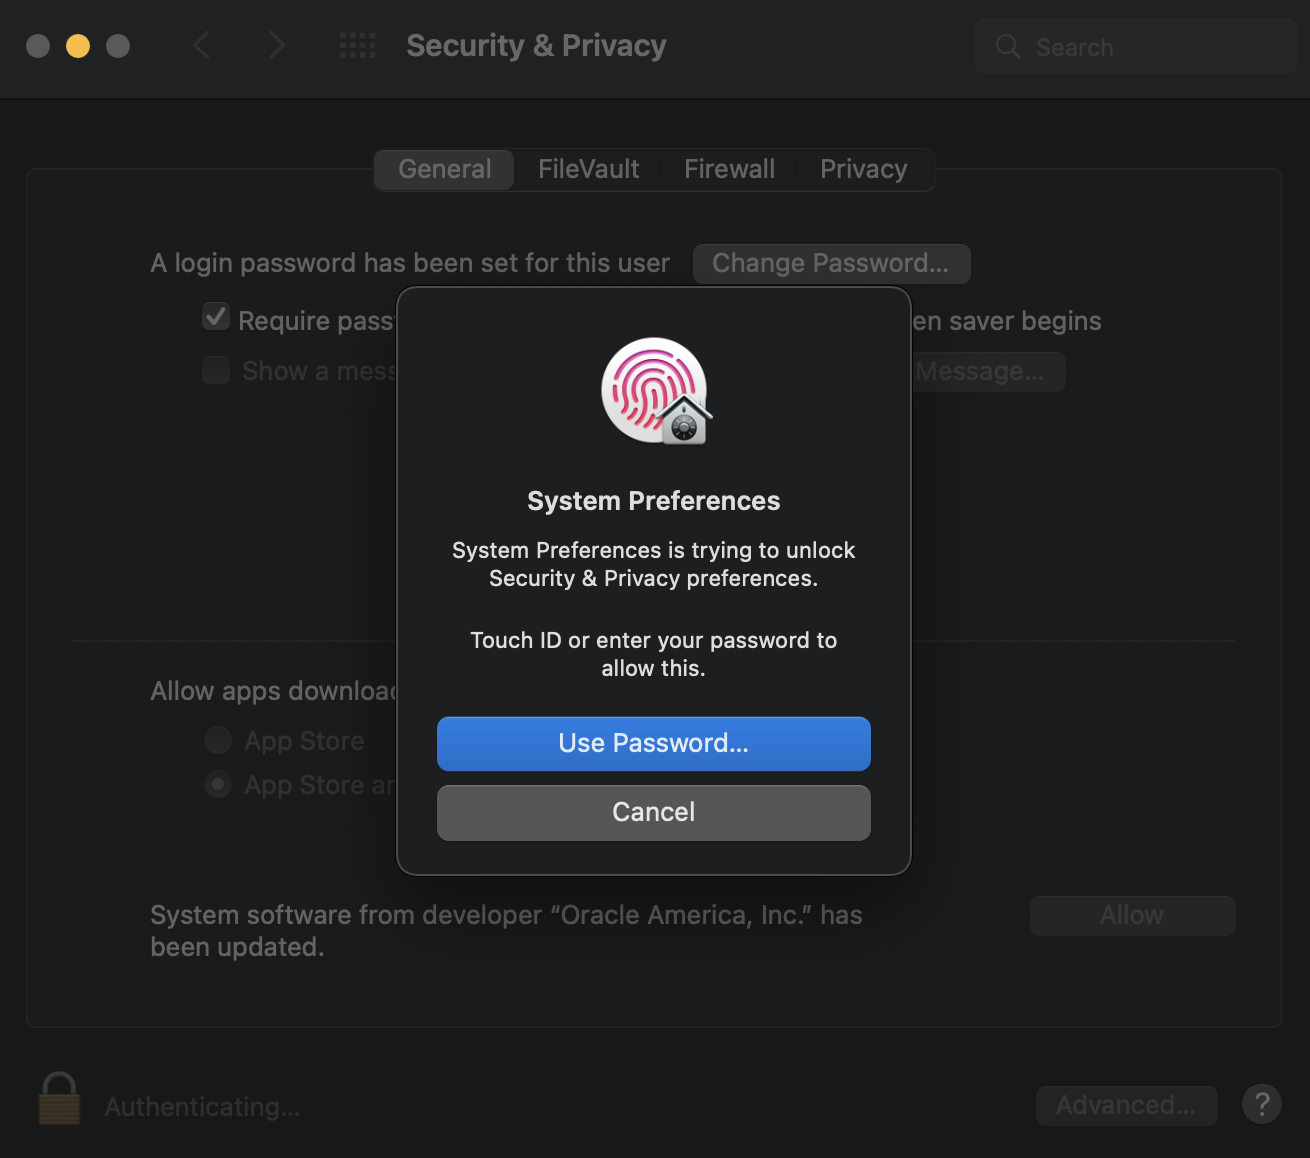
To make the required changes to our Security & Privacy we will need to unlock the security preferences by clicking the padlock icon in the bottom left corner.
Upon clicking the padlock icon you will be asked to enter your password. Please provide your credentials.
Grant Oracle America, Inc. Permission
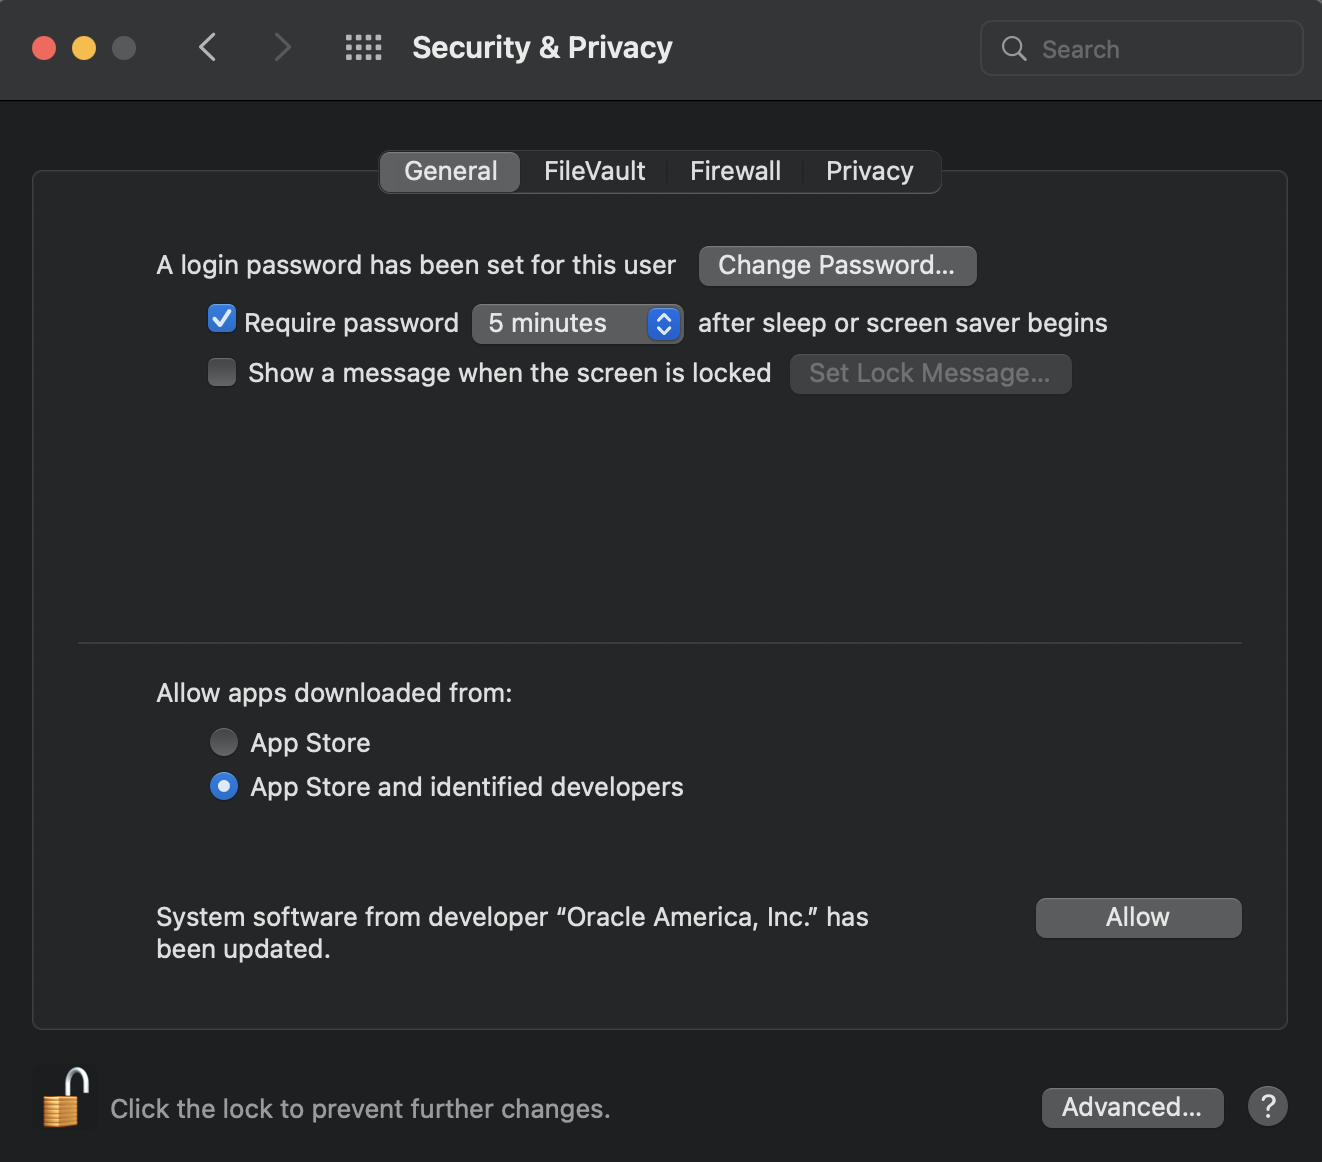
Once you have entered your password you will see a “System software from developer “Oracle America, Inc” has been updated towards the bottom of your Security & Privacy window. Click the Allow button.
Restart Computer
For the settings to take affect you will need to restart your computer.
Warning
Do not restart your computer until you have completed the VirtualBox installation.
Either click Restart or Not Now depending on if you have completed the Installation steps from the previous section.

Validation
After your machine restarts you should find the VirtualBox.app within your applications folder. You can locate this by opening your finder and selecting the applications tab.
Bonus
Alternatively you can find the VirtualBox.app by hitting command + space bar (cmd + space) and typing in the program name “VirtualBox.app”.
Finally, when you open the VirtualBox application you should see a window similar to the following image:
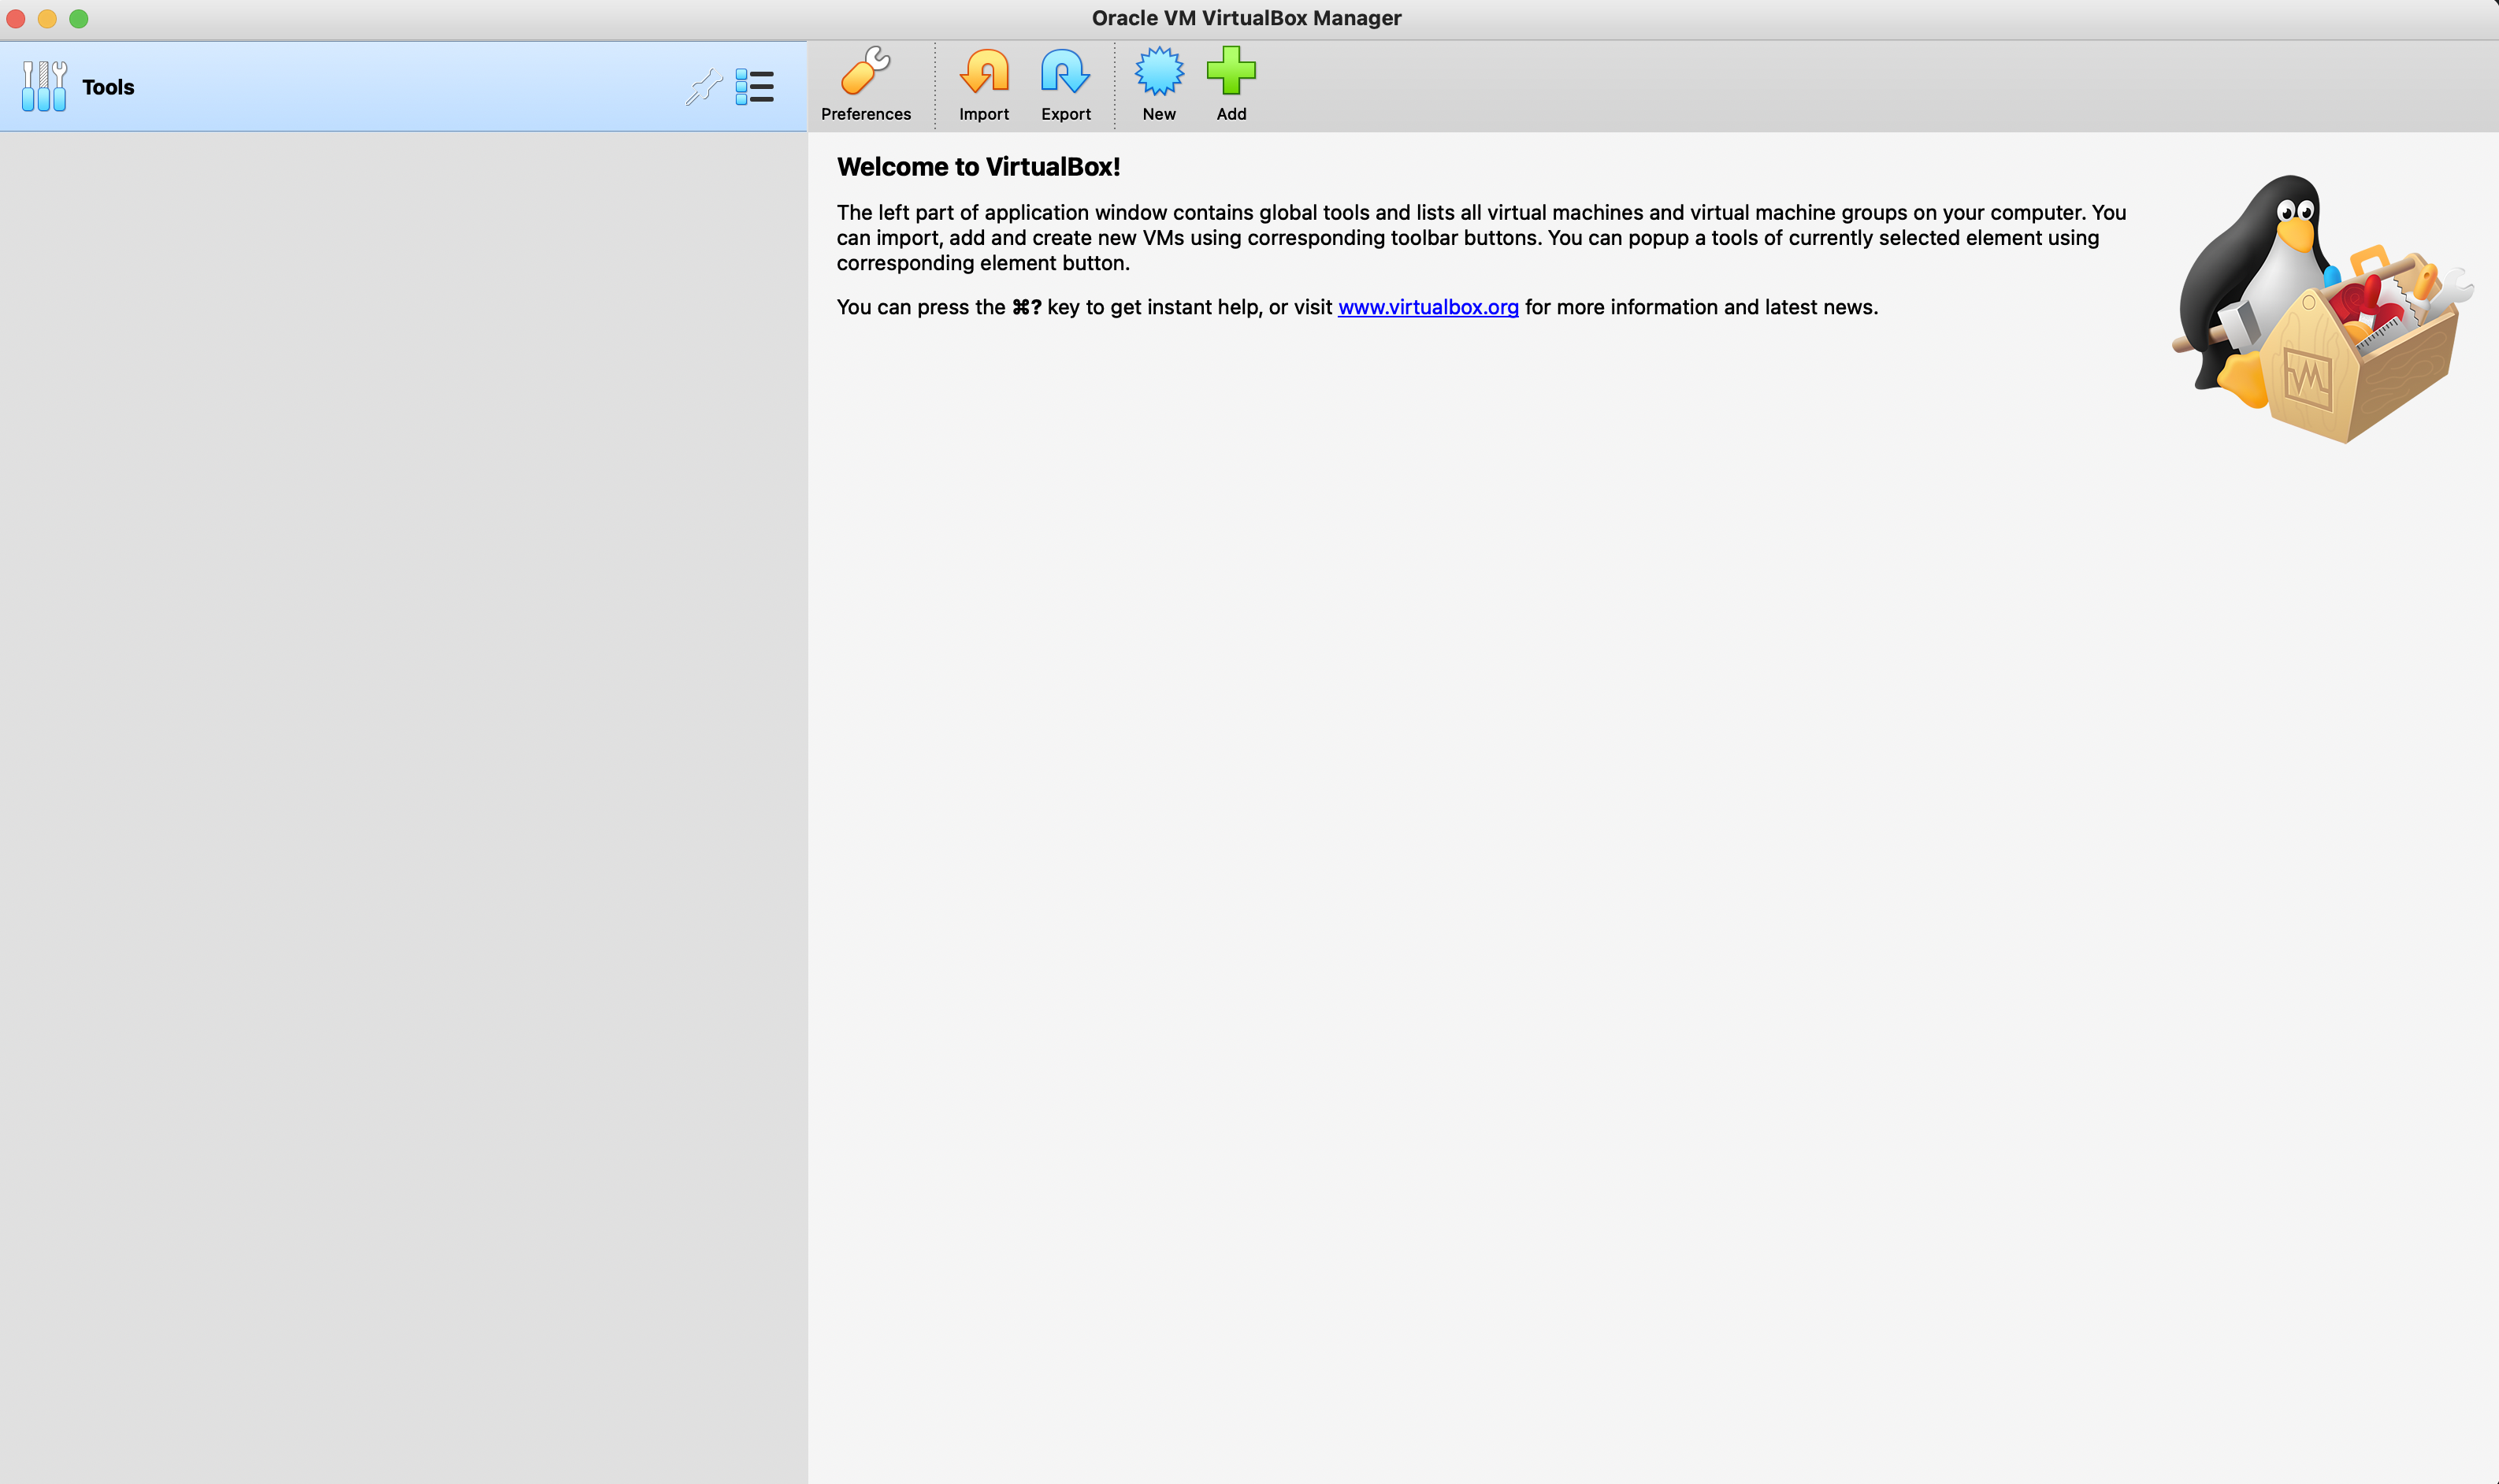
Once you have reached this screen you have successfully downloaded, installed and configured VirtualBox to run on your MacOS.
Summary
In this article we downloaded and installed Oracle VirtualBox onto our host computers. In the next configuration article we will be using VirtualBox to create a virtual machine image of Ubuntu, which will be the Linux distribution used in this class.
Look over the Ubuntu Configuration Article to complete the configurations necessary for this course.