Ubuntu ISO Image Setup
In this article we will configure our new virtual machine to use the Ubuntu .iso image we downloaded earlier. We will be configuring our virtual machine to use the .iso file as a CD simulating entering a CD with the file into the optical drive of this virtual machine.
Setting up the Virtual Machine to use our ISO Image
Click the settings wheel icon for the virtual machine we just created.
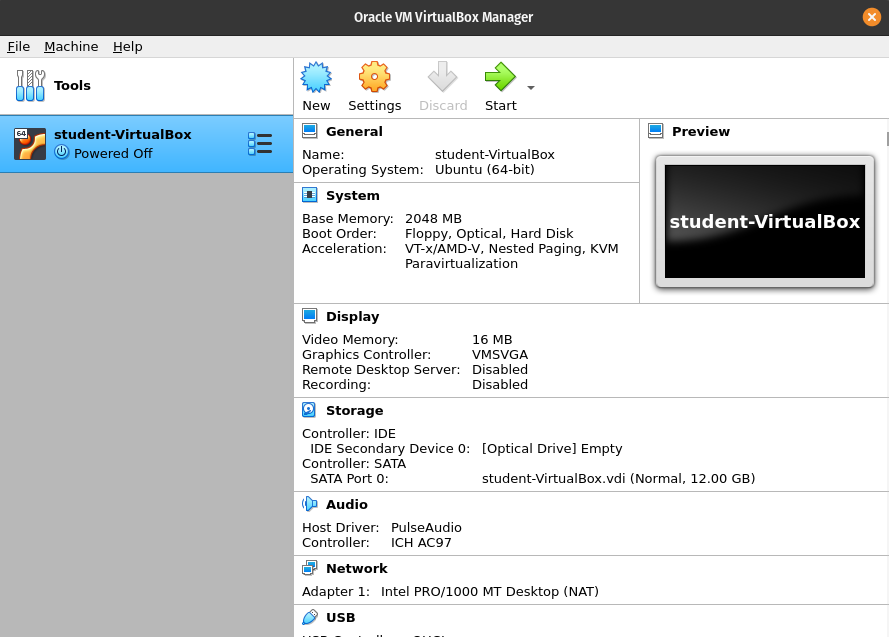
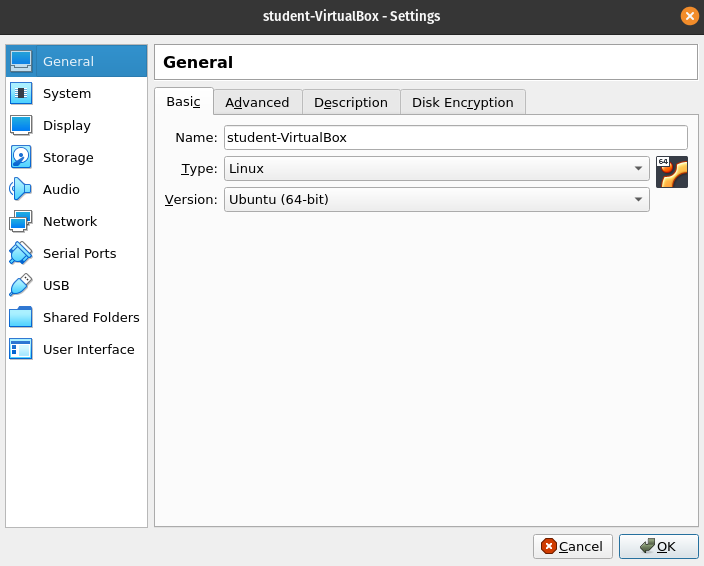
The settings wheel is a yellowish cog/gear icon. Upon clicking this icon you will see the student-VirtualBox - Settings window.
Storage
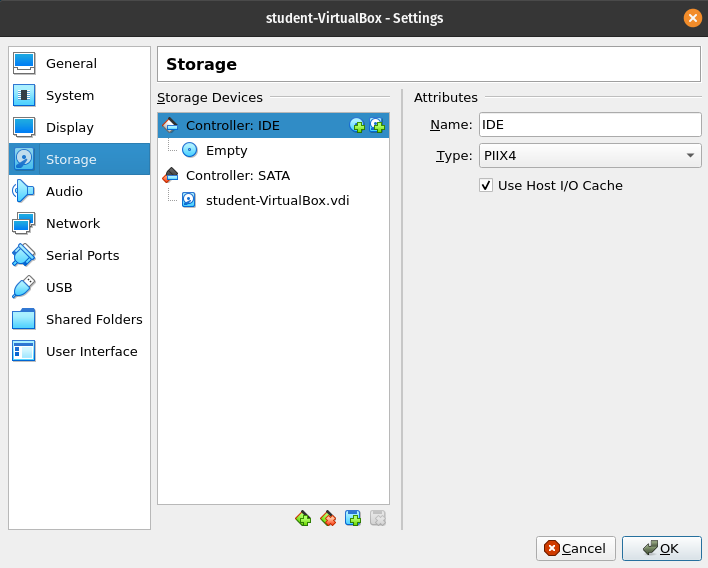
Click on the Storage Option located on the left side of the menu
Storage View
After clicking the storage option it will bring up the following view:
Empty Attributes Section
Under Controller:IDE it says Empty. This is because we haven’t told the machine which ISO to use for this Virtual Machine. Click on the Empty section below the Controller: IDE.
Note
The icon is an image of a CD, indicating we are configuring this virtual machine to boot off of the files stored on the virtual optical drive.
Optical Drive
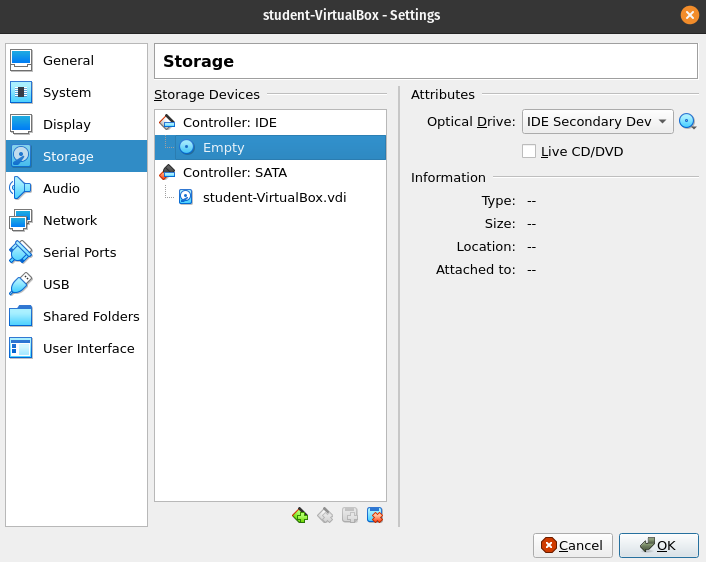
On the right side under attributes you should now see an Optical Drive drop down, to the right of that is a disk icon button.
Click the blue disc icon button and it will bring up a couple of options:
Choose/Create a Virtual Optical Disk...Choose a disk file...
Click on the Choose a disk file... option.
![]()
![]()
Selecting the Ubuntu ISO
Upon clicking Choose a disk file your host OS will open the default file manager. Using that file manager you need to select the ubuntu-22.04-desktop-amd64.iso file you downloaded earlier.
Note
The location of the ubuntu-22.04-desktop-amd64.iso will likely be in a different location than the example image posted below. The file is likely located in your downloads folder.
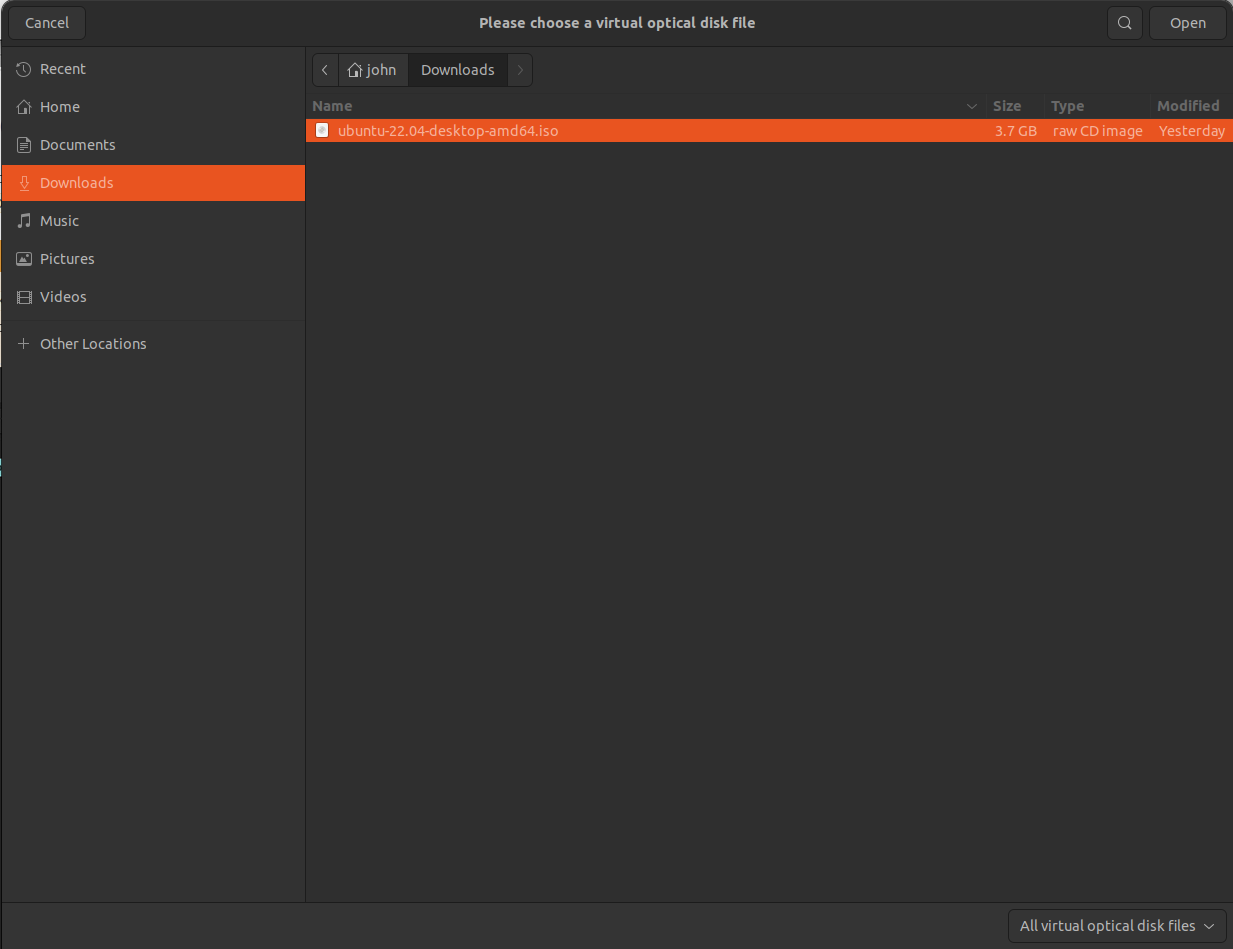 This image is an example of the default file manager on a Pop!_OS which is an Ubuntu derived distribution.
ISO added to Optical Drive
You will now see that the Ubuntu ISO has been populated under the Controller:IDE section:
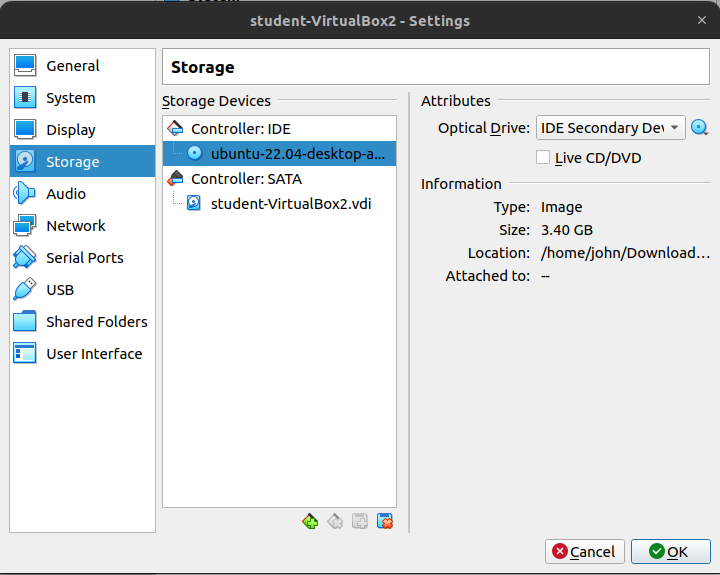
You have configured the virtual machine to use the virtual CD in the virtual optical drive. This way the new virtual machine (that doesn’t currently have an operating system) will boot from the Ubuntu .iso file which will allow you to configure Ubuntu on the virtual machine.
Next Steps
After completing the above instructions please move on to the next portion of the installation process located in the article below: