Start the Virtual Machine & Complete Ubuntu Setup
Starting the Virtual Machine
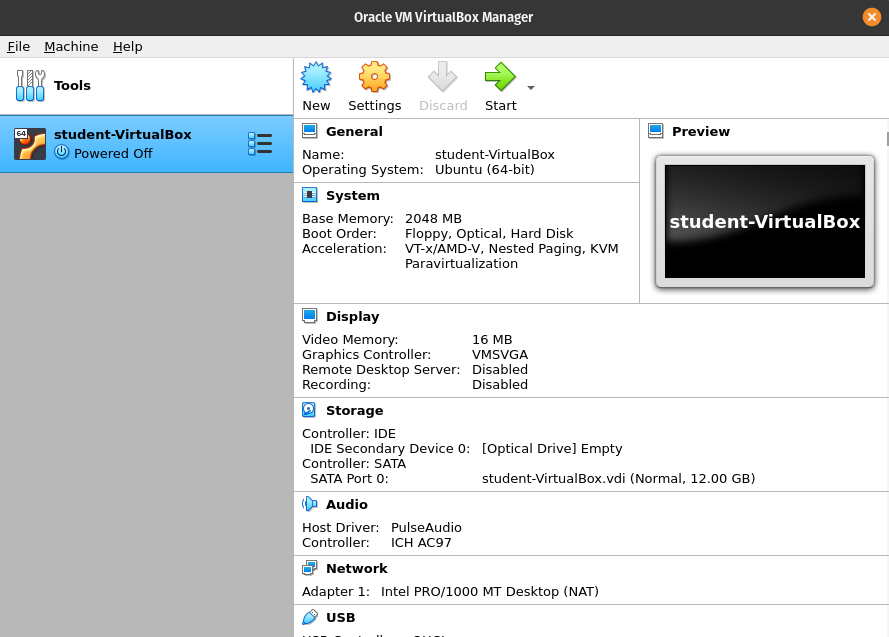
Within the VirtualBox Manager window click on the virtual machine so that it is highlighted and then click the green Start button.
Bonus
You may notice the options within the dropdown next to the start arrow, the options are normal start, headless, and detachable start. During this course we will always be using the normal start. Without doing so you will not have access to the GUI. To learn more about headless starts which are common, refer to the Headless Software Wikipedia Article .
First Time Start
The first time you start your machine it will load the .iso file in the virtual optical drive, which will trigger a new installation of Ubuntu. As it is setting up this installation you will see quite a few different screens, one of which will look similar to the following image:

Possible Install Error
Warning
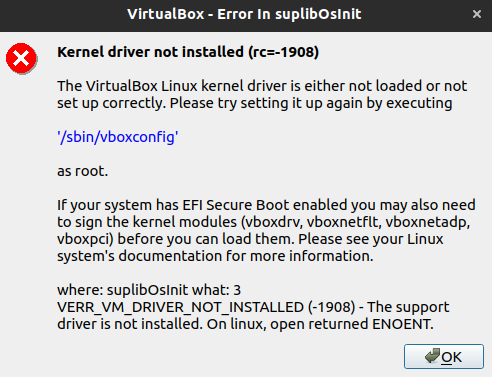
If the image is not set properly you will see the following error when you try to start the Virtual Machine:
If you see this error you misconfigured your ISO image. Please repeat the steps from the above section.
Installing Ubuntu (First Time Setup)
Once the installation wizard has finished setting up, you will see a a screen with the option to select your language. It will more than likely default to the language associated with your host operating system (English US).
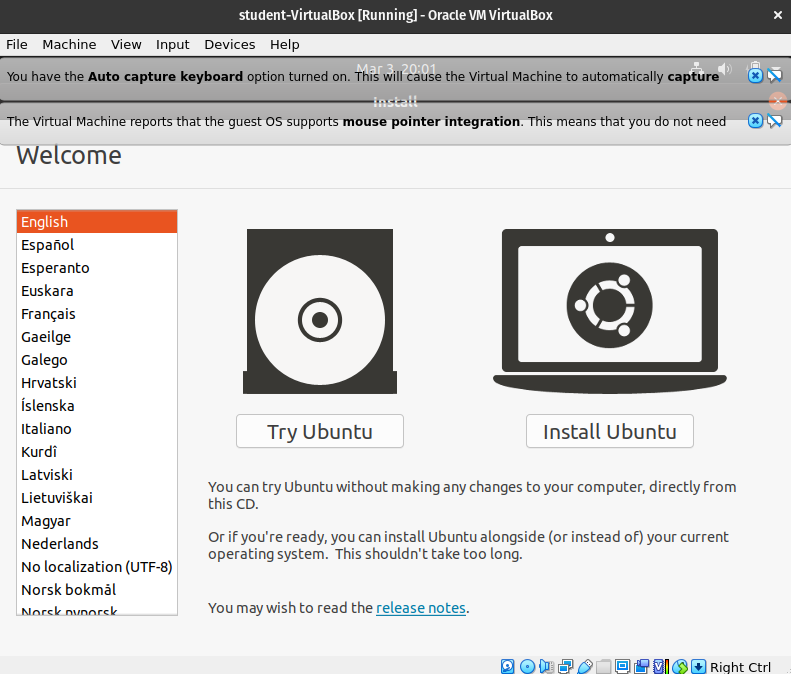
After confirming, or selecting, your language of choice click the Install Ubuntu button underneath the laptop icon
Warning
Do not click “Try Ubuntu”. This would get you into the machine quickly, however none of your work would be saved and would all be deleted after you shut down the virtual machine the first time.
Keyboard Layout
Select your Keyboard layout (keep default, unless you use a non english keyboard).
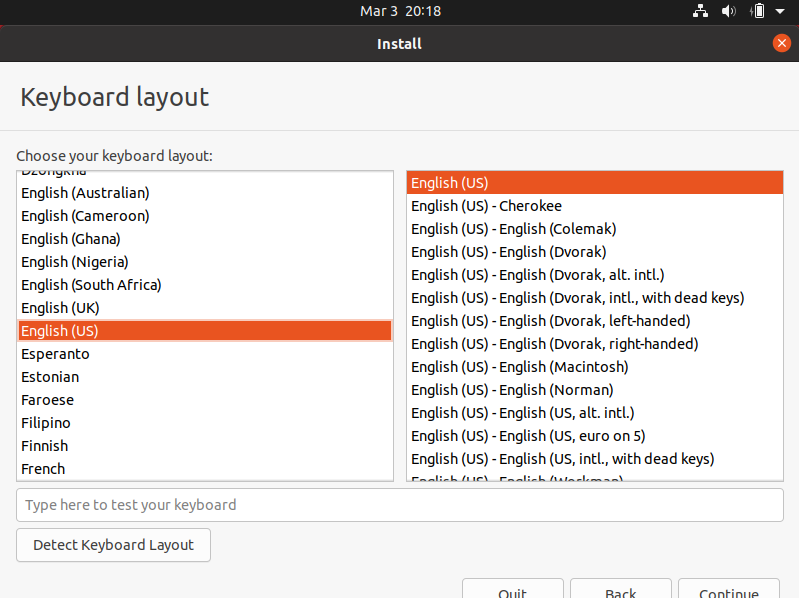
After selecting your keyboard layout click continue.
Updates and other Software
Select the Minimal installation. This will lower the amount of space taken up by software on the Virtual Machine.
Select Download updates while installing Ubuntu. As it mentions this will save time after installation.
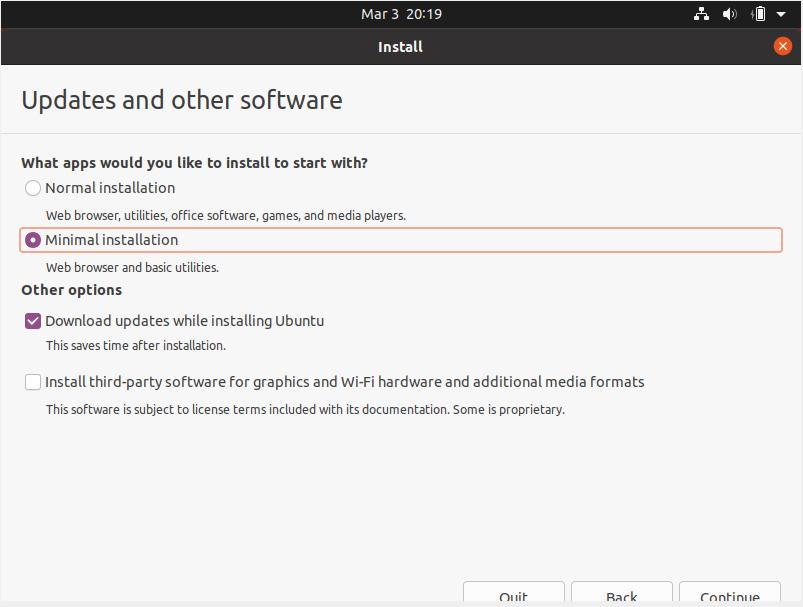
Click Continue.
Installation Type
For the Installation type you should select: Erase disk and install Ubuntu.
Note
If you can see that an Operating System has been detected that means you did not select VDI (Virtual Disk Image) in the Virtaul Machine Hard Disk portion of this setup. If this is the case you will need to recreate your Virtual Machine.
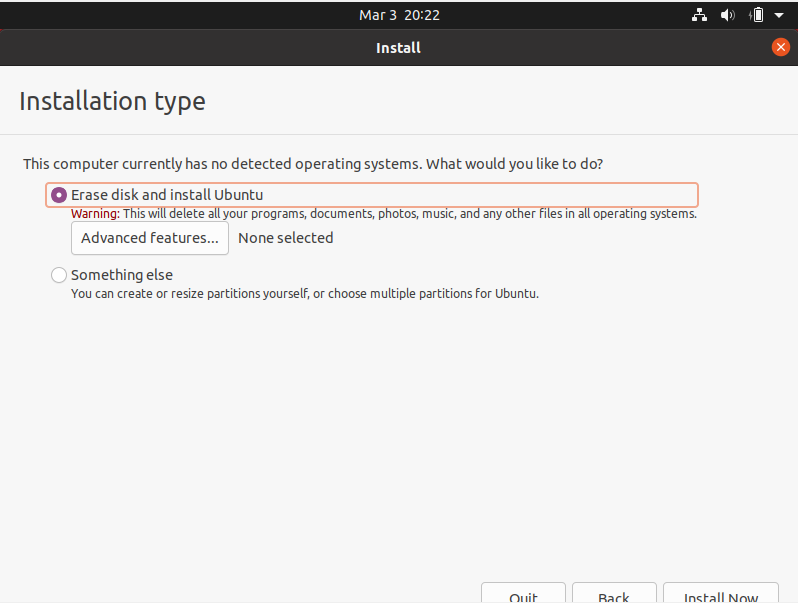
Click the Install Now button.
Write Changes to Disks
This popup is notifying us of the changes we are making to the Virtual Disk Image.
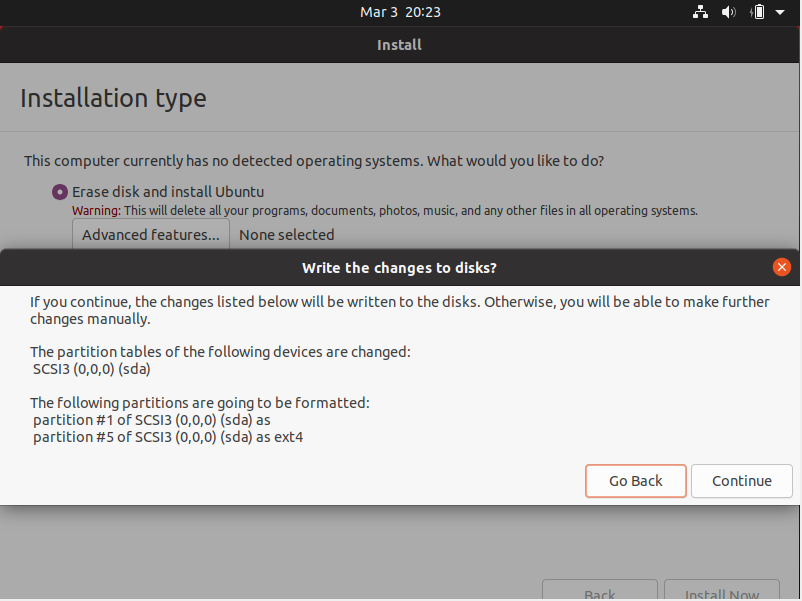
Click the Continue button.
Selecting your Timezone
Select your Timezone (this option should default automatically).
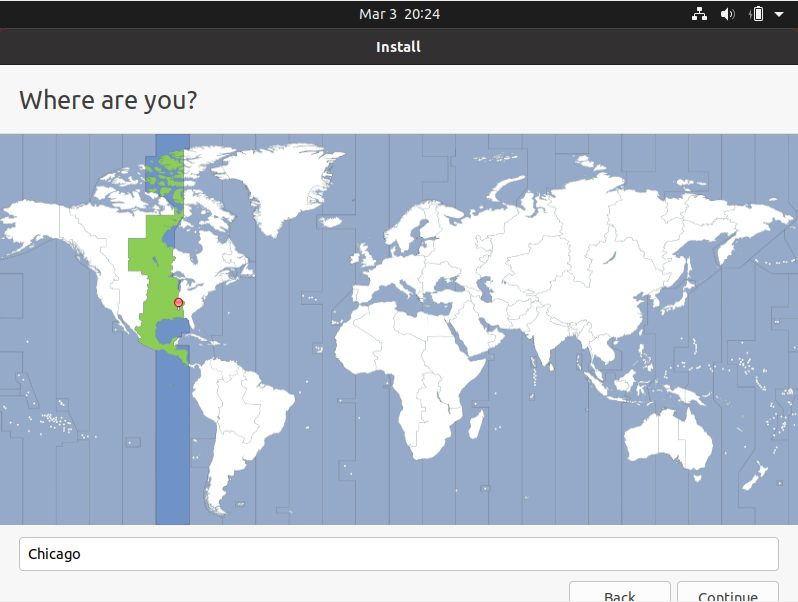
Click the Continue button.
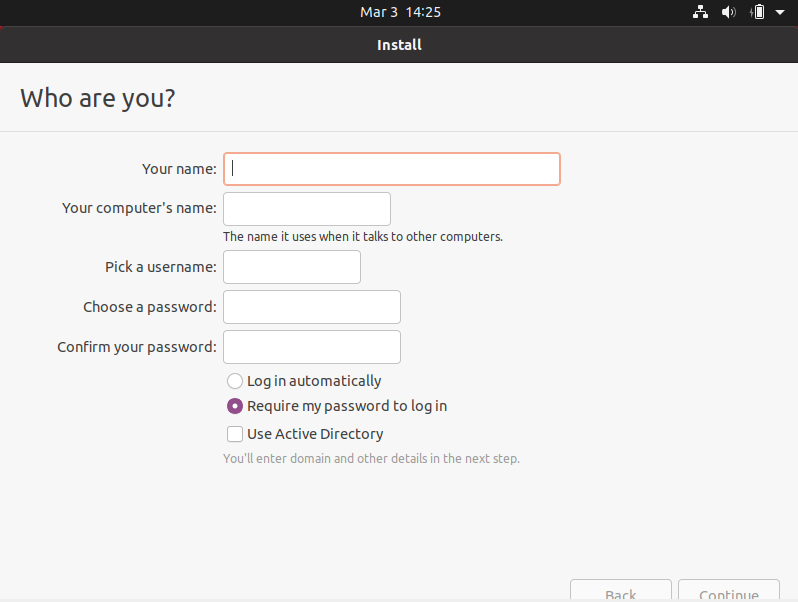
Who are you?
This is the section where you will provide the user settings to the new operating system.
Use the following:
- Your name:
student - Your computer’s name:
student-VirtualBox - Pick a username:
student - Choose a password:
admin - Confirm your password:
admin - select:
require my password to log in (default)
User Settings Review
Double check your input before continuing.
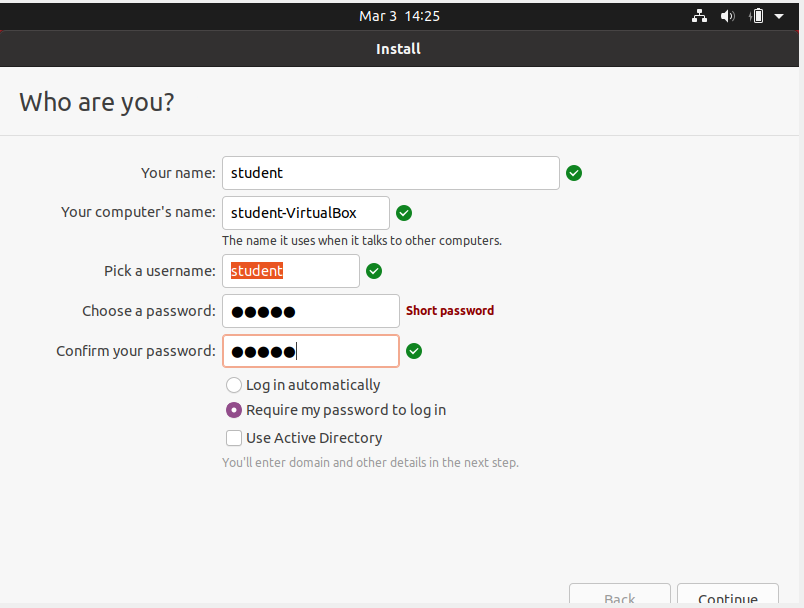
After you review your settings and all form fields are filled out click the Continue button.
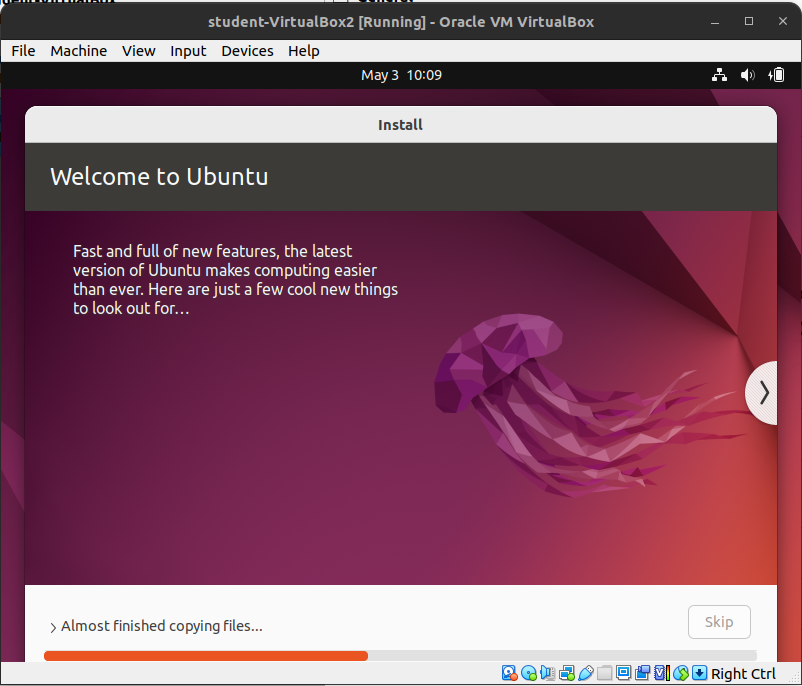
Welcome to Ubuntu
The setup for your Virtual Machine with a Ubuntu operating system is now complete. All that is left is to do is let the operating system finish its own configuration and then to log in!
Installation Complete
Once you receive a notification that the installation is complete you can click the Restart Now button.
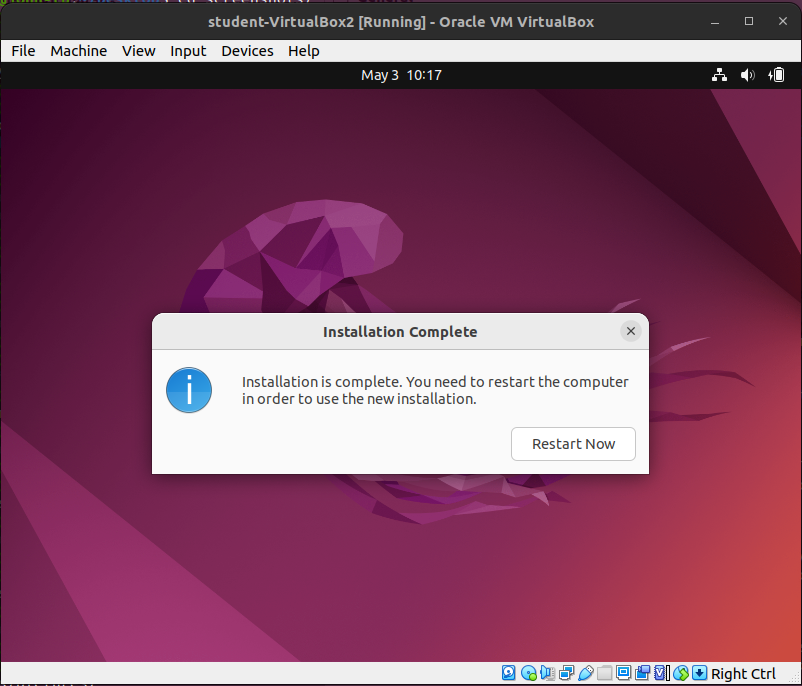
Clicking Restart Now will not restart your host operating system, it will only restart the virtual machine that we just configured.
System Restart
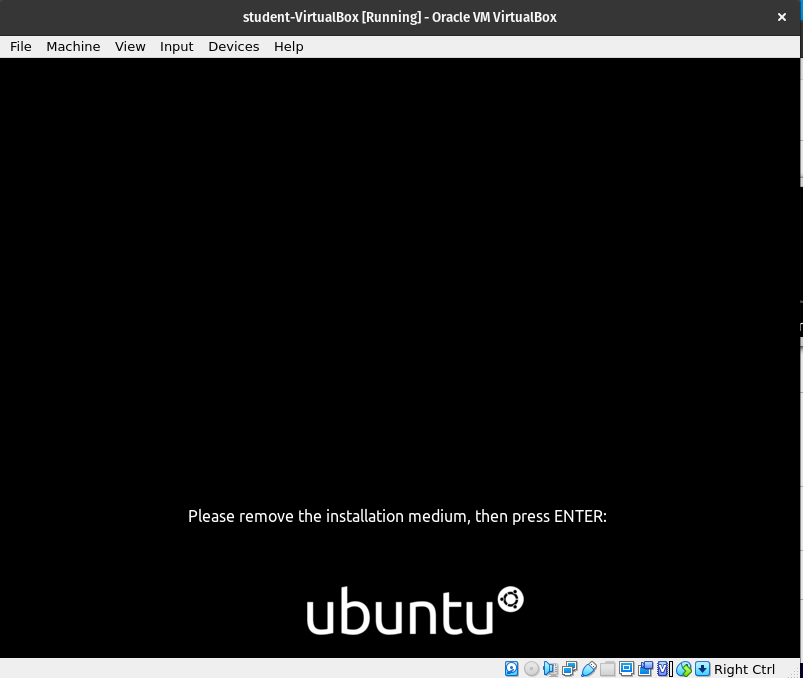
After clicking the restart now button the virtual machine operating system will restart and you should see something similar to the image below:

Installation Medium
You will notice that it is asking you to remove the installation medium and then press enter. The virtual machine thinks we used an optical CD drive to install Ubuntu. We did use a virtual optical drive, but don’t need to actually remove anything. You could go through the steps of removing the virtual CD from the virtual optical drive, but it is not necessary and we will not provide the steps for completing this.
You can press the enter key when you reach this page.
Note
Often times when someone is installing Ubuntu or any other Linux distribution on a new machine they will use a USB drive or CD. Once the operating system has been installed it asks that you remove the installation medium (the USB drive) so that it wont ever reboot or start up and go into installation mode again.
Review
You successfully started your virtual machine and completed the installation of Ubuntu operating system on this machine. The next article will take you through logging in for the first time, and completing any remaining first time login steps.