2.6. Replit.com
Replit.com and Trinket.io share many of the same features, but the two sites differ in how they present their workspaces.
The previous page explored Trinket, so now let’s take a look at Replit.com
2.6.1. Create a Replit.com Account
Warning
Before signing up for a replit.com account, be sure your school has approved the site for student use!
Create a new student account with Replit.com.

After you sign in, you will see your Home screen, which displays your recent work and announcements. Since you are just starting out, you won’t need to do much on this screen.
To begin a new project click on + new repl (1) or under Create / Python(2).
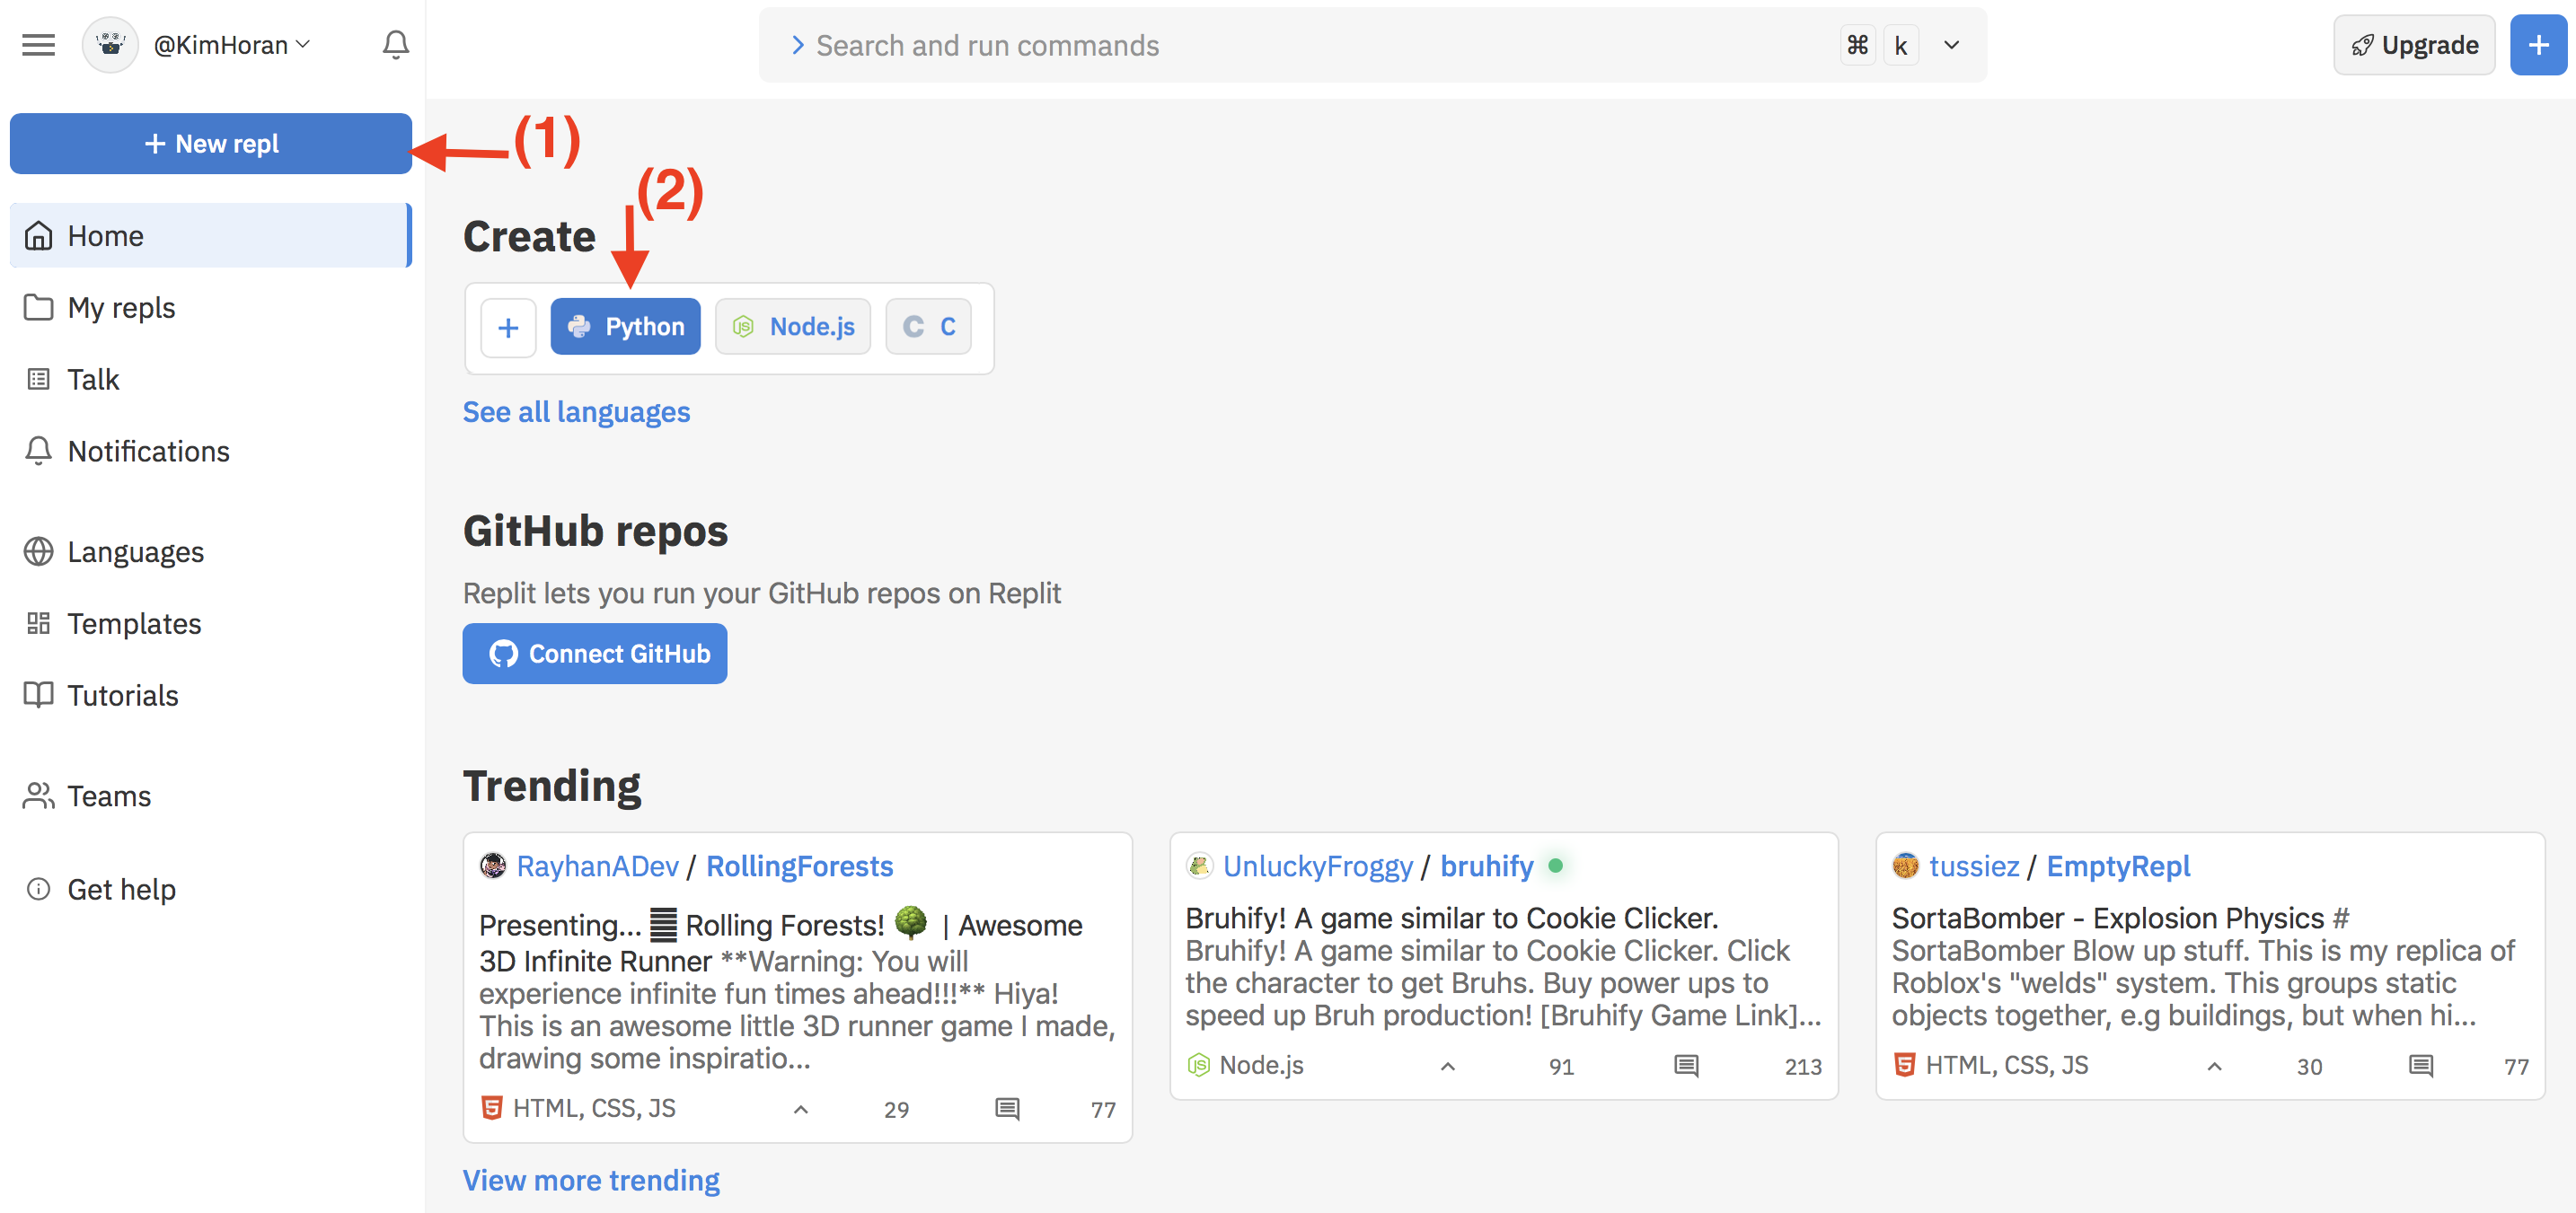
Home screen
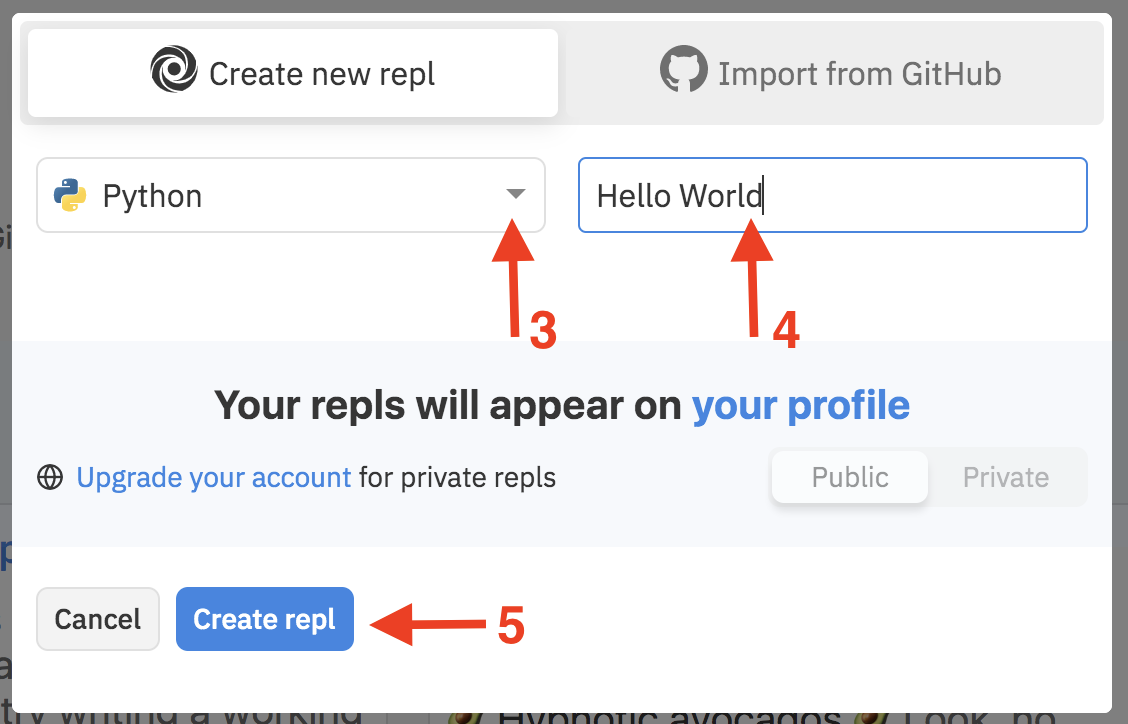
The following screen will pop up. Scroll through the options and select Python (3). Next, name your project (4) and click Create Repl (5).
2.6.2. The Replit.com Workspace
Now let’s take a look at how to use Replit. The workspace consists of three main panels and several menu functions.
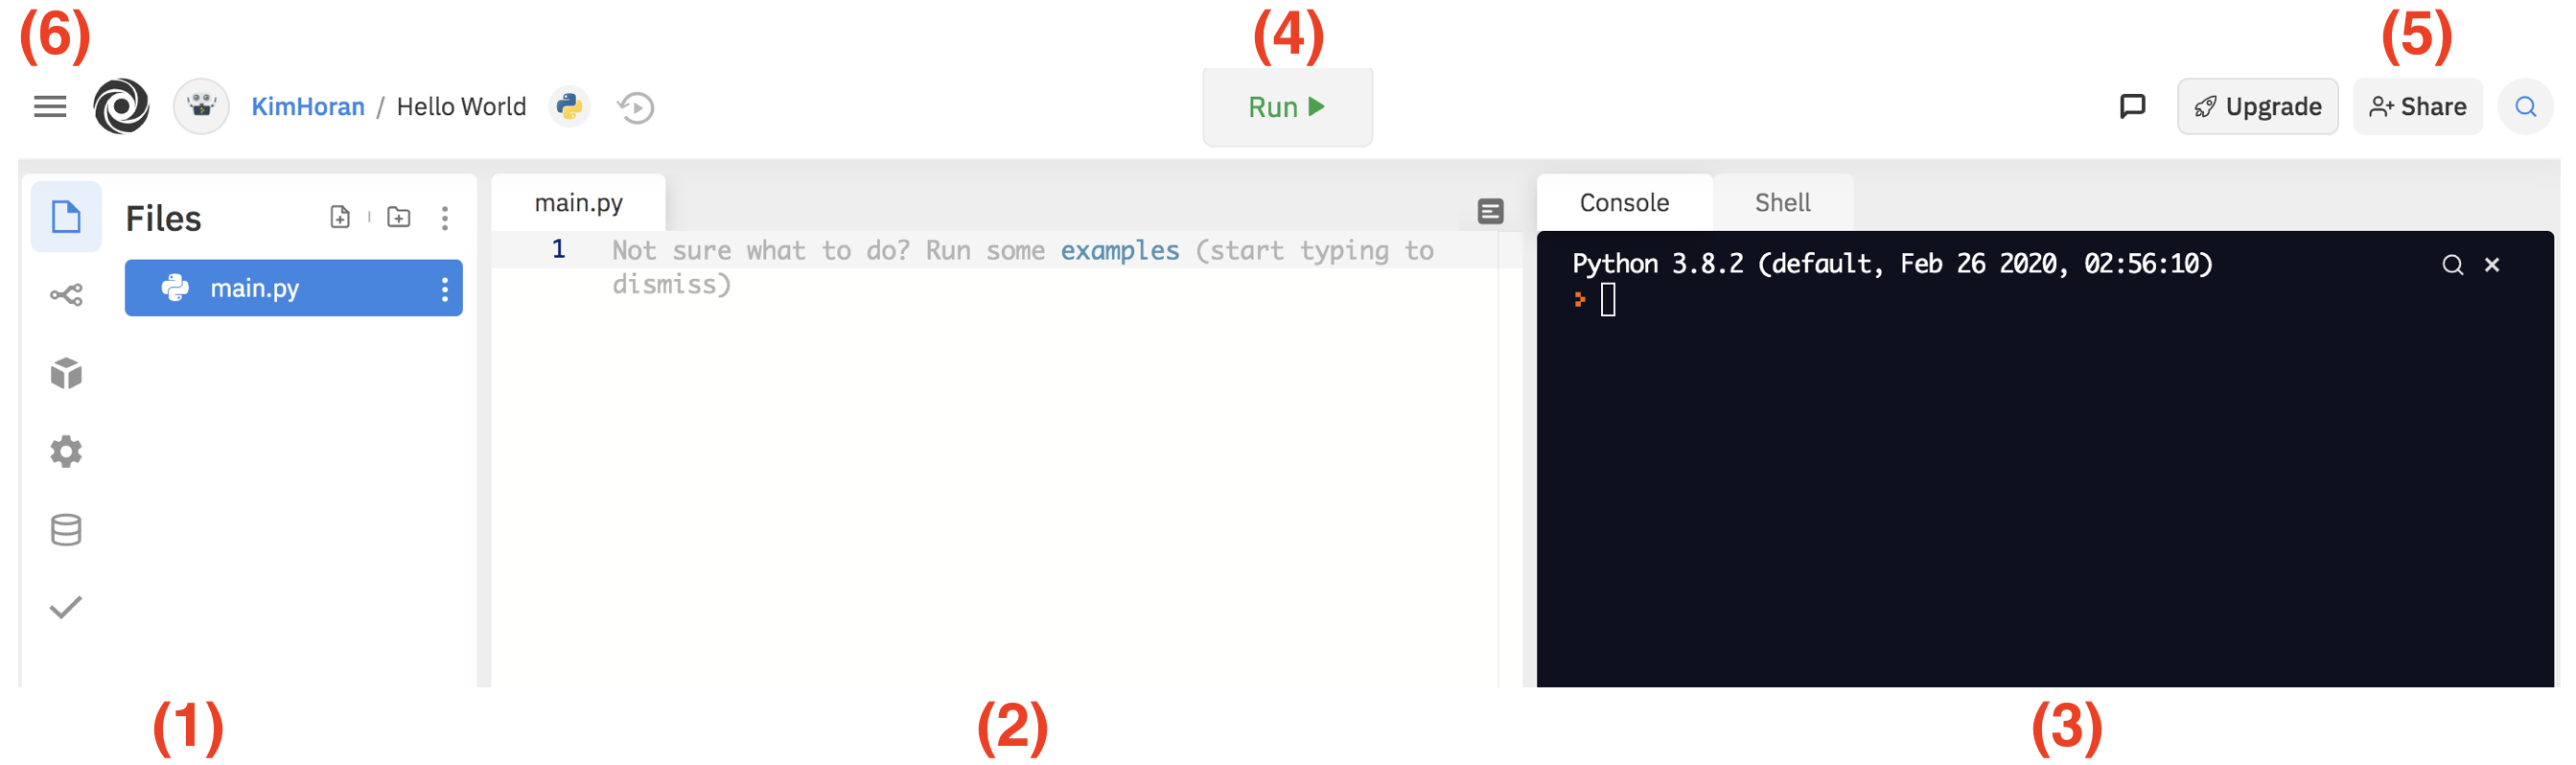
Features to note:
File panel and menus: Allows you to add extensions, update settings, and add, open, or delete files.
Editor panel: Your code goes here. Click on a file to open it in the editor. For most new projects, a
main.pyfile will be created and opened by default.Console panel: Any output produced by your code will appear in this panel. The console also displays error messages, test results, and other information.
Run button: Executes any code written in the
main.pyfile.Share button: Allows you to share your projects.
Managing projects: When logged into Repl.it, you can create a new project and view your saved projects.
Note
The workspace shown above uses the “light” theme (dark text on a white background). If you prefer the reverse (light text on a black background), click the gear icon and select the “dark” theme.
2.6.3. Try It!
Repeat your Hello, World! program in the editor. Replit.com automatically
saves your work, so your changes should not be lost when you logout or
refresh the page.
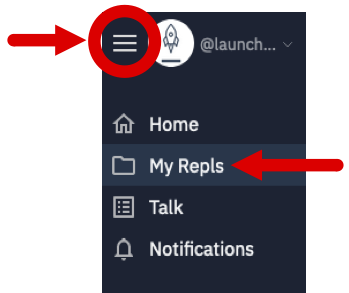
At any time, you can return to a list of your saved projects by clicking on the menu bars next to your username and selecting My Repls.
2.6.4. Forking - Creating Your Own Copy
Fork button: If you are viewing someone else’s project, or clicking on a Repl from this textbook, you can Fork the content and save a copy of the project to your own account. This allows you to edit the files without changing the originals. It also lets you use other programmers’ work (with permission) to enhance your own.

Note
If you are not signed into your Replit account, a prompt to sign-in will appear when you try to fork.
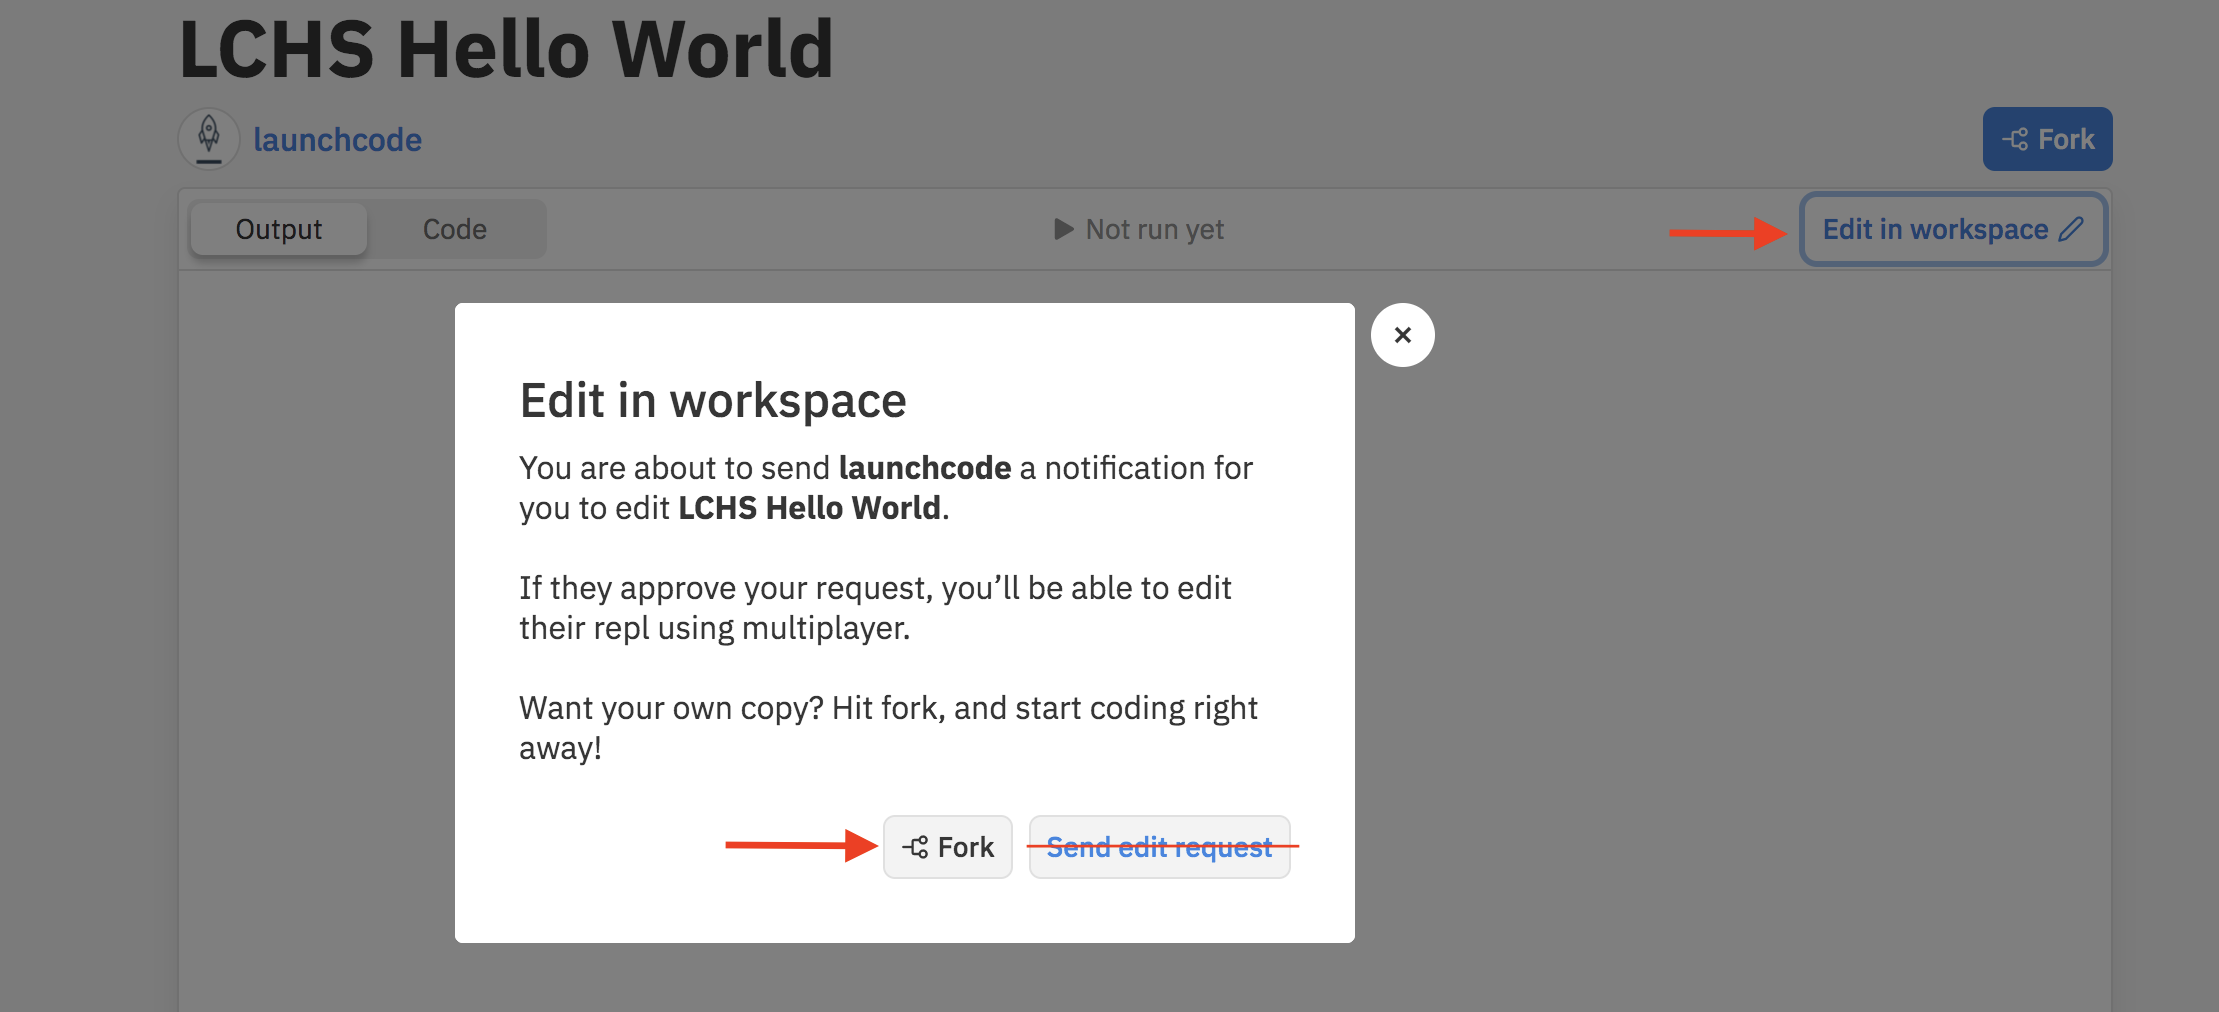
You may notice the Edit in workspace button and think thats what you want. However the following warning will pop up. Again, you want your own copy and to fork the repl!