We haven’t learned how to code yet, but we can still write and run our first program. This exercise asks you to create and run small amounts of code, and it reinforces the LaunchCode principle of learning by doing.
We have used the phrase Hello, World as an example throughout this chapter
because it represents the traditional first program for a new coder. Printing a
single message is one of the simplest tasks a program can carry out.
Hello, World will be your first program as well. Welcome to the club!
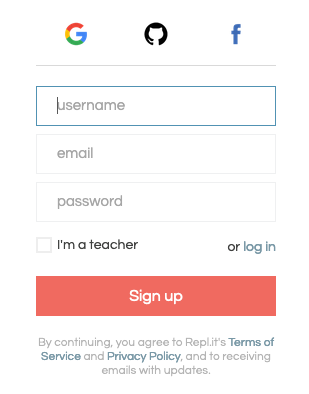
Throughout this book, you will need to access a code editor to complete practice problems, exercises, studios, and assignments. If you have not already done so, create a new account with Repl.it. The site provides a free space to practice coding.
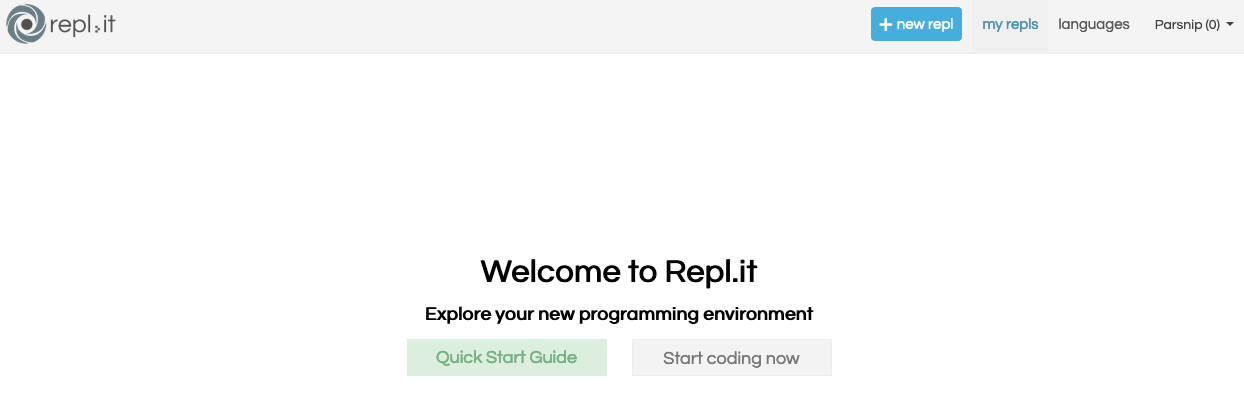
After you sign in, you will see your dashboard, which displays any saved folders or projects. Since you are just starting out, your dashboard will be empty.
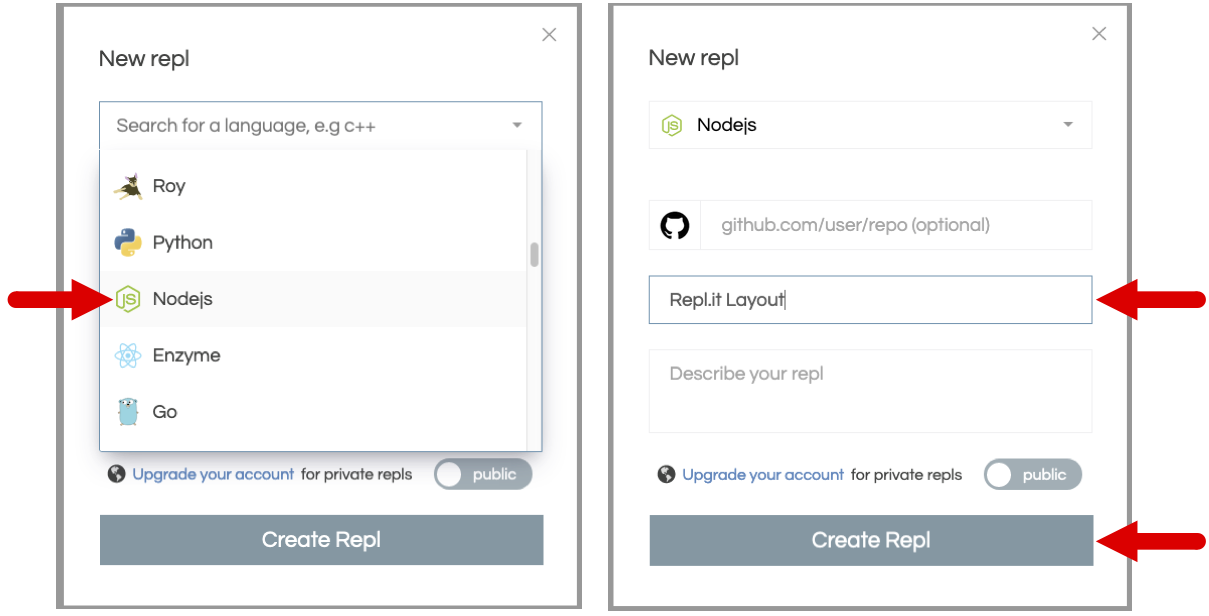
Click on new repl to begin a new project. Scroll through the options and select "Node.js". Next, name your project and click "Create Repl".
Before you dive into your Hello, World! program, let's take a look at how
to use Repl.it. The workspace consists of three main panels and several menu
functions.
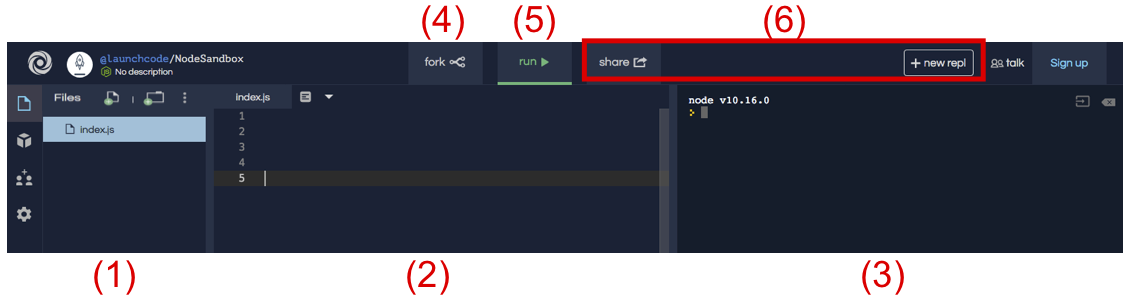
Features to note:
index file will be created and opened
by default.index file.Note
The workspace shown above uses the "dark" theme (light text on a black background). If you prefer the reverse (dark text on a white background), click the gear icon and select the "light" theme.
Follow this Hello World link to open a prepared workspace for your first program.
On line 2 of the editor, type:
console.log("Hello, World!");
When you finish typing, click the green "Run" button and observe the output.
Warning
Do NOT just copy/paste the code. You will learn best by typing, trying, changing, and fixing.
If you typed correctly, you saw the output Hello, World! If you omitted or
mistyped any characters, then you either saw a misspelled output or an error
message with some tips on what might have gone wrong. Do not worry if you make
mistakes! These experiences still teach you something. Fix any errors and try
again.
Once you print Hello, World! successfully, go back and play around with the
code. Make a change, click "Run", and see what happens. Try to:
' vs. ")?;.Quoth the Raven
"Nevermore".Spend a few minutes trying these changes. Do not worry if you miss some of the
targets. Learning comes through experience, and you WILL learn all the details
behind console.log soon.
Once you finish practicing (and hopefully making some mistakes), you will have
a pretty good idea of how the console.log function in JavaScript works.
Try It
On paper (or in a document on your computer), write one or two sentences about
console.log. You should provide more detail than, “It prints things.”
Question
Which of the following correctly prints Coding Rocks? There may be more
than one valid option.
console.log(Coding Rocks)console.log(Coding Rocks);console.log('Coding Rocks')console.log("Coding Rocks');console.log("Coding Rocks");