13.2. Creating a Template
Using templates is a useful way to reduce the effort required to create and maintain a web-based project. Before you can dive into using templates, however, you need to take care of a little groundwork first.
13.2.1. Thymeleaf
In combination with Java and Spring Boot, we will use a library called Thymeleaf. This set of tools helps simplify the creation of flexible, reusable templates for standalone projects and web-based applications.
More information can be found on the introduction page of the Thymeleaf website.
13.2.1.1. Thymeleaf, Naturally
The developers behind Thymeleaf emphasize the idea of natural templates. This means that templates constructed with Thymeleaf look and operate just like regular HTML code. You can open any template in a browser and view it just like a static HTML file.
Any logic we add to a template occurs inside the tags, which preserves the ability to open the file and display it correctly. This helps us as we consider the best layout for presenting data on the screen.
13.2.2. Thymeleaf Dependency
In this chapter, you will construct some small practice projects to help you learn how to implement Thymeleaf templates. To use the library, however, you need to provide IntelliJ with some information to make the IDE recognize Thymeleaf syntax and commands. You need to include in the proper dependencies, and there are two common ways to accomplish this.
13.2.2.1. During Setup for a New Project
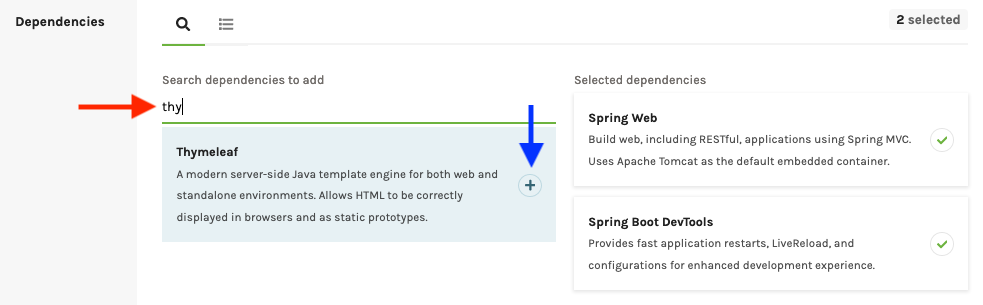
When you create a new Gradle project on the start.spring.io website, search for and select the Thymeleaf dependency. For the practice projects you build in this class, be sure to add the Spring Web and Spring Boot DevTools dependencies as well.
In IntelliJ, opening up the build.gradle file of the new project shows the
dependencies you selected:
22 23 24 25 26 27 28 29 | dependencies {
implementation 'org.springframework.boot:spring-boot-starter-thymeleaf'
implementation 'org.springframework.boot:spring-boot-starter-web'
developmentOnly 'org.springframework.boot:spring-boot-devtools'
testImplementation('org.springframework.boot:spring-boot-starter-test') {
exclude group: 'org.junit.vintage', module: 'junit-vintage-engine'
}
}
|
Lines 23 - 25 establish links to the thymeleaf,
spring-boot-starter-web, and spring-boot-devtools libraries,
respectively.
13.2.2.2. Add to an Existing Project
If you have an existing project that does not currently use Thymeleaf, you
can add the functionality by updating the build.gradle file.
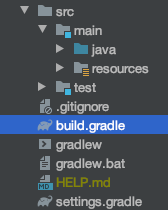
The build.gradle file in the src directory.
In the dependencies block, just paste in the implementation statement
seen in line 23 above. Also, be sure to include the Spring Boot libraries if
the old project is missing those as well.
13.2.3. Start a Practice Project
Open up your hello-spring project in IntelliJ and code along with the
following video.
Note
We’re assuming you’ve completed these Exercises: Controllers and Routing on your own hello-spring application and committed your
changes to a branch reserved for the exercises. No matter where you are with those exercises, be sure that your own hello-spring
application roughly matches the
hello-spring-demo forms branch
so that you can follow along with the video lessons in this chapter.
If you are using git branches to track your work, you can simply return to the branch you were on before starting the video walkthrough
on this page.
Warning
The videos in this chapter walk you through building small web-based projects. Do NOT skip this practice, because the end of chapter exercises pick up where the tutorials end.
Note
The starter code for this video is found at the
forms branch of hello-spring-demo.
The final code presented in this video is found on the
views-static
branch.
The sections below outline the main ideas presented in the video. However, the text is NOT a substitute for completing the work described in the clip.
13.2.3.1. Template Location
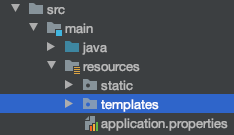
In IntelliJ, create a templates folder inside the resources directory.
All of your templates should be put in the templates folder. As you saw in
the video, Thymeleaf streamlines finding required files by using
resources/templates as the default location.
13.2.3.2. Add a Template
To create a new template, right-click on the templates folder and select
New –> HTML file. Give your template a descriptive name, and note that
IntelliJ provides some boilerplate code:
1 2 3 4 5 6 7 8 9 10 | <!DOCTYPE html>
<html lang="en">
<head>
<meta charset="UTF-8">
<title>Title</title>
</head>
<body>
</body>
</html>
|
To tie in the Thymeleaf information, you need to add a URL inside the html
tag on line 2:
<html lang="en" xmlns:th="https://www.thymeleaf.org/">
The xmlns:th attribute pulls in information from thymeleaf.org about
the keywords and methods that we will use with Thymeleaf. This allows IntelliJ
to properly apply syntax highlighting and error reporting.
A side effect of the xmlns:th attribute is that it implements stricter
requirements for closing HTML tags. In HTML5, we can get away with leaving out
the / character in standalone tags like <input>. However, with the
xml format in Thymeleaf, we must include the character.
For example, we need to update line 4 in the boilerplate HTML code to close
the meta tag:
<meta charset="UTF-8" /> <!-- Note the closing '/' character -->
13.2.4. Thymeleaf Template
As described in the video, you can save yourself some time by creating your own boilerplate code for a Thymeleaf template. This will save you from having to make the edits described above every time you add a new base html file.
Right-click on the
templatesfolder (or any other directory), and select New –> Edit File Templates.In the window that pops up, click the “+” icon to add a new file.
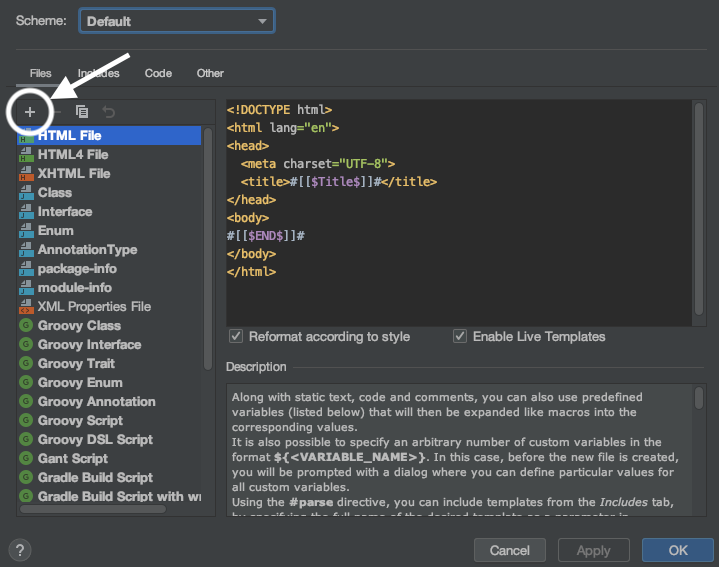
Name your template, set the extension as
html, then edit the starter code. This will be the boilerplate HTML that appears anytime you select your custom template. For Thymeleaf, the code should at least close themetatag and include thexmlnsattribute.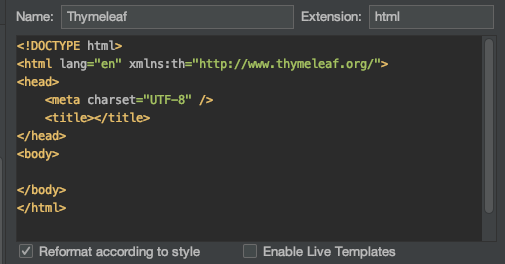
If you find yourself routinely using other code in your Thymeleaf files, you can return to this window and edit the HTML as needed. Don’t forget to save your changes.
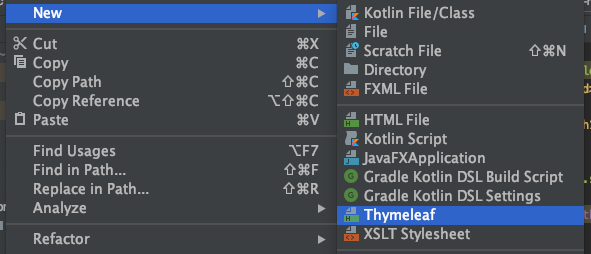
To use your custom Thymeleaf template, right-click on the
templatesfolder and select New –> TemplateName.