Exercises: OMG the ORM!
For the exercises, we are going to continue building on our codingevents application.
The exercise instructions assume that your code resembles the
persistent-controller
branch of CodingEventsJava.
Create a new branch off of your own persistent-controller code to get started on the exercises.
You will be making one entity class, one repository, and one controller. If you are not sure what these classes and interface should look like, refer back to the sections on persistent models and controllers and repositories .
The EventCategory Class
First, create a new class called EventCategory in the models directory.
EventCategory needs to have the following:
- An
idfield of typeint. - A
namefield of typeString. - A constructor.
- The appropriate getters and setters.
EventCategory represents data that will be stored in our database, so you need to use the @Entity annotation!
The EventCategoryRepository Interface
Once you have created EventCategory, you need to create the EventCategoryRepository in the data folder.
EventCategoryRepository will extend the CrudRepository interface.
The EventCategoryController Class
Create EventCategoryController in the controllers directory.
You can use the @RequestMapping annotation to map to "eventCategories".
To get our handlers working, we also need a variable of type EventCategoryRepository.
We will be creating 3 handlers in our controller:
displayAllCategoriesrenderCreateEventCategoryFormprocessCreateEventCategoryForm
displayAllCategories
displayAllCategories needs to do the following:
- Use
@GetMappingand return"eventCategories/index". - Add an attribute for the
titlethat uses"All Categories". - Add an attribute for the
categoriesthat uses all of the values in yourEventCategoryRepositoryvariable.
renderCreateEventCategoryForm
renderCreateEventCategoryForm needs to do the following:
- Use
@GetMappingand return"eventCategories/create". - Add an attribute for the
titleand assign it"Create Category". - Add an attribute for a new instance of
EventCategory.
processCreateEventCategoryForm
processCreateEventCategoryForm needs to do the following:
- Use
@PostMapping.
- Use error validation and the
Errorsobject appropriately. If you want to review how to use theErrorsobject, check out the section on error validation . - Add an attribute for the
titleand assign it"Create Category". - Add an attribute for a new instance of
EventCategory. - Either return
"eventCategories/create"or"redirect:".
Thymeleaf Templates
To finish the exercises, we need to make two new templates.
eventCategories/index, which will contain a table of the event categories.eventCategories/create, which will contain a form for adding new event categories.
The Final Application
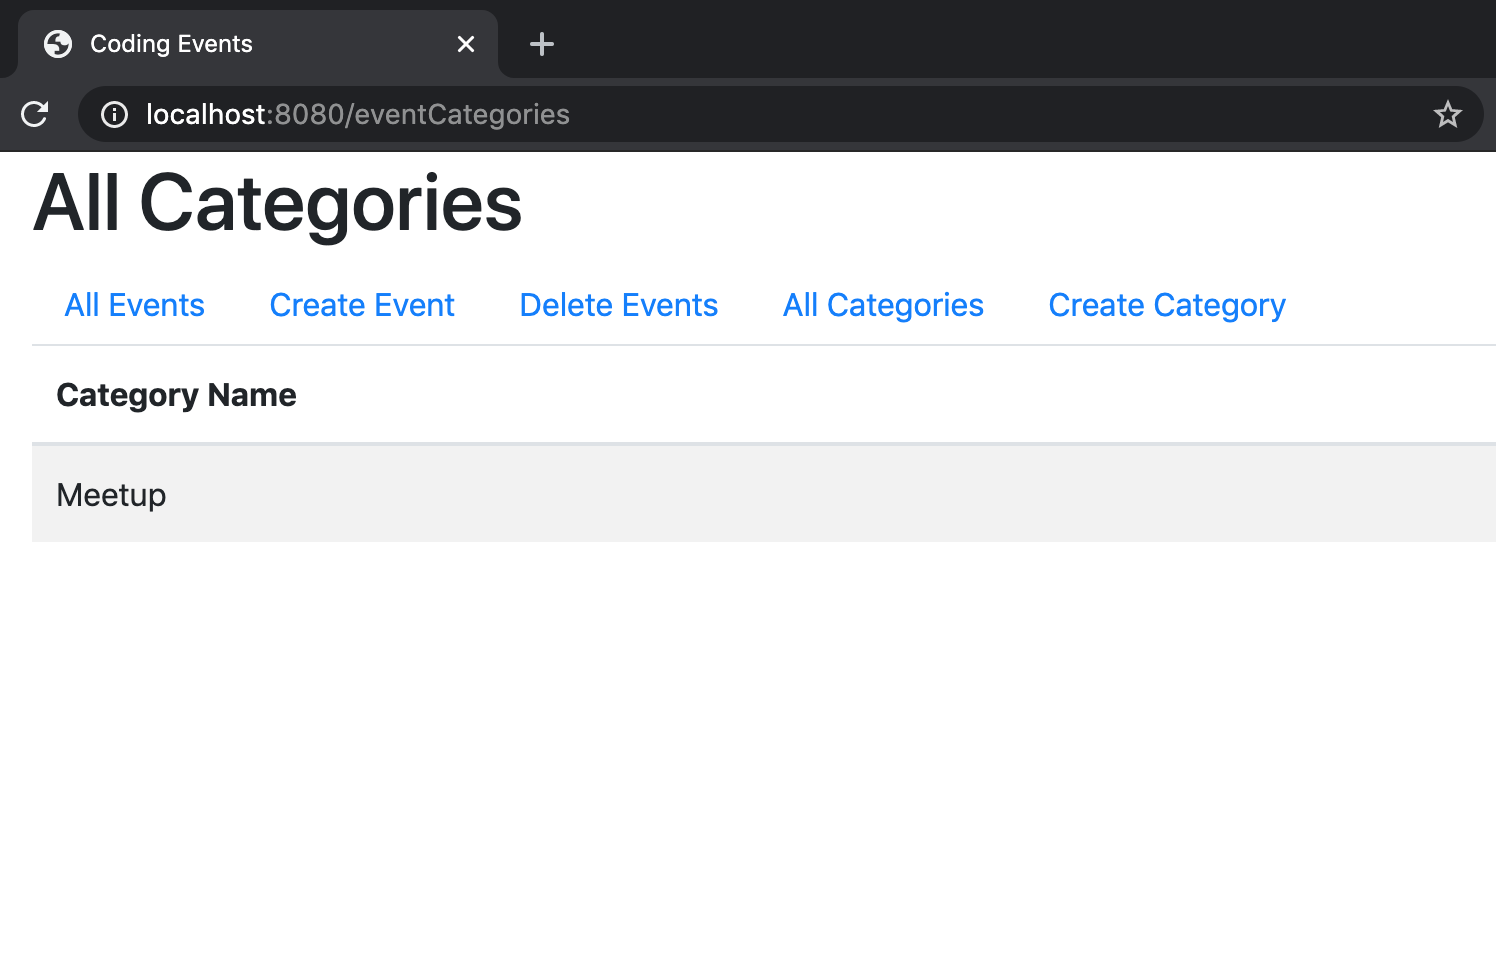
Once you are done, launch your app and head to localhost:8080/eventCategories!
If you added categories already, you will see any categories already stored in the database.
In this case, we added “Meetup” as a category the first time we ran our app to test it.
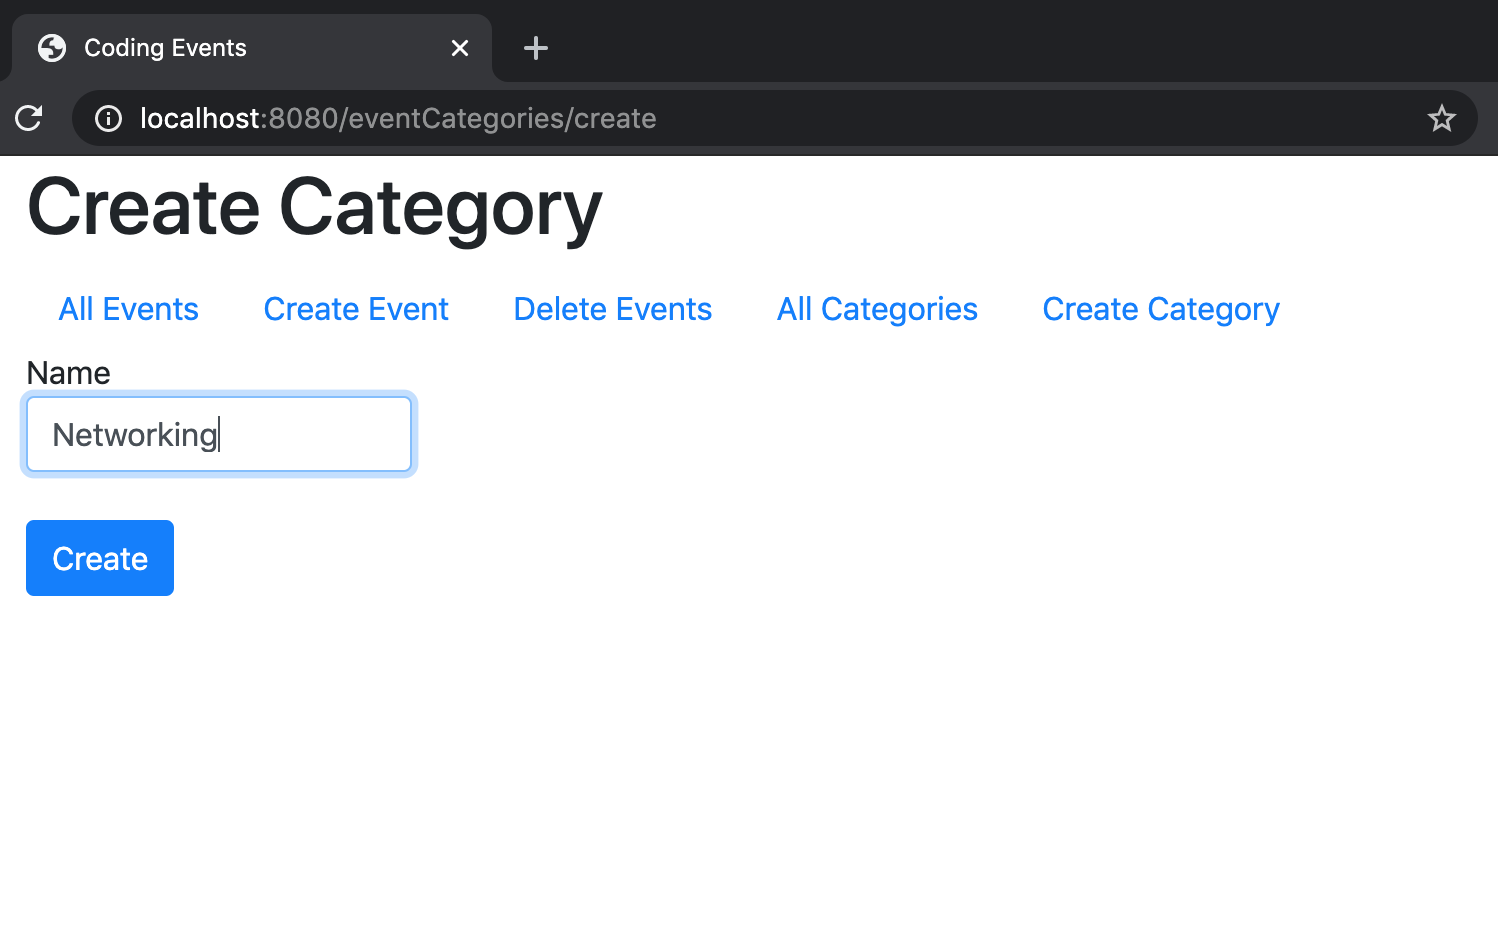
If you click on “Create Category”, you should be directed to localhost:8080/eventCategories/create.
We decided to add “Networking” as a category and filled out the form.
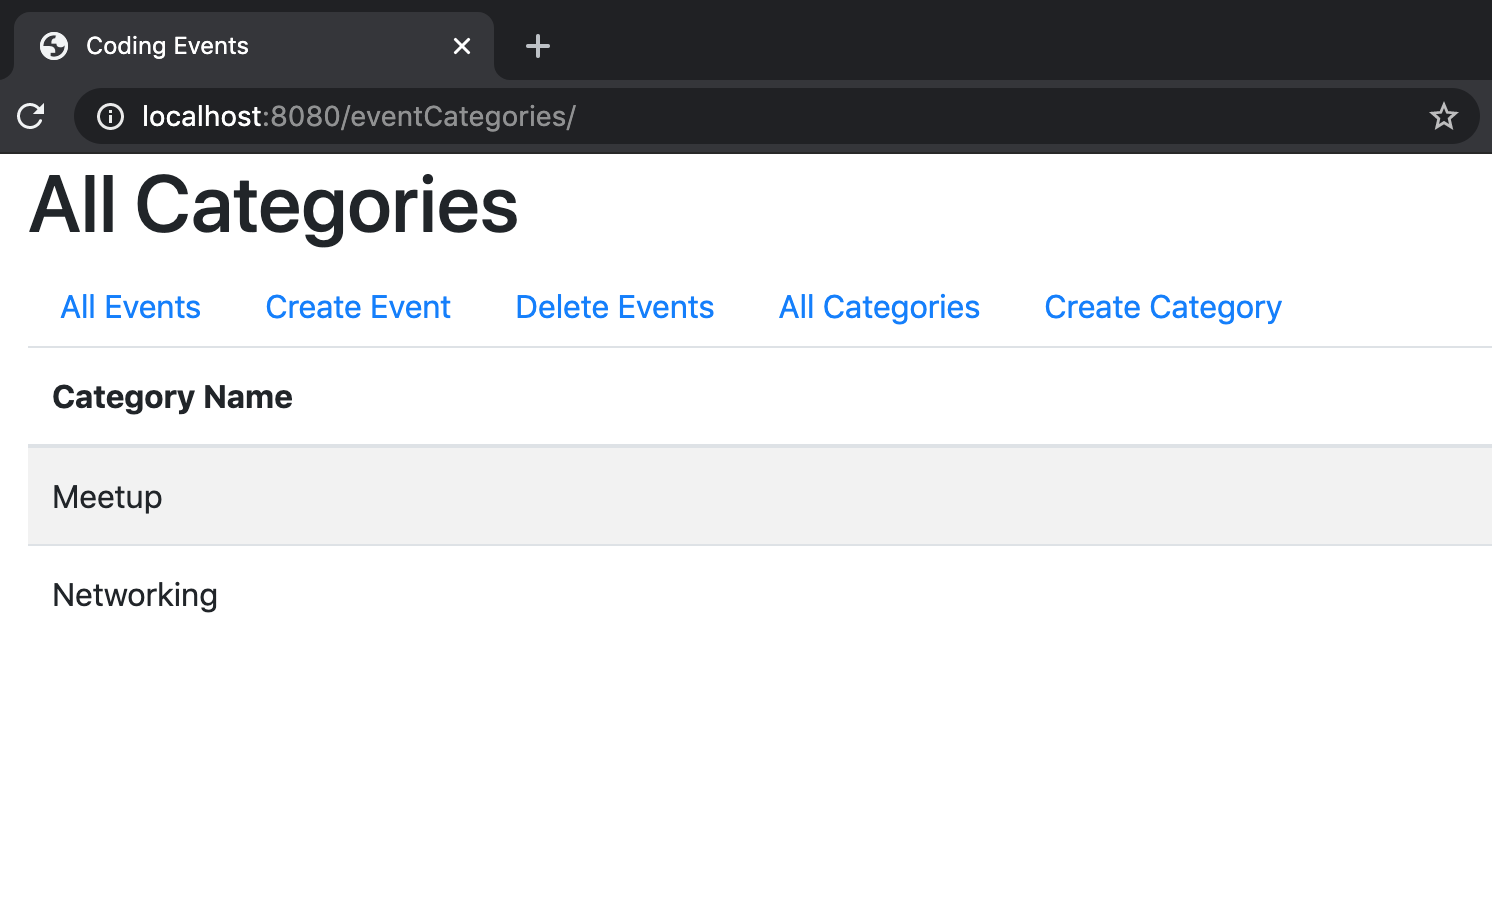
Once you hit submit, you are redirected back to localhost:8080/eventCategories, and your table now contains the newest event category!


