For the entirety of this course, we will be coding in Java. Besides installing Java on your machine, you must also add some support technologies to allow you to run and edit Java code.
Installing Java means downloading a package of software called the Java Development Kit, or JDK, for short. The JDK contains software the tools needed to develop and run Java code, namely the the Java compiler, javac, and the Java Virtual Machine (JVM).
While the compiler is responsible for processing Java code into machine readable code, the JVM allows us to run that code on any computer. These tools together, downloaded as the JDK, give us the means to write, compile, and run Java on our machines.
A step-by-step walk-through of the process:
The JVM gives Java more flexibility than other compiled programming languages because it will translate bytecode into the appropriate machine code, depending on the operating environment.
Open a terminal window on your machine and enter the following command:
java -version
If the response returns a major version 11 (ie 11.0.0 or higher, but not as high as 12.0.0), you can move on to the section below, Java in the Terminal.
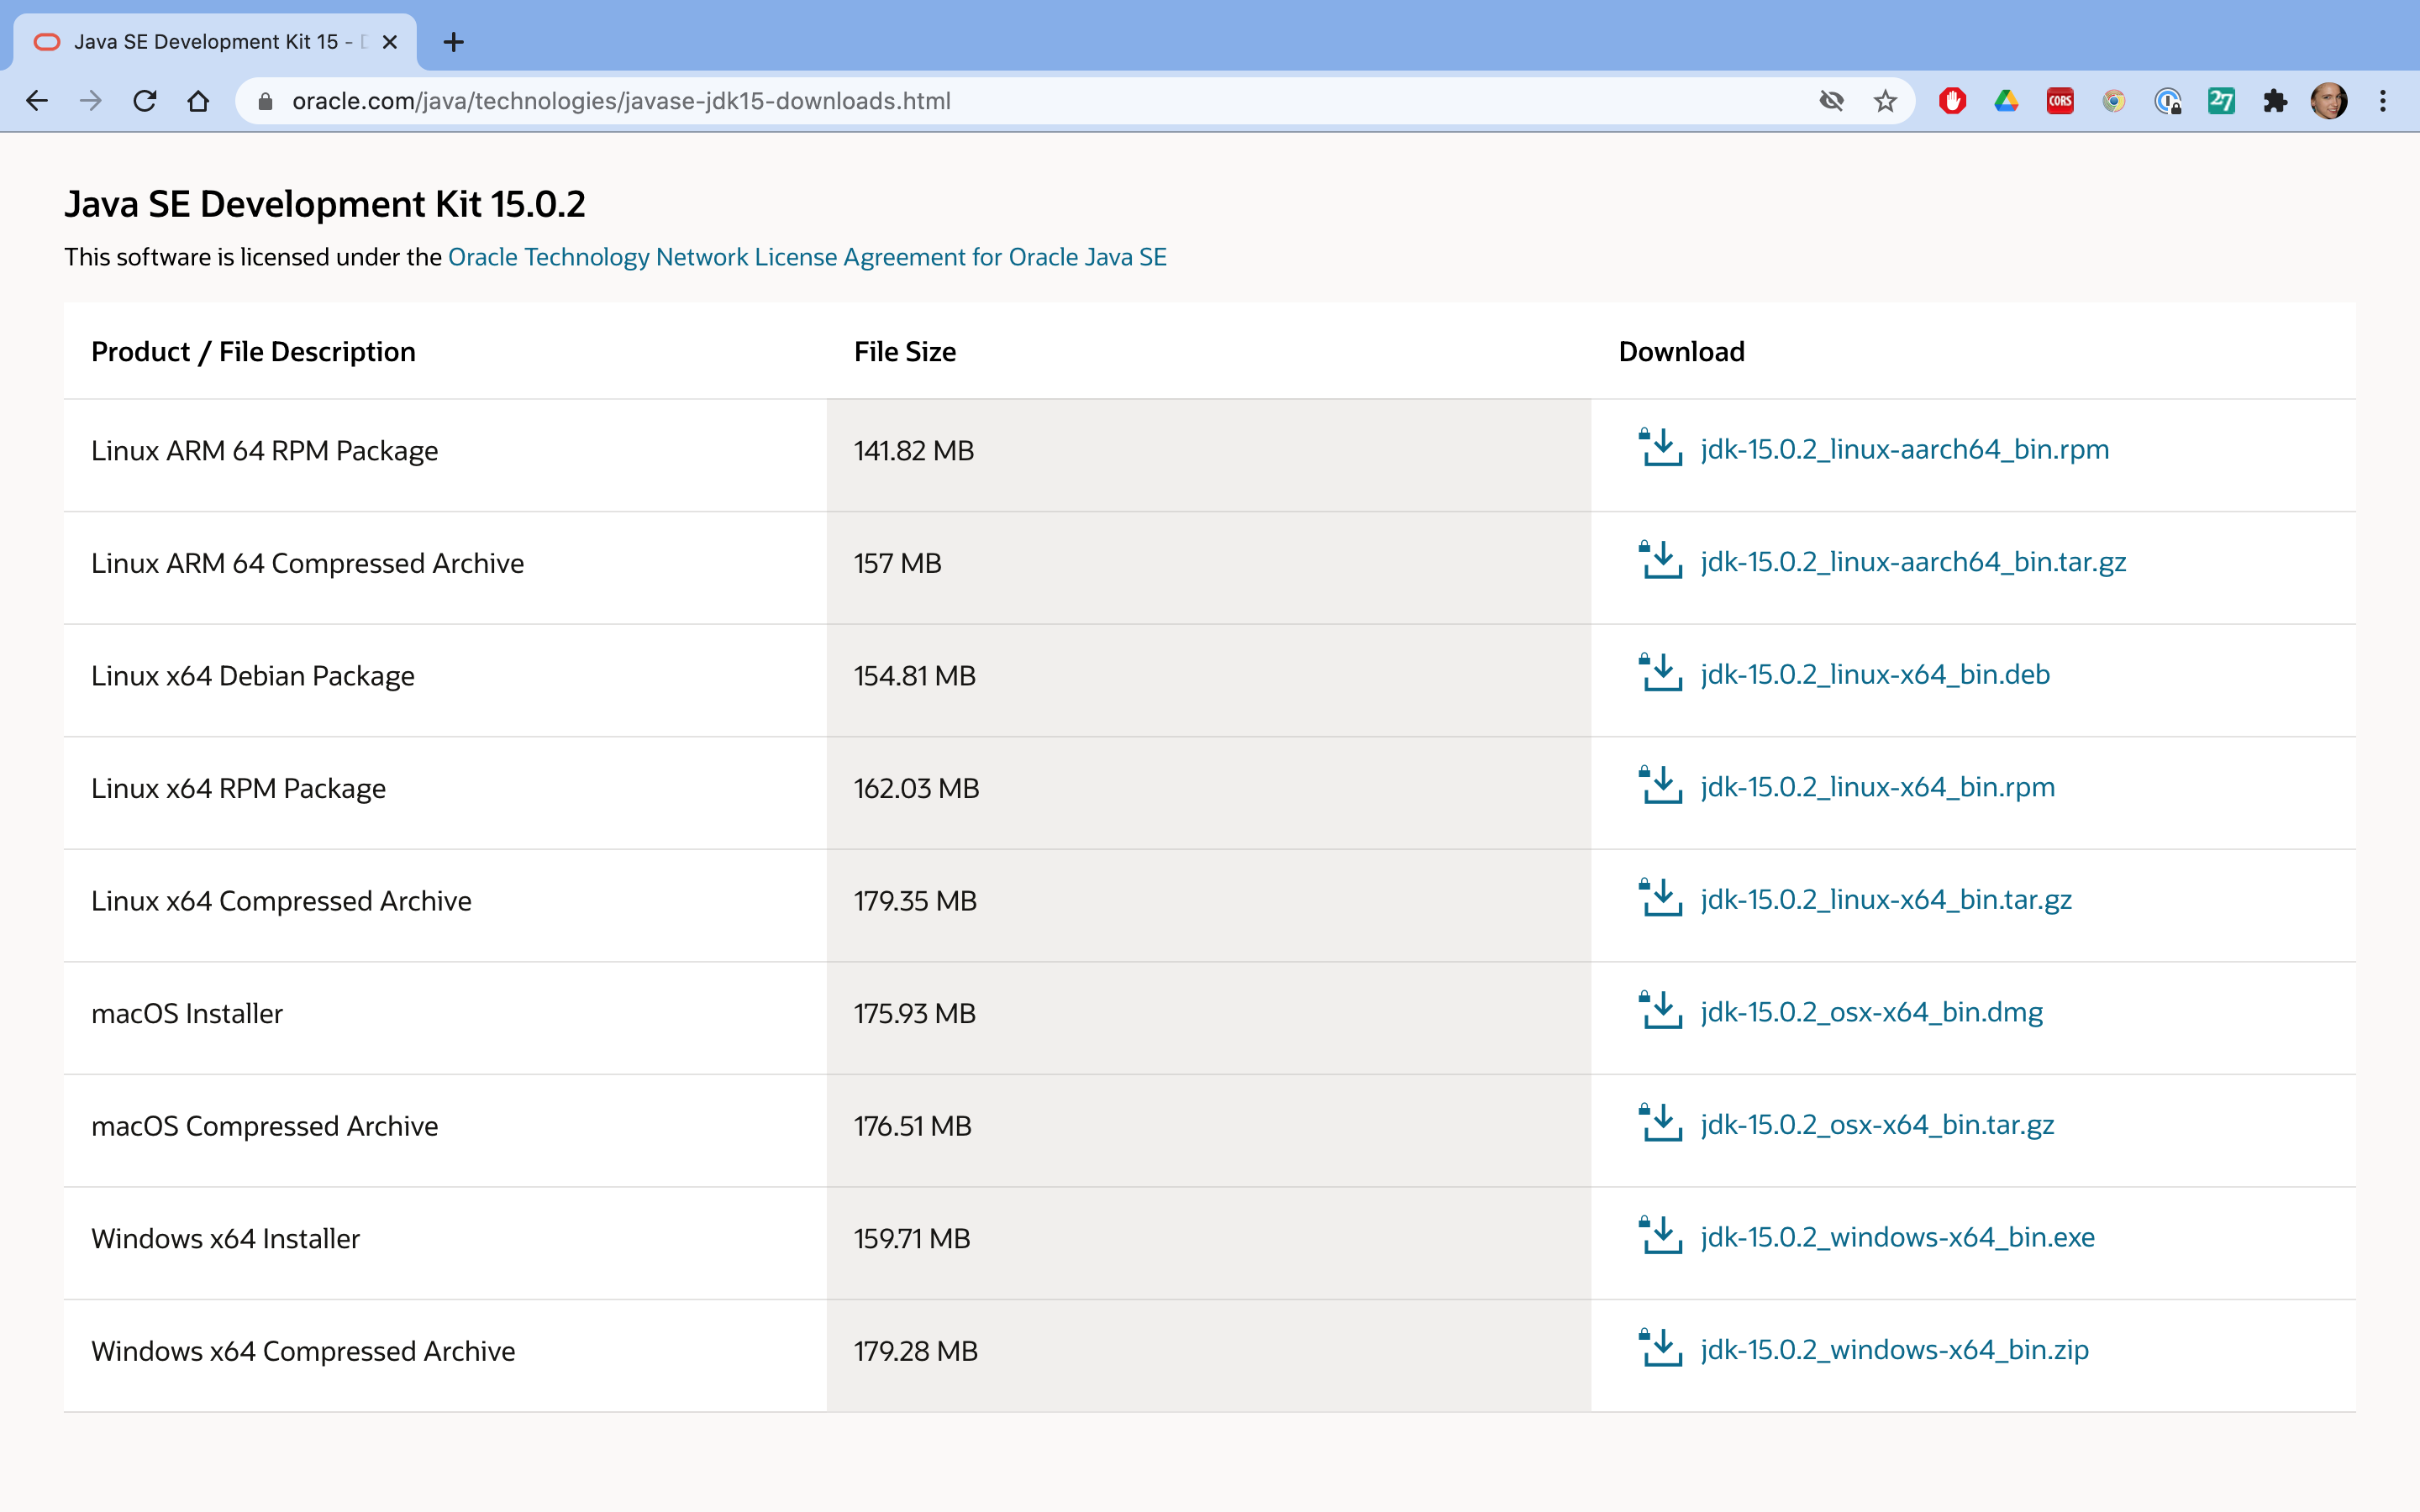
If you do not have Java 11, or the command does not work, you can download it here. The relevant install link for your operating system is on the bottom of the page:

The figure above shows options for downloading Java 15. You should download Java 11 from the link above.
.dmg option.exe optionTo install, you must first select Accept License Agreement.
Make note of the location where the Java JDK has been installed on your computer.
/Library/Java/JavaVirtualMachines.Program FilesOnce you have completed the installation steps, move onto the next section.