Exercises
Getting Started:
Check out the starter code for the exercises-2 in the part2 directory on the main branch of react-exercises-and-studios
Code Review
Appis returning 2 components:ProfileandBanner.- Open the
componentsdirectory to see what it contains.You should see the following files:
Banner.jsx- Creates a banner for the application
Button.jsx- Creates a button for the application that uses the
alertWindow method.
- Creates a button for the application that uses the
oceans.json- holds multiple objects, which we will use in our application
Profile.jsx- Will become a list template that holds an image, name, facts, and a button for each
jsonobject inoceans.json.
- Will become a list template that holds an image, name, facts, and a button for each
styles.csscontains the styling we will add to our application.
These are the files we will be working with for this project.
Part 1: The Banner Component
We would like to update the Banner.jsx to fit the application better.
- Update the
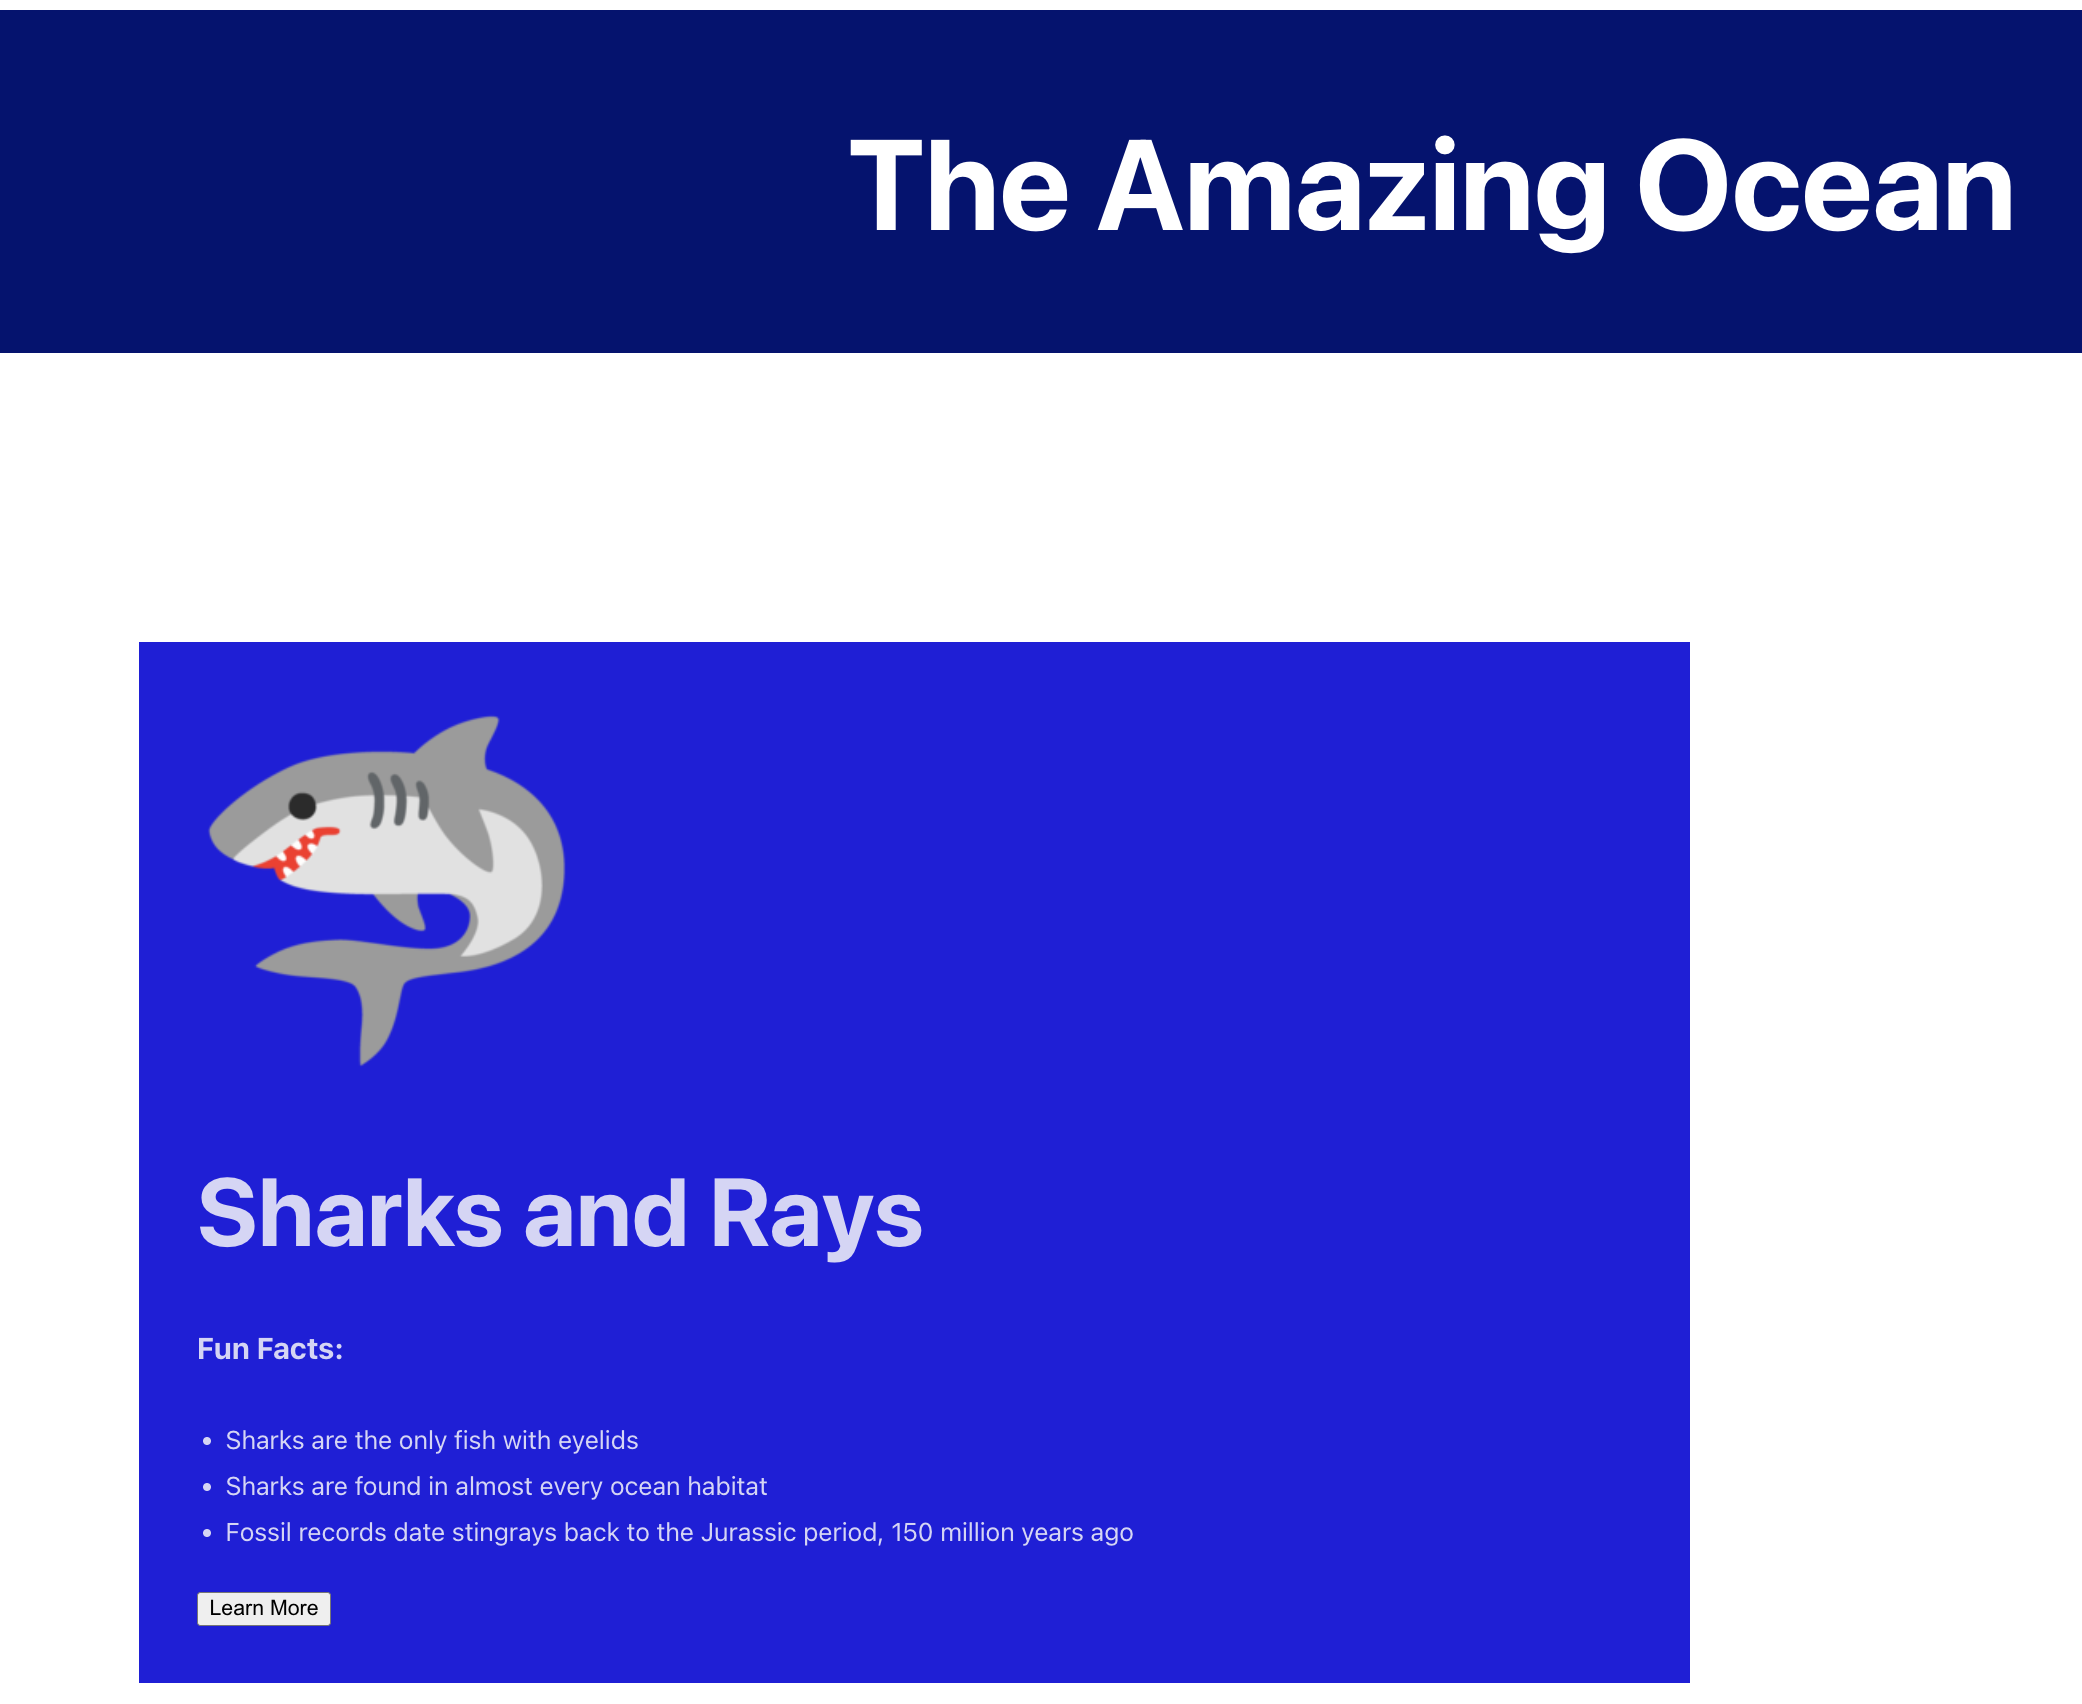
Bannerfunction to return an level header that says “The Amazing Ocean” instead of “Hello World!”. - Apply the CSS styling for
header.
Part 2: Button.jsx
We would like the button to do something. Right now, when you click on it nothing happens. For this application, we will create an alert method that will share a message with a water or ocean theme.
- Inside the
Buttonfunction, create a new function calledonLearnMore. This function will hold thealertmethod. Your method should display a message like “Splish Splash” or something related to the ocean or water. - Update the
returnstatement of theButtonfunction. It should activate theonLearnMorealert when clicked.
Part 3: Profiles Component
This last component will create a list of profile objects. Each profile object will contain headers, an image, a list, and a button. We will use the map function to help us create this list.
There are a lot of steps to make these profile objects. We are going to work on each part separately.
A. Create the listItems function
- Open the
oceans.jsonfile. It contains 7JSONobjects. Each object has multiple key/value pairs, such as anameandimage. We will use these key/value pairs to create our list. - Import the
oceans.jsonfile. Give it a meaningful alias, such asoceans. - In the
Profilefunction, remove the<h3>placeholder, but keep the<Button />.
B. Add the Profile Image
Each profile object will have an emoji to represent it.
- We will use
mapto help us iterate through theimagevalues in the JSON file.- Declare a variable called
listItemand instantiate it equal tooceans.map(). - Set the callback parameter of
listItemtoocean =>. - The map function should return
oceanwhich will include all elements required to create a profile object.
- Declare a variable called
- Each profile will be contained in its own
<div>. To keep each<div>unique, we will need to add akeywhich is set to theidproperty of each JSON object. We are working with JSON objects, so you will need curly braces. - Using an image tag, set the
srcattribute equal to the image’s url. This is stored in the JSON file. Thealtattribute should be set to thenameproperty. - The starter code contains some CSS styling for the image called
img. Apply the styling to the image by using theclassNameattribute. - Make sure we have all the correct closing tags.
- The
Profilefunction needs to return an list oflistItemsand the<Button />.
C. Background Colors
Before we start adding more details, let’s add some styling to help us visualize our list.
In the same
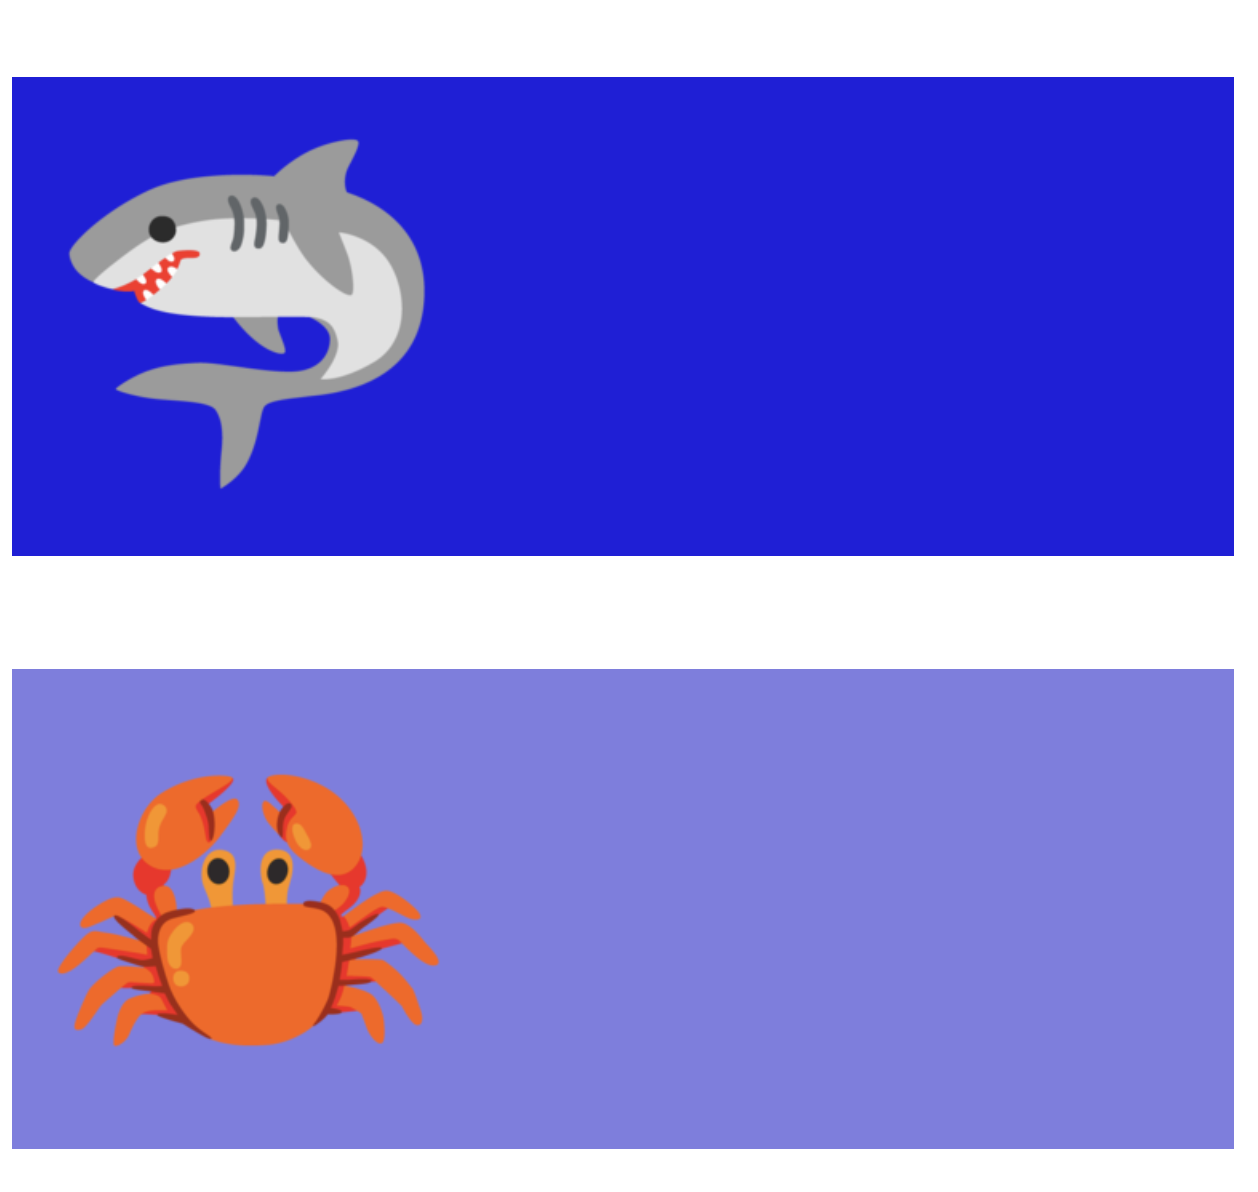
<div>where you declared the key, add the styling “profile”.You should see a small window of color for each emoji. There should be space between each block.
Let’s use the background colors to help organize ocean creatures by type. If the creature is a fish, apply the
isAFishstyling. Else, keep theprofilestyling. Use thefishCheckproperty of the JSON file to add conditional rendering to this project.
D. Names
Let’s add names to the profile objects.
Create an
<h1>tag to display thenameproperty of the JSON file.
E. Fun Facts
Inside the JSON file, you will see that each JSON object has 3 facts. We are going to share those facts in a list within the profile.
Create a new header for the name of your list. Make sure that is smaller than the name.
You decide if you want an ordered list or unordered list.
Each list element should be a fact property.
F. Learn More
Let’s move the button into each profile object.
- Relocate
<Button />insidelistItemsbelow the list of fun facts.
- Relocate
G. OPTIONAL Code Clean Up
Since Profile is no longer returning multiple elements, you can remove the unnecessary fragment tags.
Final Steps
Congrats you have used the map function to iterate through a collection of JSON objects to create small profiles of various creatures found in the ocean.


