Your First Program
Your First Program
We are going to walk you through a very simple workflow, or sequence of steps, to start coding.
Read the Instructions
Every starter code repository (repo) in this course will contain instructions. We strongly suggest you read ALL of the instructions before writing any code. This will help you understand the goal of your code and may explain any hurdles you might encounter while building your program.
We suggest reading the rest of this page before diving into the code. Since this is the first time you are pulling from our GitHub repository, you will need to set up your new PAT, create a directory on your computer to store your work, and practice with the terminal. You will do great!
Starter Code
When you have finished reading through the instructions, use this starter code to complete your first program.
Open your terminal
You will use the terminal to create a location to store the code repos. The terminal will also communicate with GitHub.
Run the following command:
lsThis will list any files or directories (folders) wherever you are in the terminal.It may look like this:
lsConsole Output
Applications
Desktop
Downloads
Documents
...
Choose a folder where you would like to store your course work. This example stores work on the Desktop; you may choose a different location if you desire.
- Use the following command to change directory, or move, into that folder:
cd <location-name>cd Desktop - Make a directory (folder) to save your course work:
mkdir <directory-name>mkdir LaunchCode - To verify if your directory exists run the
lscommand again. You should see your new directory listed. - Move into your new directory with the following command:
cd <directory-name>cd LaunchCode
- Use the following command to change directory, or move, into that folder:
You are now ready to add the repo to your directory.
Go to GitHub
You will be provided links to all of the repos in the course. You will need to fork and clone them to your computer. When you fork a repo, you are making a copy of the original code. Any changes you make to the forked repo will not be applied to the original code. This keeps the original starter code intact for the next student. Cloning the repo moves the repo code onto your computer. If the code is not on your computer, you will not be able to work with it.
Make sure you are signed into your GitHub account.
Go to the starter code repo and fork it.
 A. The original repo. Notice the Lauchcode rocket next to the name.
B. The Fork button. Click this to create a fork. You should be redirected to your fork once you click this button.
Your forked repo will look like this:
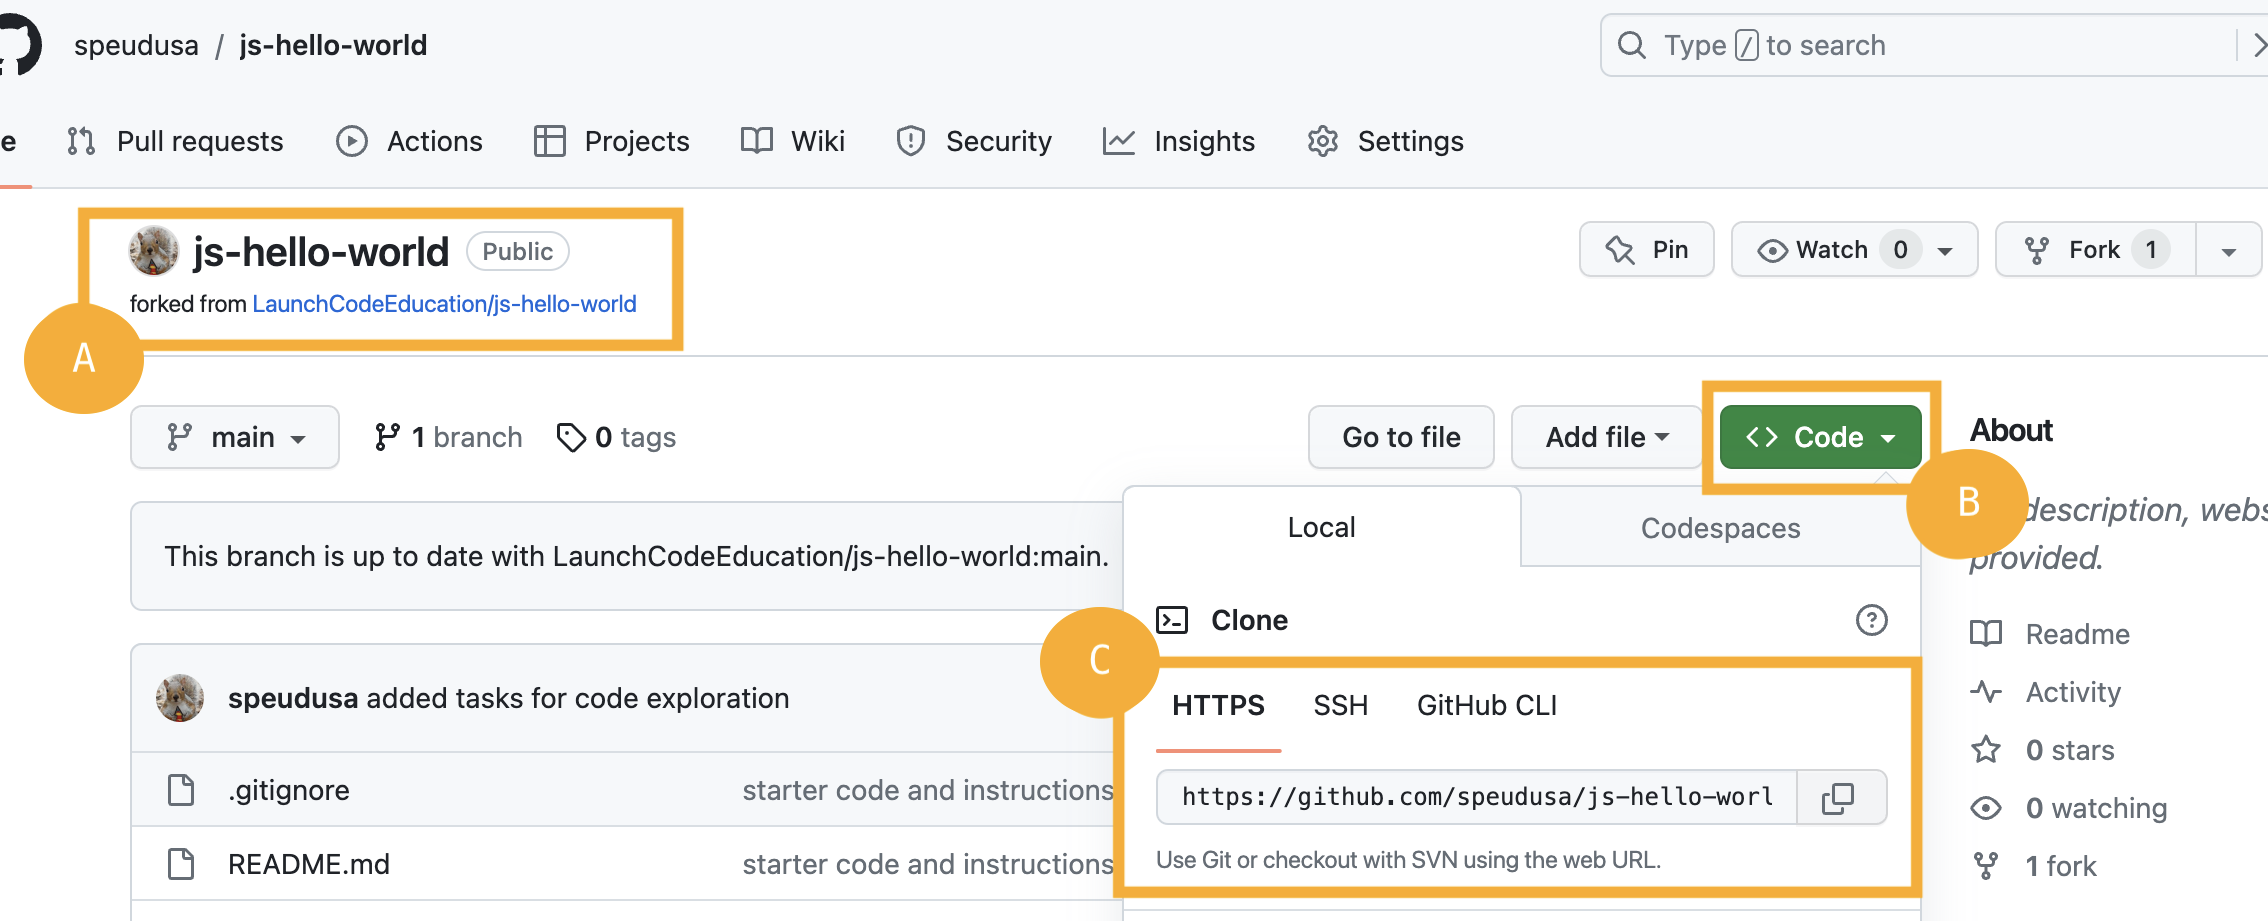
A. The repo will have the same name, but below it will be a link to the original repo.
B. Click the green <> Code button. This will open a new dropdown menu.
C. In the dropdown menu, select HTTPS. A URL will appear. Copy that URL.
GitHub has documentation on Forking a repository and Cloning your forked repository if you would like more guidance.
Handling Changes to the Original Repo
Occasionally, a change is made to the original repo that you forked. These changes may be additions to the code, updates to a package version that you are using, or something else that you would really like to be included in your forked repo.
To get these changes, Git has a process in place called “fetching the upstream”. You do NOT have to do any of this right now or even be able to explain exactly how this works, but we encourage you to bookmark this page in case you are ever directed to fetch the upstream.
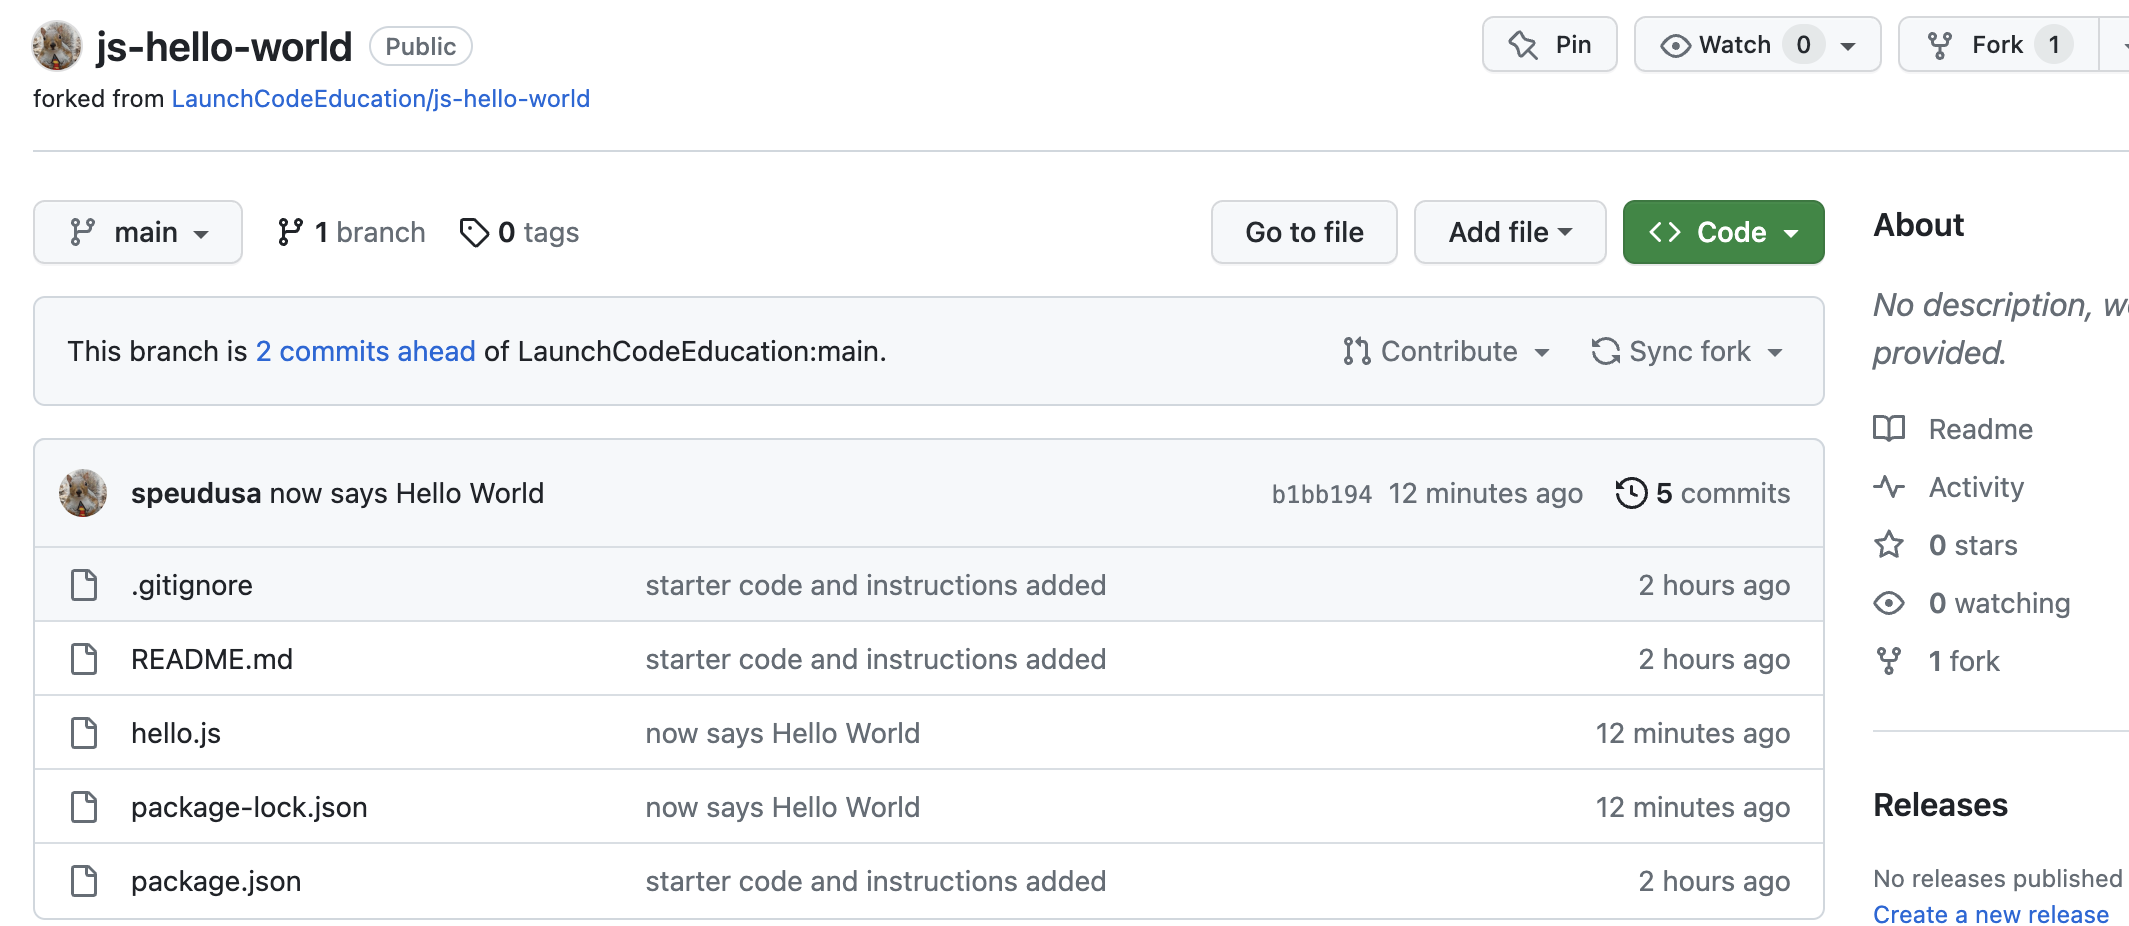
Now what is the upstream? The upstream here is the repo you forked, in this case, LaunchCodeEducation/js-hello-world. Your repo (speudusa/js-hello-world in the above example image) is set up as the origin. With this distinction in place, let’s look at the commands required.
- Run the command,
git remote -v. If you only see the origin repo listed, you need to add an upstream. You can do so with the commandgit remote add upstream <PASTE-UPSTREAM-URL-HERE>. Rungit remote -vto make sure that you now have both an origin repo and an upstream repo listed. - With an upstream set up, run the command
git fetch upstream. - Once this command is done running, run the command
git merge upstream/main.
Now if you compare your code, you should see the change that was made in your upstream repo in your origin repo too. Just a reminder that we are sharing this information with you now in case you need it, not because it is a required portion of this walkthrough.
You may be wondering what main is in the above command. main is what we call a branch and we will be learning more about what a branch is later in this book!
Check out this article from Github for more information on each of these steps!
Back to the Terminal
Return to your terminal. You should be in the directory for your course work.
Run the following command: git clone <paste-the-URL-here>
git clone https://github.com/YOUR-GITHUB-USERNAME/REPO-NAME.gitYour PAT will act as your password to perform HTTPS Git operations. For example, if you are working on a repo with the example URL, https://github.com/username/repo.git , your terminal might look like the following:
If you set up your github account to work with SSH instead of a personal-access token then you will not be asked to enter your username or password.
git clone https://github.com/username/repo.git
Username: your_username
Password: your_token
If you will be pushing and pulling from a repository multiple times in quick succession, you can save your PAT in memory for a short time. Run the command:
git config credential.helper 'cache --timeout=3600'The next time you access your remote repo, Git will ask for your username and PAT. It will then remember your credentials for a certain amount of time. In the example above, timeout=3600 saves your information for 1 hour (3600 seconds). You can adjust the amount of time up or down as needed.
Open Visual Studio Code
We haven’t learned how to code yet, but we can still write and run our first program. This exercise asks you to create and run small amounts of code, and it reinforces the LaunchCode principle of learning by doing.
We have used the phrase Hello, World as an example throughout this chapter because it represents the traditional first program for a new coder. Printing a single message is one of the simplest tasks a program can carry out.
Hello, World will be your first program as well. Welcome to the club!
Open your IDE, and open your new repo. You should see a file tree with the same files from the repo.
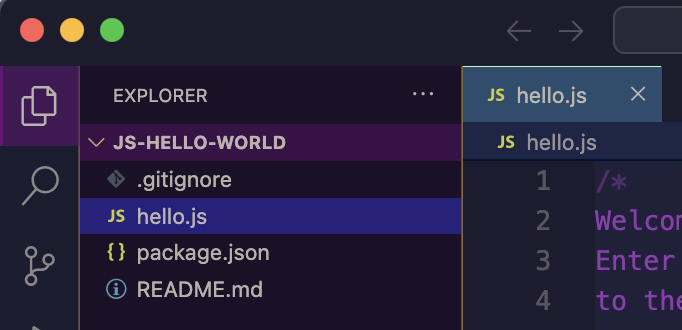
Double click on
hello.jsto open the file. You should see instructions andconsole.log("Hello");. You can type in this file now. Follow the instructions to complete your first program.- Enter your code on line 7 to print ‘Hello, World!
- Open a terminal inside Visual Studio Code. If you need a refresher, checkout the installation guide .
- Inside your terminal type the following commands
npm install(We will explore this more in future chapters). You will see that more files and directories have been added to your project. That is expected.- Next type the command
node hello.js. This should run the program, which in this case prints your message in the terminal.
node hello.js Hello World!- Another way to run your program is to use the Run and Debug button found on the left icon menu of Visual Studio Code. Set it to
Node.jsfor this project.
- Try out the other prompts starting at line 10.
- When you are done with this code, you will need to
pushit up to your GitHub repo. This is how you use git to track each change in your code.git statusThis will show you all the files you changed in red. Note that many of these were added by thenpm installcommand. This is expected.git add .This will ‘stage’, or prepare all the changed files in this directory to be updated in your GitHub repo.git statusThis will show you all your staged files in green, which are now ready to update in GitHub.git commit -m "<type a message here>"This will ‘commit’, or finalize your changes in git. Between the quotes, replace the text and carrot symbols< >with a short message describing your changes. This will help you remember what you did while looking through many commits later.git pushThis will actually send the committed changes to your GitHub repo.
Example of staging and pushing up your latest commitColors may not match exactly as in your terminal.
 1
 2
 3
 4
 5
 6
 7
 8
 9
10
11
12
13
14
15
16
17
18
19
20
21
22
23
24
25
26
27
28
29
30
31
32
33
34
35
36
37
38
39
40
41
git status On branch main Your branch is ahead of 'origin/main' by 1 commit. (use "git push" to publish your local commits) Changes not staged for commit: (use "git add <file>..." to update what will be committed) (use "git restore <file>..." to discard changes in working directory) modified: hello.js Untracked files: (use "git add <file>..." to include in what will be committed) package-lock.json no changes added to commit (use "git add" and/or "git commit -a") git add . git status On branch main Your branch is ahead of 'origin/main' by 1 commit. (use "git push" to publish your local commits) Changes to be committed: (use "git restore --staged <file>..." to unstage) modified: hello.js new file: package-lock.json git commit -m "now says Hello World" [main b1bb194] now says Hello World 2 files changed, 3457 insertions(+), 1 deletion(-) create mode 100644 package-lock.json computer:js-hello-world username$$ git push Enumerating objects: 9, done. Counting objects: 100% (9/9), done. Delta compression using up to 10 threads Compressing objects: 100% (7/7), done. Writing objects: 100% (7/7), 31.59 KiB | 15.80 MiB/s, done. Total 7 (delta 3), reused 0 (delta 0), pack-reused 0 remote: Resolving deltas: 100% (3/3), completed with 1 local object. To https://github.com/USERNAME/js-hello-world.git 408d555..b1bb194 main -> main- Line 1
git statusused to check on the latest version of the project. - Line 6 notes Changes not staged for commit. We need to add these.
- Line 17
git add .will add these to GitHub when we are ready to push up. - Line 28
git commit -m "now says Hello World"A commit is like taking a photo of the latest version of your code. The message (-m) acts like a caption to keep track of the changes. - Line 32
git pushsends our latest code up to GitHub.
We will learn more about these in a later chapter.
NoteWhen writing your commit messages, you will encounter problems if you include punctuation inside of double quotes
"This wont work!".If you have a strong desire to include punctuation, you must wrap your commit message inside of single quotes
'Like this!'.Back to GitHub
You should see your latest version of your code along with your commit message.
Check Your Understanding
Which of the following correctly prints Coding Rocks? There may be more than one valid option.
console.log(Coding Rocks)console.log(Coding Rocks);console.log('Coding Rocks')console.log("Coding Rocks');console.log("Coding Rocks");