Task 1: Setting Up the Starter Code
Fork and clone the starter code repository .
To get started, navigate to the directory with your copy of the starter code.
- Run
npm install. - Open
index.htmlwith Firefox to verify that your starter code is working.
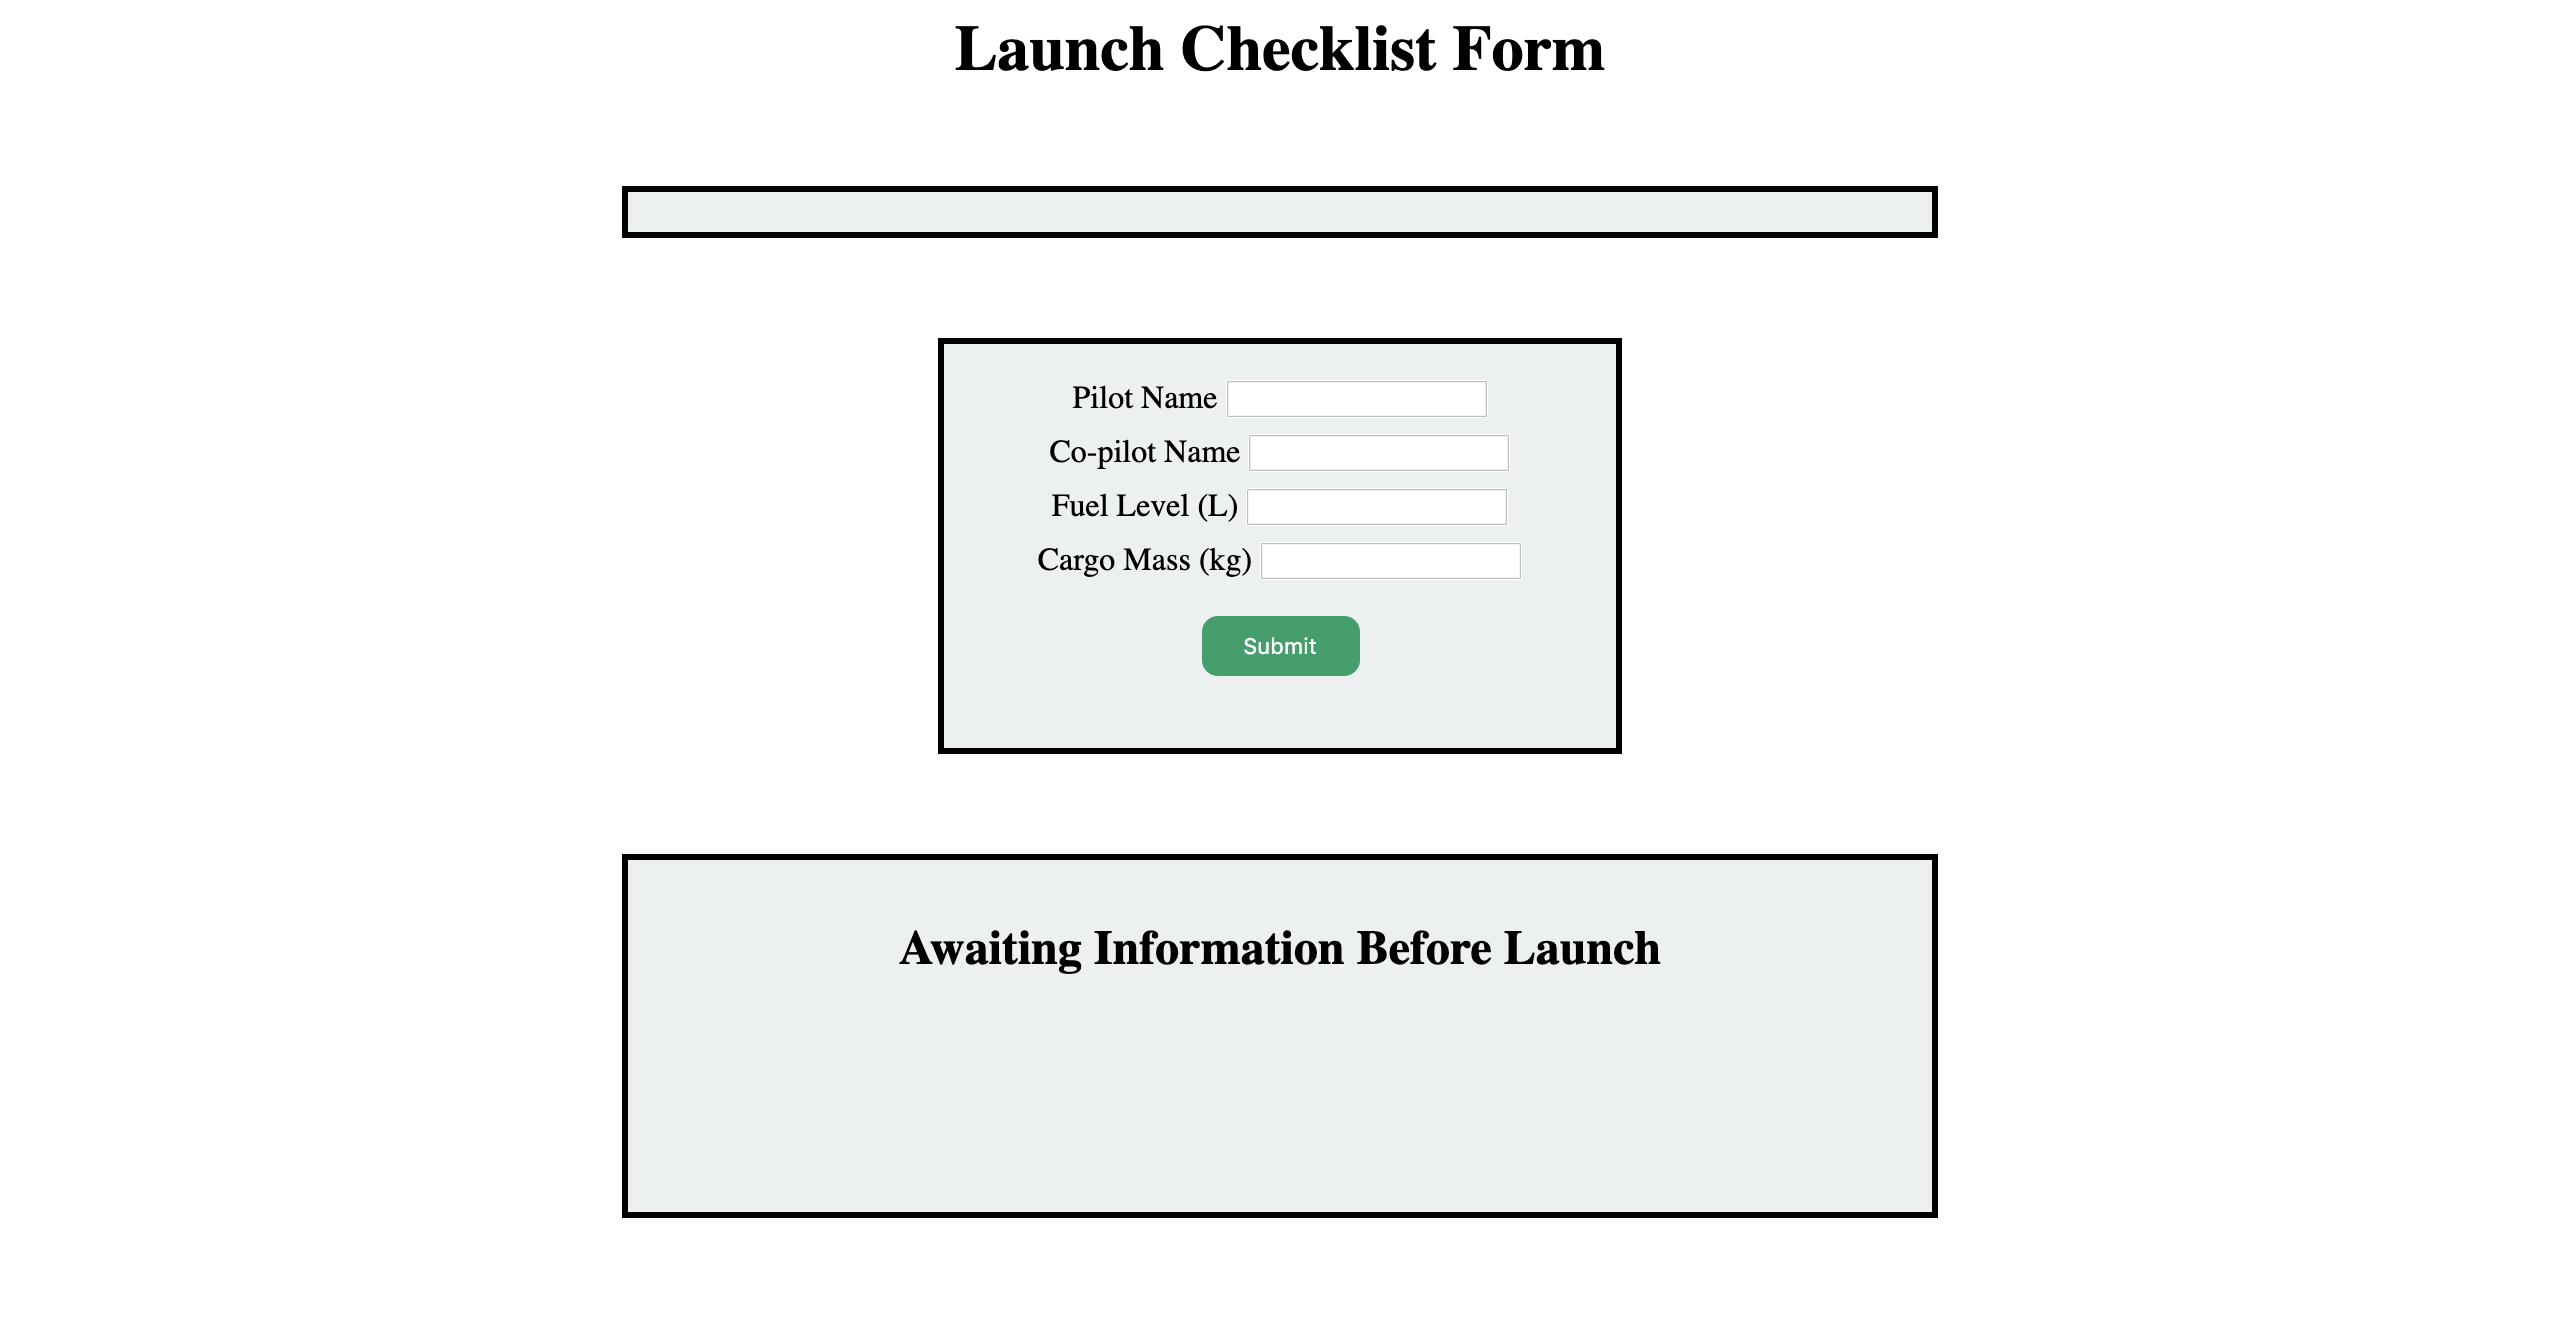
When you open index.html in the browser, you should see the Launch Checklist form with a rectangle above it for the mission destination and a rectangle below it that simply says “Awaiting Information Before Launch”.
Before starting work, go ahead and check out the various files in your starter code. You may notice a file called bundle.js. This file contains no code except for a comment. Do NOT delete or edit this file.
The only files you should be editing when working on this project are script.js and scriptHelper.js. To modify styles or update HTML, do NOT modify styles.css or index.html.
If you open up your browser’s dev tools, you may see a warning stating that the require statement in scriptHelper.js is not working.
This is okay! That require statement is necessary for the autograder to function and this warning will not impact your site’s ability to function.