Task 3: Test and Commit
Test Code Locally
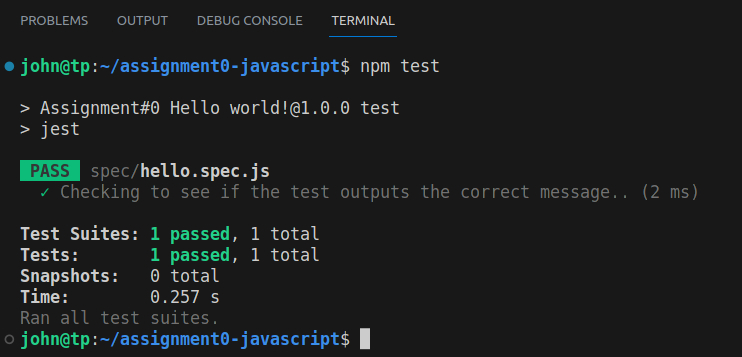
Run the following command to test your newly updated code to see if it passes the tests:
npm test
If your tests fail, please revisit the previous section and double check that your hello.js file is formatted as expected. The test expects the output to be “Hello world!” precisely.
Commit Your Changes
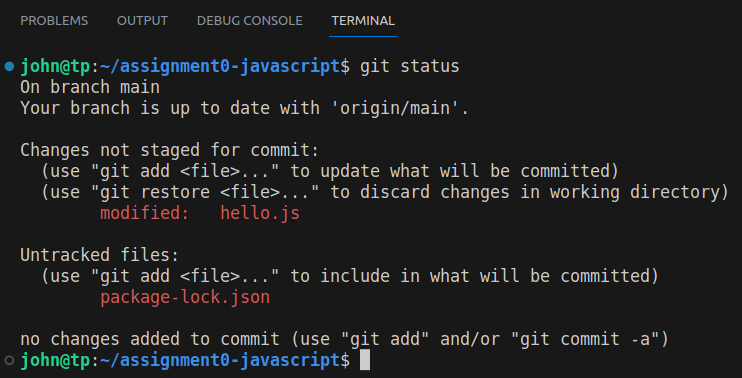
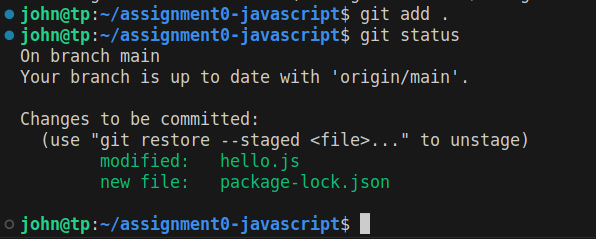
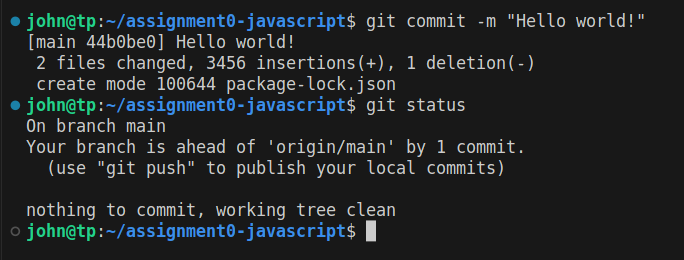
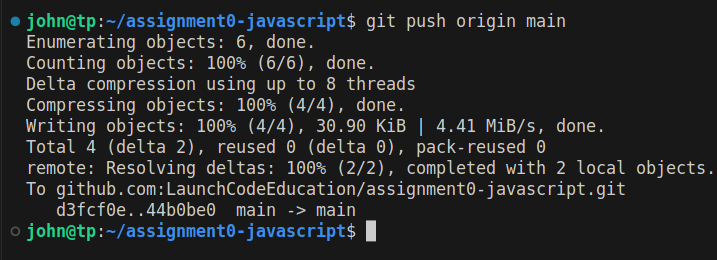
Now that your program prints "Hello world!" and the tests pass, you’ll commit your code. Committing your code is part of a process called version control, which we’ll get into in a later lesson. For now, open up your terminal and type in the following commands to follow along:
You will notice in the below commands that we are also running the git status command to check the current status of git after running commands. It is not required that we run a git status command but it does help illustrate what is happening.
git status
git add .
git commit -m "Commit message"
git push origin main
Check Your Solution
The following section covers GitHub Actions. If you would like to visit the documentation provided by GitHub you can find that documentation here
Once you’ve committed your work, head to your Github repository associated with this assignment to see if your solution passes the tests.
The easiest way to do this is to click on the actions tab located near the top of your repository.
Once inside of the actions tab your view should look similar to the following:
In the above image you may notice that the circle icon next to Hello world! is yellow. Your tests may have already completed by the time you navigate to this page and the circle may appear as green if the tests passed, or red if they have failed.
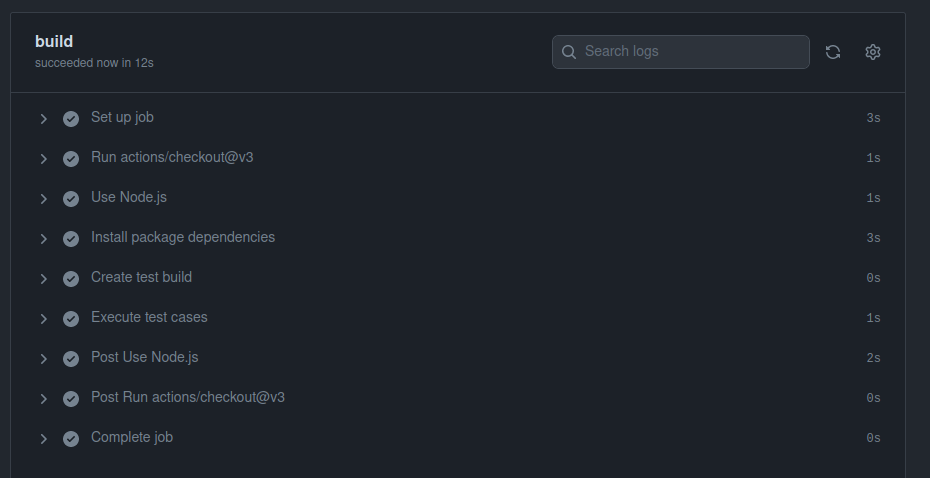
You can click on the Hello world! workflow run and view the steps that the GitHub Action is completing and receive more details:
Click the build button:
If your solution passes the grading requirements, you will notice a check mark next to each step within the build process. You will also notice a green check mark next to your most recent commit id on the main page of your repository.
If your solution does not pass, you will see a red x in its place.
A red x can always be corrected by repeating the previous steps. These are:
- Open the Actions tab. Select the failed test and select the
rerun all failed jobsoption. - Change the string,
- Run the program to visually ensure that
"Hello world!"is printed, - Commit and push your changes.
You may make any number of commits to your solution. You won’t lose points for pushing commit and push many times. In fact, each assignment is worth only 1 point. In most cases, you won’t need to commit and push more than once, however. You can verify that your code runs the way we expect by running it and seeing the proper "Hello world!" message printed.
In some cases, you may see a yellow dot grading status instead of the green check or red x. This is fine and just means that GitHub is currently building your solution. It will often resolve to either a check or x after a few moments.
When you see a green check, your code passes and you are all finished with the assignment.
If your program is outputting “Hello world!”, but you are still not seeing a green check mark, make sure you did not edit any file other than hello.js. An accidental space or extra character can cause problems with the tests. To double check that you have not done so, you can click on the 7-digit code next to the check mark or x. This will bring up which files have been changed and any changes made. If any other files other than hello.js were changed, make sure to undo the changes and commit to Github.
