Intro to Visualization with Tableau
The following reading segments will cover how to navigate Tableau Public using the desktop application.
Start out by creating a Tableau Public Account and logging in.
Once you are logged in, you can begin creating visualizations using the Tableau Public desktop application.
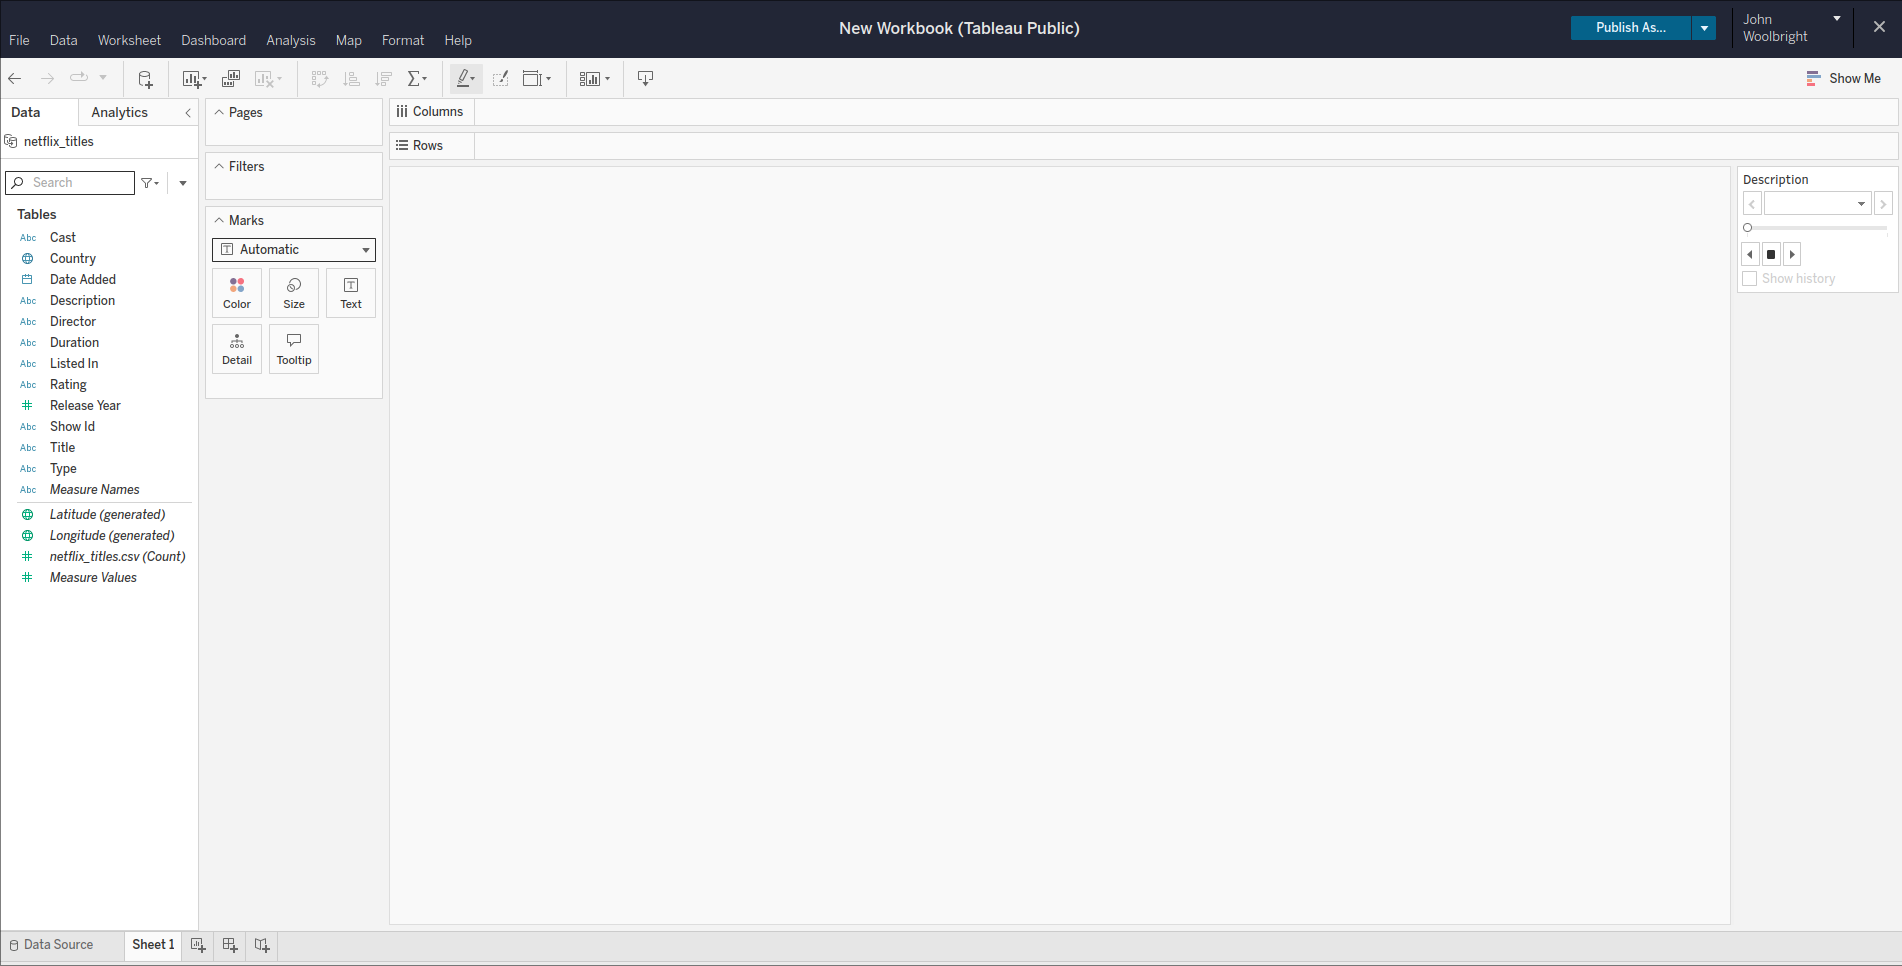
After opening the desktop application you should see something similar to the below image:
For the time being, click the X on the connect to data option, we will not be doing that just yet!
Now that you have opened up a new workbook within Tableau Public it is time to begin exploring and getting comfortable with the many features that are available.
Throughout the following readings we will cover the following:
- Navigating a Tableau public workspace
- Connecting to a data source
- Understanding how Tableau interprets data
- Building your very first chart!

