Warning
If these labs already exist then skip this step.
In the Azure Education section create 2 new labs:
Troubleshooting - InstructorTroubleshooting - Instructor <Name>Troubleshooting - TATroubleshooting - TA <Name>Note
The instructor should then accept their lab assignment (you can hit the Setup button that pops up to do this without checking your email). TAs will accept theirs in the next step.
Warning
You can do this step before the day of the walkthrough to work out any kinks inviting students. However, make sure they only confirm receiving the invitation email.
Until the walkthrough begins: do not allow your students to:
For the students to get read-only access to the Azure resources you have to share your Troubleshooting Lab subscription with them. This can be done by adding them to your Default Directory with the Reader role. After inviting them you can move to the next section for configuring the az CLI and running the broken deployment setup scripts.
Check your email for the invitation to the lab:
Troubleshooting - TATroubleshooting - TA <Name>.Reader Role¶Go to the Azure dashboard by clicking Microsoft Azure in the top left corner of the nav bar:
Note
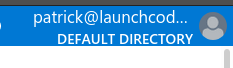
Make sure you are in your Default Directory (visible in top right):
Now go to the Subscriptions resource and select the Troubleshooting - TA <Name> subscription from the list:
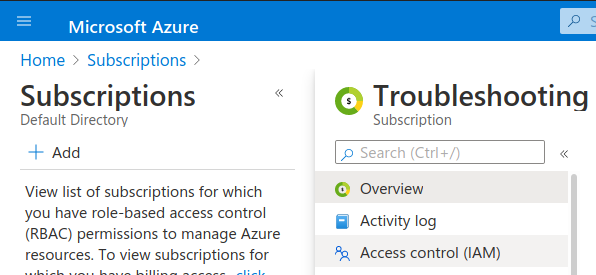
Select the Access Control (IAM) settings on the left sidebar:
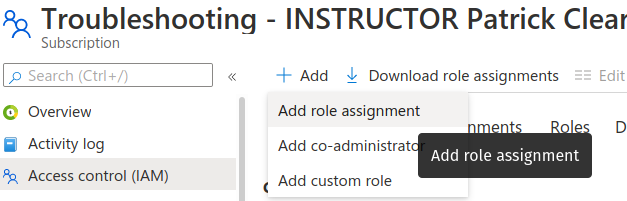
Then select the Add role assignment at the top left:
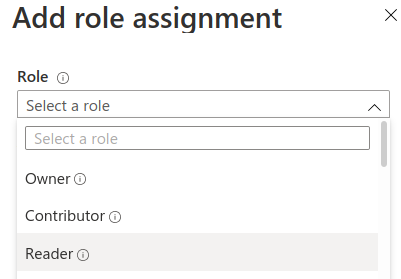
Choose the Reader role from the list:
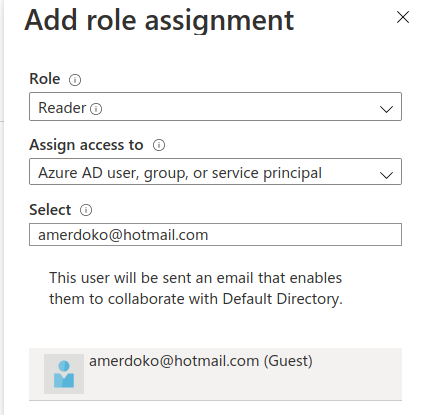
Then in the Select section add in the email addresses of each student in your group (they have to be done one at a time unfortunately):
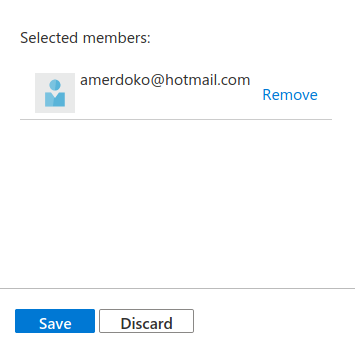
Confirm that the Selected Members section has all the student emails for your group then hit Save:
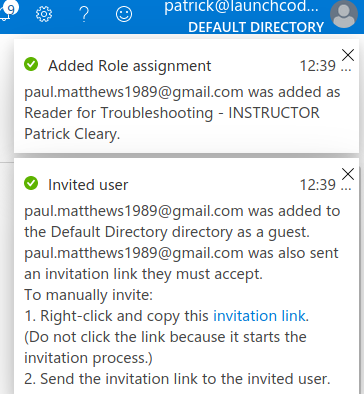
In the top right you should get popups for each student who is invited. Instruct them to click the link and follow the Setup instructions (in the walkthrough itself). If they cant find the email you can click the notification and copy the invite link directly for them:
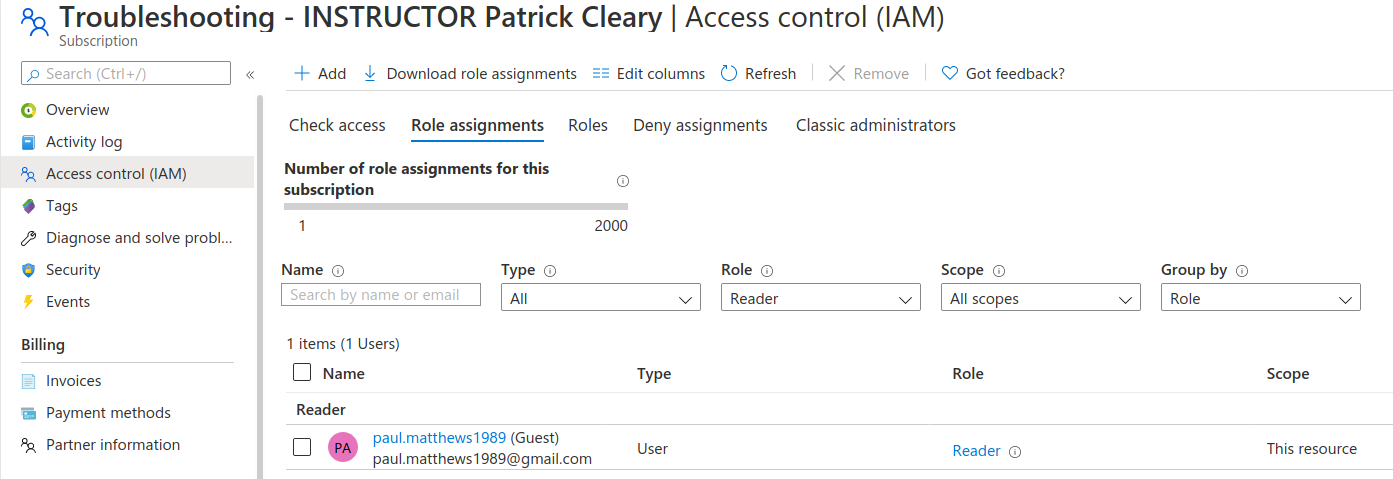
Now you can switch to the Role Assignments tab and use the refresh button to confirm all your students joined successfully:
Warning
Inviting students to your Default Directory is the simplest mechanism for you to share access to resources in the lab subscription.
However, this means any resources you create outside the course will also be visible (read only) to them. If you only use Azure for the course you don’t need to worry.
If you use Azure outside the course you can remove the students after the exercise is completed from this same view. Just select all the student names and then Remove (at the top) to remove them.
Before discussing the issues and their solutions each of you must first set up the broken deployment. This will require you to refresh the az CLI cache to recognize and set your new lab subscription as the default:
az CLI¶First up we need to clear the AZ CLI cache:
> az account clear
Now we need to login again which will present us with the form to authenticate:
> az login
Will print out list of all your subscriptions. Look for the one with the name Troubleshooting - TA <Your Name>. Then copy the id field value:
{
  "cloudName": "AzureCloud",
  "homeTenantId": "d61de018-082f-46bb-80e0-bbde4455d074",
  "id": "095dea07-a8e5-4bd1-ba75-54d61d581524",
  "isDefault": true,
  "managedByTenants": [],
  "name": "Troubleshooting - TA <Your Name>",
  "state": "Enabled",
  "tenantId": "d61de018-082f-46bb-80e0-bbde4455d074",
  "user": {
    "name": "[email protected]",
    "type": "user"
  }
}
Assign this as the az cli subscription:
> az account set -s "095dea07-a8e5-4bd1-ba75-54d61d581524"
After configuring the AZ CLI to use the new subscription set the defaults for the correct resource group and virtual machine:
> az configure -d group=linux-ts-rg vm=broken-linux-vm
Warning
You will not need to edit the scripts at all. They will deploy the application and break a few things that this article will walk your group through fixing.
Clone the setup scripts repo and switch to the tps-reports branch:
> git clone https://github.com/LaunchCodeEducation/powershell-az-cli-scripting-deployment
> cd powershell-az-cli-scripting-deployment
> git checkout tps-reports
Then run the script:
> ./full-deployment.ps1